12
Owner’s Manual
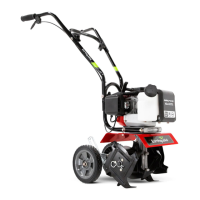
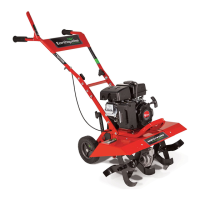
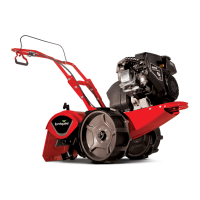
MC33 2-CYCLE CULTIVATOR
Get parts online at www.GetEarthquake.com or Call 800-345-6007 M-F 8-5 CST
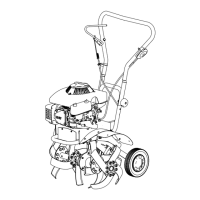
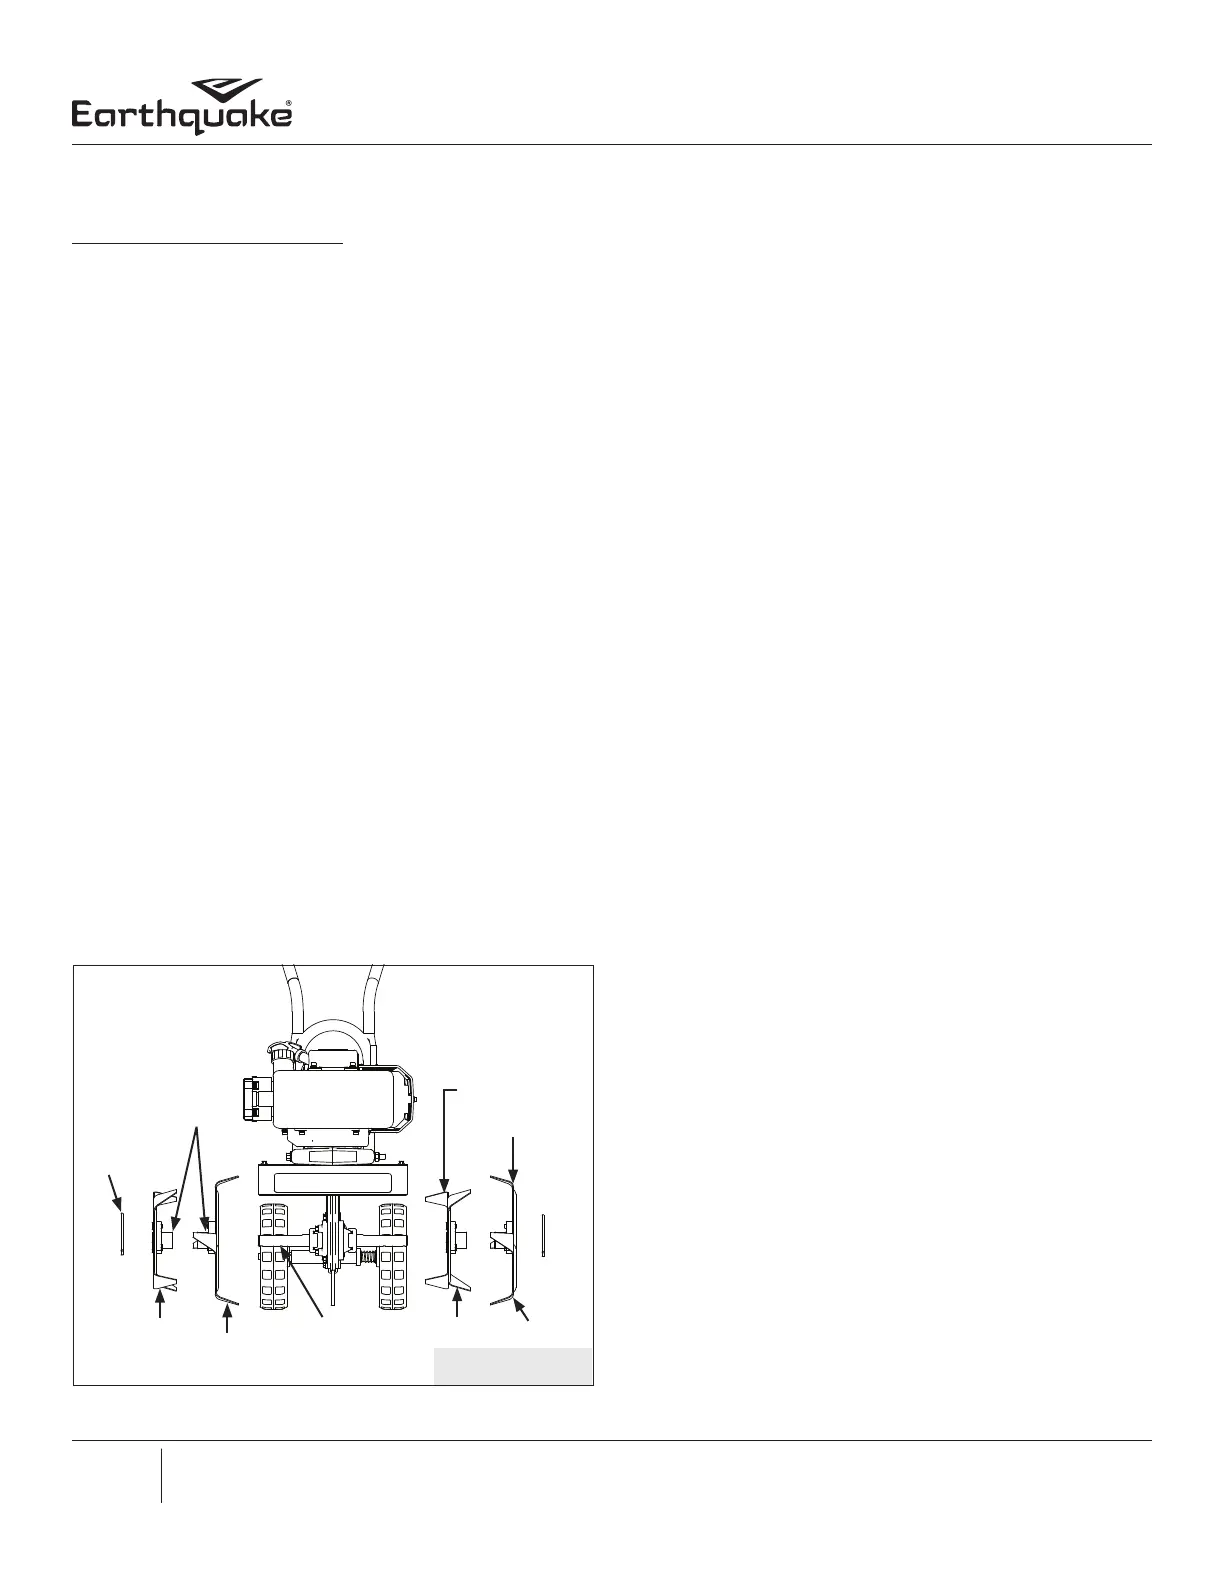
TINE REMOVAL AND INSTALLATION
To Remove Tines, do as follows: SEE FIGURE 4.
1. Remove the hairpins from each end of the tine shaft.
2. Slide the four tines o the shaft.
FIGURE 4
TO INSTALL TINES
1. Slide the inside tines onto each end of the tine shaft. One
inside tine is stamped with a B and the other is stamped
with a C.
2. Slide the outside tine A and tine D onto each end of the
shaft next. The tines should be installed in the correct
order so that they are positioned left to right A, B, C, D,
as viewed from the user’s position on the cultivator. Make
sure that the hub collars on both the right and left pairs
of tines face each other so that there is adequate spacing
between the tine blades.
3. Insert the hairpins into the holes at each end of the tine
shaft to lock the tines into place.
NOTE: Tines can be reversed so the pointed tip of the tines
are directed forward - for more aggressive digging. In this
arrangement, tines are positioned left to right D, C, B, A as
viewed from the user’s position.
NOTE: To reduce cultivating width from 10” to 6”, remove
both outer tines and reinsert hairpins through the two
inner holes on the tine shaft to secure both inner tines in
place.
STARTING AND STOPPING THE ENGINE
• Move engine to a well ventilated area, outdoors, to
prevent carbon monoxide poisoning.
• Move to an area away from ames or sparks, to avoid
ignition of vapors if present.
• Remove all debris from air cleaner holes and gas cap
to ensure proper air ow.
COLD ENGINE START:
Starting engine for rst time or after engine has cooled o or
after running out of fuel.
1. Push ON/OFF switch to the ON or RUN position.
2. Move choke lever to the CHOKE position. SEE FIGURE 5.
NOTE: CHOKE position is dened by moving the choke
lever as far to the CHOKE position as possible.
3. Push primer bulb at least 5 times until primer return hose
is lled with fuel.
NOTE: When using the primer bulb, allow the bulb to re-
turn completely to its original position between pushes.
4. While depressing the fuel primer button, push the primer
bulb ONCE and release the button. SEE FIGURE 5.
5. Hold handle bar rmly and grasp the recoil pull handle
with the other hand, pulling out slowly until it pulls slight-
ly harder. Pull recoil rope 2 times with a rapid full arm
stroke.
6. Move the choke lever to the RUN position and pull the
recoil rope repeatedly until the unit starts.
NOTE: If engine fails to start within 7 pulls, push primer 1
time and pull recoil rope again.
7. After engine starts running, move choke lever to HALF
CHOKE position and let the engine warm up for about 1
minute or until unit runs smoothly.
NOTE: Half choke is dened when the choke lever is
positioned between CHOKE and RUN.
8. Move choke lever to RUN position and squeeze throttle
lever to desired speed. SEE FIGURE 5.
9. To stop engine, push ON/OFF switch to OFF or STOP
position.
INNER TINE
OUTER TINE
TINE SHAFT
INNER HOLE
HUB COLLARS
HAIR
PIN
D
C
B
A
 Loading...