INSTALLATION AND CONNECTION
4
2. INSTALLATION AND CONNECTION
2.1 Camera Installation
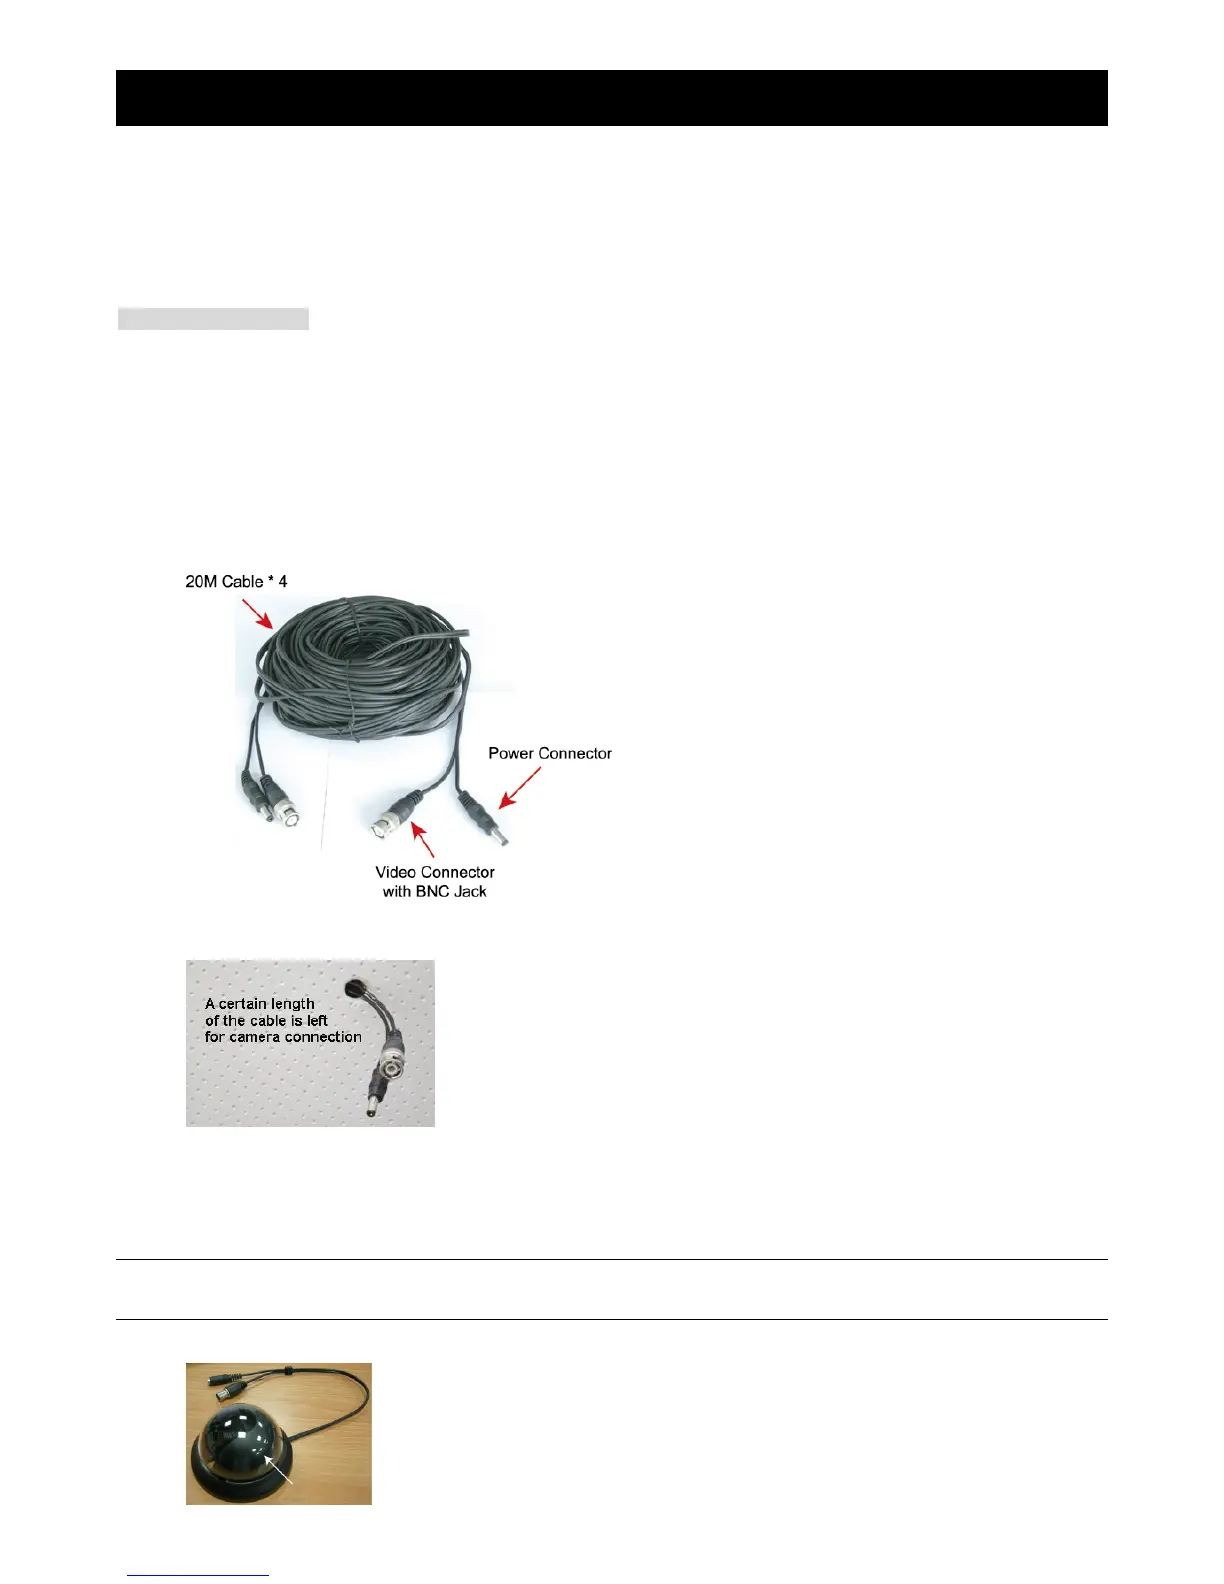
Four 20M cables are supplied within your sales package for camera connection. Depending on the actual installation
situation, you may drill a hole on the proper position for the 20M cable to pass through and hide, or arrange it to run along
the surface of the wall.
Tools & Items Needed
1. Power drill or screwdriver x 1
2. 20M cable x 4
3. Necessary screws:
four screws for dome camera
three screws & wall plugs for IR camera
2.1.1 Wiring
Step 1: Choose the proper surveillance location, such as the front door, inside the office, etc.
Step 2: Arrange the 20M cable routing from the DVR site to the place where the camera is installed, such as the ceiling.
Please make sure a certain length of the 20M cable is left for the connection to the camera.
Step 3: Connect to the supplied camera when the camera is mounted. Dome cameras should be ceiling-mounted, and IR
cameras should be ceiling-mounted or wall-mounted. For camera mounting details, please see the description
below: “2.1.2 Dome Camera” at page 4 and/or “2.1.3 IR Camera” at page 5.
2.1.2 Dome Camera
NOTE: Screws for installation are not supplied within the sales package. Please prepare by yourself and use
proper screws.
Step 1: Turn the dome cover counterclockwise to the end and take it off.