Do you have a question about the EasyIO FS-32 and is the answer not in the manual?
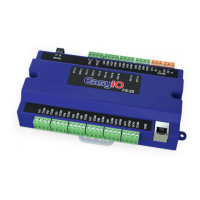
Visual diagram showing the physical dimensions and layout of the controller.
Fasten the DIN rail to the enclosure base plate using a 35mm width rail.
Use a screwdriver to unlock the two locking clips on the controller.
Hook the EasyIO FS-32 over the top edge of the DIN rail.
Ensure the bottom of the base cover touches the enclosure base plate.
Use a screwdriver to lock the clips securing the controller to the DIN rail.
Secure the assembly using a DIN rail end clip or optional screws.
Unscrew the two Phillips screws on the top cover using a screwdriver.
Hold both ends of the top cover and lift it upwards.
Find the micro SD card slot at the bottom right corner, above the Ethernet port.
Slide the micro SD card into the slot with contact pins facing down.
Push the micro SD card until a click sound indicates it is locked.
Push the card in to eject, then slide it out.
| Model | FS-32 |
|---|---|
| I/O Points | 32 |
| Power Supply | 24VAC/DC |
| Communication | Ethernet, RS-485 |
| Operating Temperature | -20°C to 70°C |
| Weight | 0.5 kg |
| Inputs | 16 |
| Outputs | 16 |
| Protocols | BACnet, Modbus |