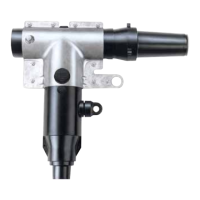
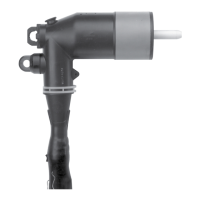
Figure 28. Line illustration of tightening termination.
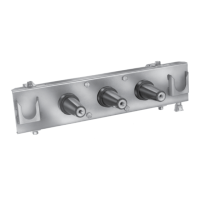
Apparatus
Bushing
1" Socket
Torque Wrench
Complete
Threading
Concentric Neutral
Wires
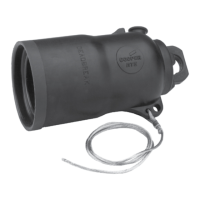
Figure 29. Line illustration of installing the insulating plug
cap.
T-body
Insulating
Plug Cap
Concentric Neutral
Wires
Step 14.
Install insulating plug
•
Clean and lubricate the mating interfaces of T-body and
insulating plug.
•
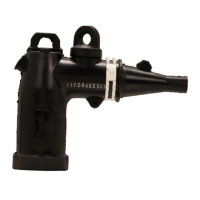
Insert insulating plug into back of T-body engaging the
threads of the stud. See Figure 27.
•
By hand, turning clockwise, thread insulating plug in as
far as possible.
•
Using a torque wrench and 1" socket complete threading
clockwise until tight. Torque to 55 ft-lbs. See Figure 28.
Step 15.
Check tightness of termination
•
Check tightness by hand by moving T-body forward and
back (perpendicular to the apparatus frontplate). Do not
move side to side as this may loosen the connection.
•
If tight:
• Re-torque to 55 ft-lbs.
•
If loose:
• Remove insulating plug and T-body from apparatus
bushing.
• Inspect threads of the stud and insulating plug for
damage.
• If damaged, replace damaged component and re-install
per previous installation instructions.
• If no damage is found, re-install per previous
installation instructions.
Step 16.
Cap the insulating plug
•
Clean and lubricate inner surface of insulating plug cap
with lubricant supplied.
•
Attach hotstick onto cap ring.
•
Push cap onto insulating plug until it snaps into place.
Refer to Figure 29.
Figure 27. Line illustration of insulating plug installation.
T-body
Apparatus
Bushing
Insulating Plug
Thread by hand
13
600 A 15/25 kV class BOL-T connector assembly installation instructions MN650005EN February 2015

 Loading...

