Effective 6/98
I.B. 48017
Cutler-Hammer
Instructions for Converting AMPGARD
™
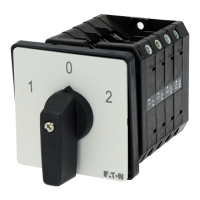
Type LFM
Isolation Switch With Type 25LFR2 Design
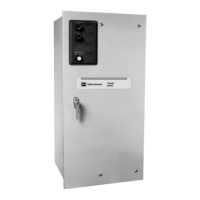
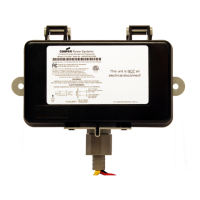
This kit was specifically designed to replace old type LFM
isolation switches supplied prior to July, 1975, with new
type 25 LFR2 isolation switches. The shutter assembly
has been moved from the isolation switch to the starter
cell. This provides an insulating barrier over the line stabs
when the isolation switch is removed from the enclosure.
This industrial type control is designed to be installed,
operated, and maintained by adequately trained workmen.
These instructions do not cover all details, variations, or
combinations of the equipment, its storage, delivery,
installation, checkout, safe operation, or maintenance.
Care must be exercised to comply with local, state, and
national regulations, as well as safety practices, for this
class of equipment.
Make certain that the incoming line breaker is locked open
and the connections to the line stabs have been de-
energized before any work is started on removal of old
parts.
Also check all auxiliary power circuits into the enclosure.
REMOVAL OF OLD PARTS
1. Rotate the isolating switch handle counter-clockwise
90° to the open-door position.
2. Loosen door fasteners and open doors.
3. Remove the main power fuses and the contactor
phase barriers.
4. Remove the contactor from the enclosure per instruc-
tions in I.L. 11-202-14 under “Maintenance and
Repair”.
5. Remove two .312 inch-18 x 1.00 inch Allen head cap
screws holding the isolation switch in place. Save
hardware.
6. Disconnect the auxiliary switch connections from the
terminal block if an auxiliary switch was originally
supplied.
7. Slide the old isolation switch out of the enclosure.
8. If any mechanical interlock linkage was supplied as
part of the original isolation switch, this linkage should
be transferred to the new switch using the holes
provided. Special care must be taken to properly
adjust the linkage so the complete mechanical
interlock system functions as originally intended.
9. See Fig. 1. Remove the 16-inch long glass polyester
line stab finger barrier that is held in place with two
.312 inch-18 hex bolts. Dispose of the hardware and
the finger barrier.
Fig. 1 Existing Line Stab Finger Barrier