26 OPERATION AND INSTALLATION INSTRUCTIONS MN280075EN July 2018
Form 6 microprocessor-based rack-mount recloser control
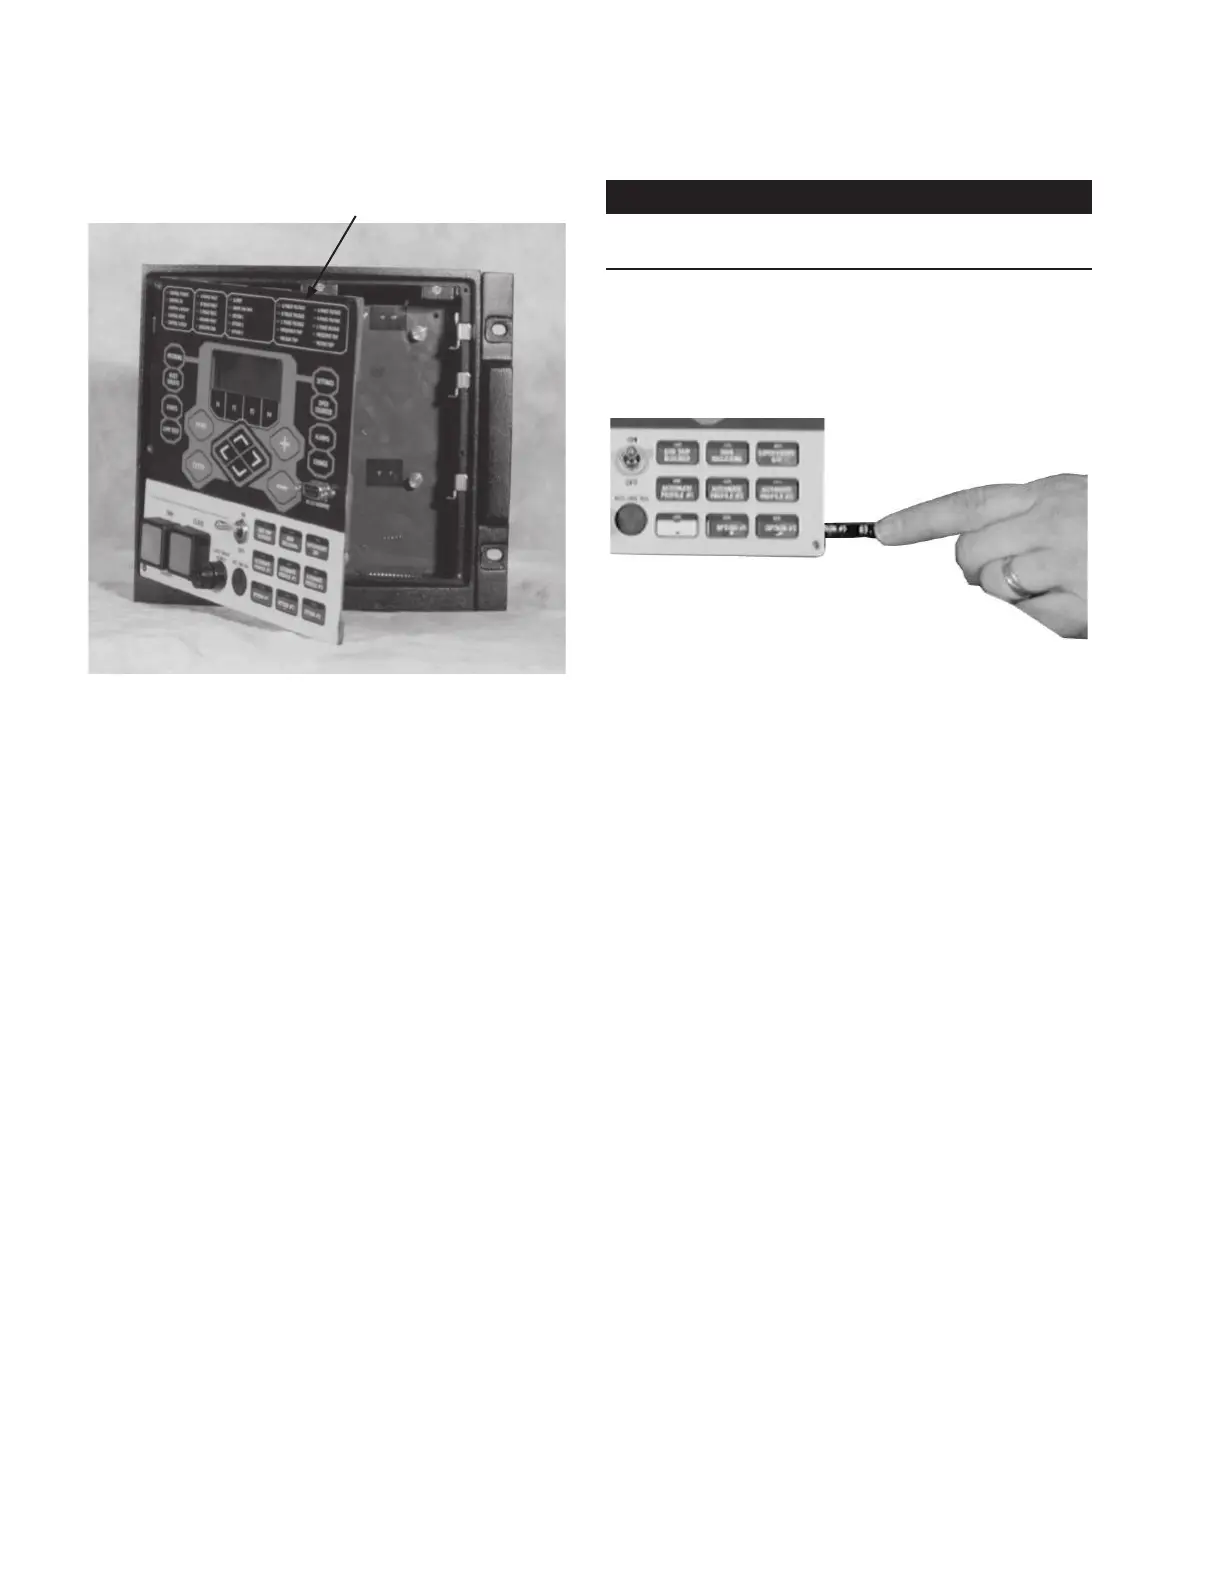
Removable LED
Status Indicator Panel
Figure19. Open front panel. Labels are easily removed
from and inserted into the top of the programming
panel LED status indicator section
4. Use tweezers to gently pull out the removable insert.
ote:N The insert will slide out of the right side of the
operating panel (Figure20).
ote:N The insert will slide out of the top of the
programming panel indicator section (Figure19).
5. Change the existing label or slide in a new label with
the name of the configured option.
An electronic label template is included on the ProView
application software CD and can be accessed through
the following default address:
C: / Program Files / Cooper / ProviewXX / Form 6 / Form
6 Inserts.doc
IMPORTANT
Laminate the removable inserts prior to installing. This will
seal the ink/toner and avoid damage to the front panel.
6. Gently push the removable insert from right to left
into the right side of the operating panel (Figure20) or
down into the programming panel LED indicator section
(Figure19).
Figure20. Labels are easily removed from and inserted
into the operating panel
7. Place the front cover panel back onto the control.
Using a flathead screwdriver screw the screws into the
control and tighten all hardware completely.

 Loading...


