M8 X 25
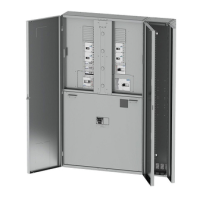
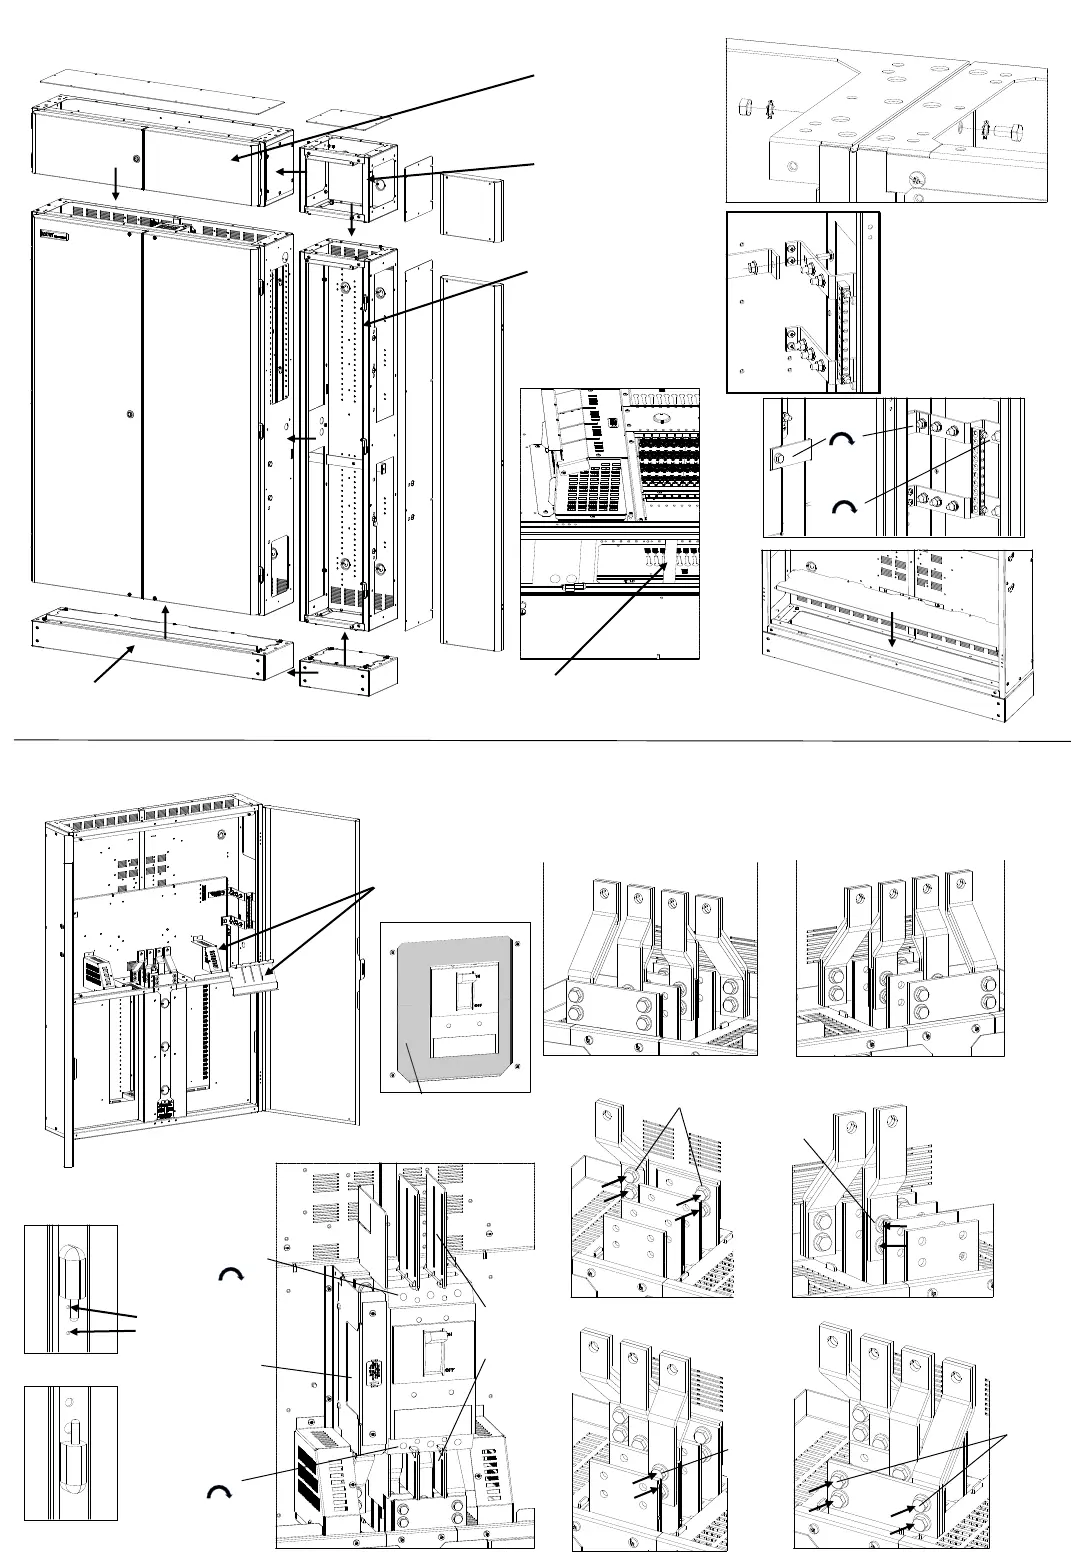
Top Entry Conversion
Lift off front doors and rotate panelboard 180°
Reposition x6
male hinges
on enclosure.
Ensure
existing
scratch
washer and
M5 fixings are
reused and
tightened
New position
Existing position
Utilising the same connectors, screws and washers, reconfigure from
Bottom to Top Entry
Ensure connectors are kept in their supplied sets and spring washers are
always fitted beneath the screws
L3
L2
Bottom Entry
L1
N
Remove shields
to gain access to
connectors.
Remembering to
replace all shields
after connector
reconfiguration
Top Entry
N
L1
L2
L3
Build Sequence for Top Entry
4
L3
N
1
M8 X 25
3
L2
M8 X 25
L1
Tightening
torque for all
connectors –
15Nm
2
M8 X 25
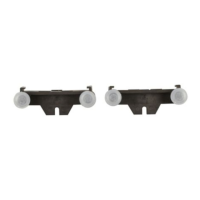
Fit
Interphase
shields
Top entry
neutral shield
Reposition Hinges
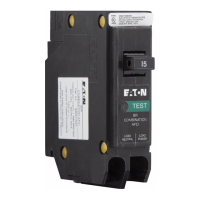
Fit Incomer
31Nm
31Nm
14-18 Way Cableway – Remove x1 cut-out
feature in cableway to gain access to
outgoing chamber
Rotate dished cover
180° and fix x4 screws
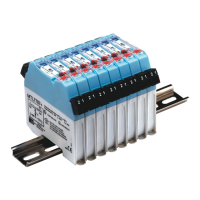
Cableways, Extension/Corner/DIN Boxes and Plinths
Cableway-
EM4PB68SXB
EM4PB1214SXB
EM4PB1618SXB
Fits either side
Extension/DIN Box-
EM4PB250EX
EM4PB250EXDIN
Fits either end
Corner Box-
EM4PB300CX
Fits either side
Box fixing, ensure scratch washers are fitted both sides
Cableway - Provision
to move earth bar
into cableway,
utilising earth strap
Plinth – Fit plinth gland
plate inside panelboard
15Nm
30Nm
N
L1
N
L2
L1
N
Plinth
EM4PB100PL
EM4PB100PLCX
Remove x6 male
hinges from
enclosure and
drill 2.2mmØ
holes as shown
6mmØ
5mmØ
Remove all
swarf