10
Getting Started
1. Check box for damage. Damages caused in shipment
must be reported immediately.
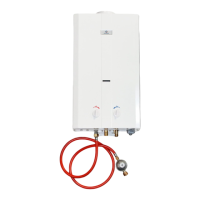
2. Make sure you have all the parts:
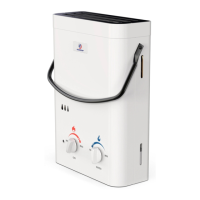
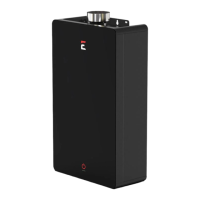
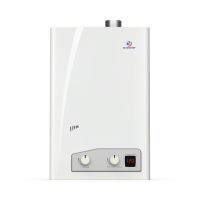
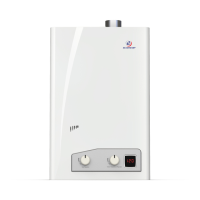
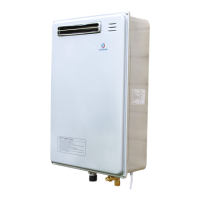
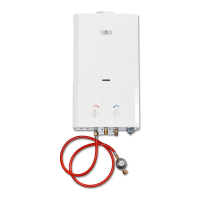
a. Water heater
b. LP gas regulator and hose
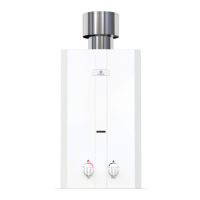
c. Rain cap
d. ½” NPT to garden hose adapter (North American
models)
e. Hardware pack
3. Install the rain cap to the top of the flue vent. The rain
cap should fit securely. It is recommended that a beaded
layer of high temperature sealant is used around the
perimeter of the seal between the rain cap and the flue
vent.
4. If using a standard garden hose, attach the ½” NPT to
garden hose adapter to the fitting marked with the blue
arrow (far right connection) on North American models
only. For European models, attached your water source
hose to the far right connection. Use “Teflon” tape or
other approved sealing method on the threads for a
secure, water tight fit. Check to make sure the screen
inside the water inlet is in place and clean. Then attach
your water input/garden hose.
5. Install gas supply line and regulator to the unit. DO NOT
OVER TIGHTEN. OVER TIGHTING MAY CRACK THE
GAS REGULATOR CAUSING A GAS LEAK! Check for
 Loading...