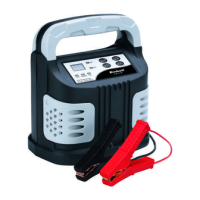
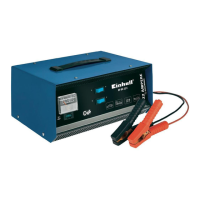
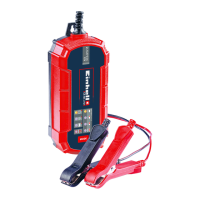
B) LED indictor “Float”
The LED lights up red as soon as the battery is fully
charged and the charger has switched to automatic
maintenance charging.
C) LED indictor “Battery status”
Red: Battery is charged less than 50%
Yellow: Battery is charged between 50% and 85%
Green: Battery is charged between 85% and 100%
D) LED indicator “Fault”
If a fault occurs the LED will light up red (for example
battery inserted with reverse polarity, short circuit,
bad contact between battery poles and charger
clamps).
Notes:
앬 In some cases the charging process is
completed very quickly and the battery is not
able to provide the quoted power output. The
battery has lost some of its capacity and must be
replaced.
앬 If the battery you want to charge has an internal
cell short circuit, the LED FAULT will light up.
Check the battery voltage with a voltmeter. If the
voltage is under 12V, the battery will probably
need to be replaced. If the voltage is higher than
12V, try to charge the battery again.
앬 If the charger indicates nothing and the battery is
not charged, check if the charger is connected to
the mains voltage. Pull the mains plug and check
the battery connections.
앬 Charge the battery only at temperatures over
0°C.
앬 Charge boat batteries only outside of the boat.
앬 The equipment checks the status of the battery
for a number of seconds and then switches to
the correct charge mode.
앬 If a fault (Fault) occurs, switch off the equipment,
rectify the fault and restart the equipment.
Additional instructions on the charging of
batteries outside of vehicles
Before removing a battery always first remove the
connection to the earthed battery poles and make
sure that all consumers are switched off.
When inserting the battery observe the correct
polarity of the battery and start with connecting the
earthed battery pole.
Figure 2:
Release or remove the battery stoppers (if fitted)
from the battery.
Figure 3:
Check the acid level in the battery. If necessary, top
up the battery with distilled water (if possible).
Important. Battery acid is aggressive. Rinse off any
acid splashes thoroughly with lots of water and seek
medical advice if necessary.
Figure 4:
First connect the red charging cable to the positive
pole of the battery.
Figure 5:
Then connect the black charging cable to the
bodywork of the vehicle away from the battery and
the petrol pipe.
Figure 6:
After the battery has been connected to the charger,
you can connect the charger to a socket supplying
230V~50Hz. Do not connect it to a socket that
supplies any other mains voltage.
Important. Charging may create dangerous
explosive gas and therefore you should avoid spark
formation and naked flames whilst the battery is
charging. There is a risk of explosion!
Calculating the charging time
The charging time depends on the charge status of
the battery. If the battery is fully discharged, the
approximate charging time can be calculated using
the following formula:
Battery capacity in Ah
Charging time/h =
Amp. (arithmetic charging current)
24 Ah
Example = = 9,6 h max.
2,5 A
Figure 7:
A high charge can only be identified by measuring
the acid density using an acid tester. Note! Gases
are released during the charging process (bubbles
will form on the surface of the battery fluid). It is
essential that you ventilate the rooms well.
Acid density values (kg/l at 20°C)
1.28 Battery charged
1.21 Battery semi-charged
1.16 Battery discharged
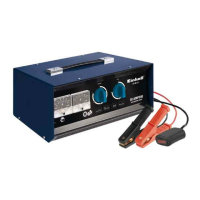
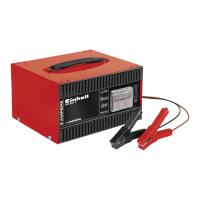
Charging:
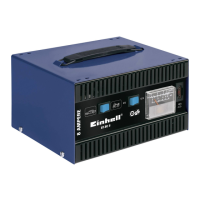
Switch on the equipment with the power switch at the
side of the equipment (Fig. 1 / Item 4) and off again
12
GB