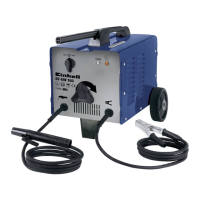
5.2.4 Information about the pressure reducer
(Fig. 4/19)
The gas delivery rate can be adjusted using the
rotary knob (24). The set gas delivery rate can be
read off the pressure gage (20) in liters per minute
(l/min). The gas is discharged at the shielding gas
hose connector (23) and is then forwarded to the
welding set through the shielding gas hose (Fig.
3/18). (see 5.2.3)
Important. Always proceed as described in point
6.1.3 for setting the gas delivery rate.
The pressure reducer is fitted on the gas bottle using
the screw connector (21) (see 5.2.3).
Important. The pressure reducer may only be
adjusted and repaired by trained personnel. Send
defective pressure reducers to the service address if
necessary.
5.3 Mains connection
Before you connect the equipment to the mains
supply make sure that the data on the rating
plate are identical to the mains data.
The equipment may only be operated from
properly earthed and fused shock-proof sockets.
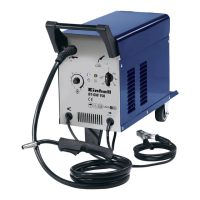
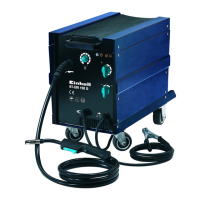
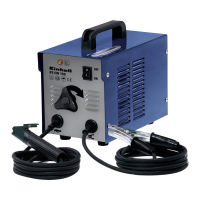
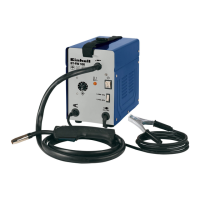
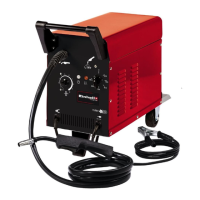
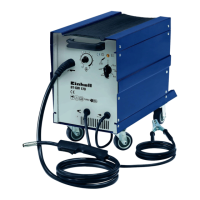
5.4 Fitting the wire spool (Fig. 1, 5, 6, 26 – 34)
The wire spool is not supplied.
5.4.1 Wire types
Various welding wires are required for different
applications. The welding set can be used with
welding wires with a diameter of 0.6 and 0.8 mm.
The appropriate feed rollers and contact tubes are
supplied with the set. The feed roller, contact tube
and wire cross-section must always match each
other.
5.4.2 Wire spool capacity
Wire spools with a maximum weight of 5 kg can be
fitted in the welding set.
5.4.3 Inserting the wire spool
Open the housing cover (Fig. 2/4) by pushing the
handle for the housing cover (Fig. 2/27)
backwards and opening the housing cover (Fig.
2/4).
Check that the windings on the spool do not
overlap so as to ensure that the wire can be
unwound evenly.
Description of the wire guide unit (Fig. 26-27)
A Spool lock
B Spool holder
C Cam pin
D Adjusting screw for roller brake
E Screws for feed roller holder
F Fee roller holder
G Feed roller
H Hose package mounting
I Pressure roller
J Pressure roller holder
K Pressure roller spring
L Adjusting screw for counter-pressure
M Guide tube
N Wire spool
O Cam opening in wire spool
Inserting the wire spool (Fig. 26, 27)
Place the wire spool (N) on the spool holder (B).
Ensure that the end of the welding wire is unwound
on the side of the wire guide, see arrow.
Ensure that the spool lock (A) is pushed in and the
cam pin (C) is engaged in the cam opening in the
wire spool (O). The spool lock (A) must engage
again over the wire spool (N). (Fig. 27)
Inserting the welding wire and adjusting the wire
guide (Fig. 28-34)
Push the pressure roller spring (K) upwards and
swing it forwards (Fig. 28).
Pull the pressure roller holder (J) with the
pressure roller (I) and pressure roller spring (K)
downwards (Fig. 29).
Undo the screws for the feed roller holder (E)
and pull off the feed roller holder (F) upwards
(Fig. 30).
Check the feed roller (G). The appropriate wire
thickness must be specified on the top of the
feed roller (G). The feed roller (G) is fitted with
two guide grooves. Turn the feed roller (G) over
if necessary or replace it. (Fig. 31)
Position the feed roller holder (F) again and
secure it.
Remove the gas nozzle (Fig. 5/12) from the
burner (Fig. 5/13) by turning it clockwise,
unscrew the contact tube (Fig. 6/26). (Fig. 5 – 6).
Place the hose package (Fig. 1/11) on the floor
as straight as possible pointing away from the
welding set.
Cut off the first 10 cm of the welding wire to
produce a straight cut with no shoulders, warping
or dirt. Deburr the end of the welding wire.
Push the welding wire through the guide tube (M)
between the pressure and feed rollers (G/I) into
the hose package mounting (H). (Fig. 32)
Carefully push the welding wire by hand into the
20
GB
 Loading...