D
Daniel YoungAug 18, 2025
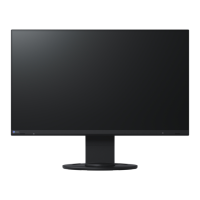
How to adjust brightness on Eizo FlexScan EV2460-BK Monitor?
- DDan GilbertAug 18, 2025
If your Eizo monitor's screen is too bright or dark, use the Brightness or Contrast settings in the Setting menu to adjust it. If the screen is too bright, you can also try turning the Auto EcoView setting to On, which allows the monitor to automatically adjust the screen brightness based on ambient lighting.