CONTENTS
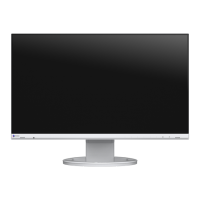
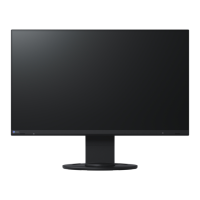
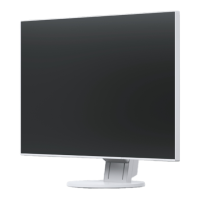
Chapter 1 Features and Overvie
w
1-1 Features
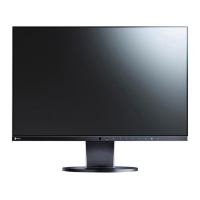
1-2 Controls and Function
s
1-3 Compatible Resolutions/Frequencie
s
1-4 Functions and Basic Operatio
n
Chapter 2 Settings and Adjustments
2-1 Utility Disk
2-2 Screen Adjustmen
t
2-3 Color Adjustmen
t
2-4 Adjusting Volum
e
2-5 Turning off the audio output at Power Saving
mode
2-6 Setting On/Off for the automatic brightness
adjustment functio
n
2-7 Setting On/Off for Power Saving mod
e
2-8 Turning off the monitor automaticall
y
2-9 Displaying the level of power saving
by EcoView Inde
x
2-10 Screen Size Selectio
n
2-11 Setting Adjustment Menu Display
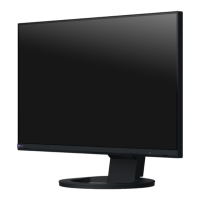
2-12 Setting Orientatio
n
2-13 Locking Button
s
2-14 Displaying Monitor Informatio
n
2-15 Enabling/Disabling DDC/CI communicatio
n
2-16 Setting Power Indicator ON/OF
F
2-17 Setting Languag
e
2-18 Setting EIZO logo display ON/OF
F
2-19 Resuming the Default Settin
g
Chapter 3 Connecting Cables
3-1 Connecting Two PCs to the Monitor
3-2 Adjusting the DVI Input Leve
l
Chapter 4 Troubleshooting
Chapter 5 Referenc
e
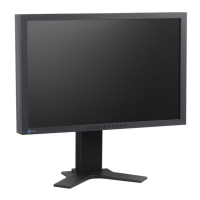
5-1 Attaching an Arm
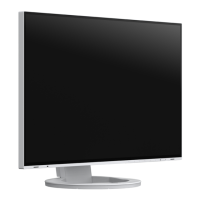
5-2 Folding the EZ-UP stan
d
5-3 Specications
5-4 Glossary
5-5 Preset Timin
g
Important
Please read PRECAUTIONS, this User’s
Manual and Setup Guide (separate volume)
carefully to familiarize yourself with safe and
effective usage.
The latest User’s Manual is available for
download from our site:
http://www.eizo.com
How to Setup
Please read the Setup Guide (separate volume)