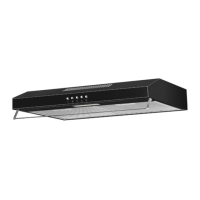
3
ASSEMBLY INSTRUCTIONS
Please check the following before installation:
• Installation of cooker hood must be carried out by an authorized or qualified
technician.
• Remove all packaging materials from the cooker hood. Check and make sure
that the cooker hood is not damaged.
• Please ensure the power supply has switched OFF when installing the cooker
hood.
• For optimum air extraction, avoid having too many windows surrounding the
cooker hood which will cause air convection.
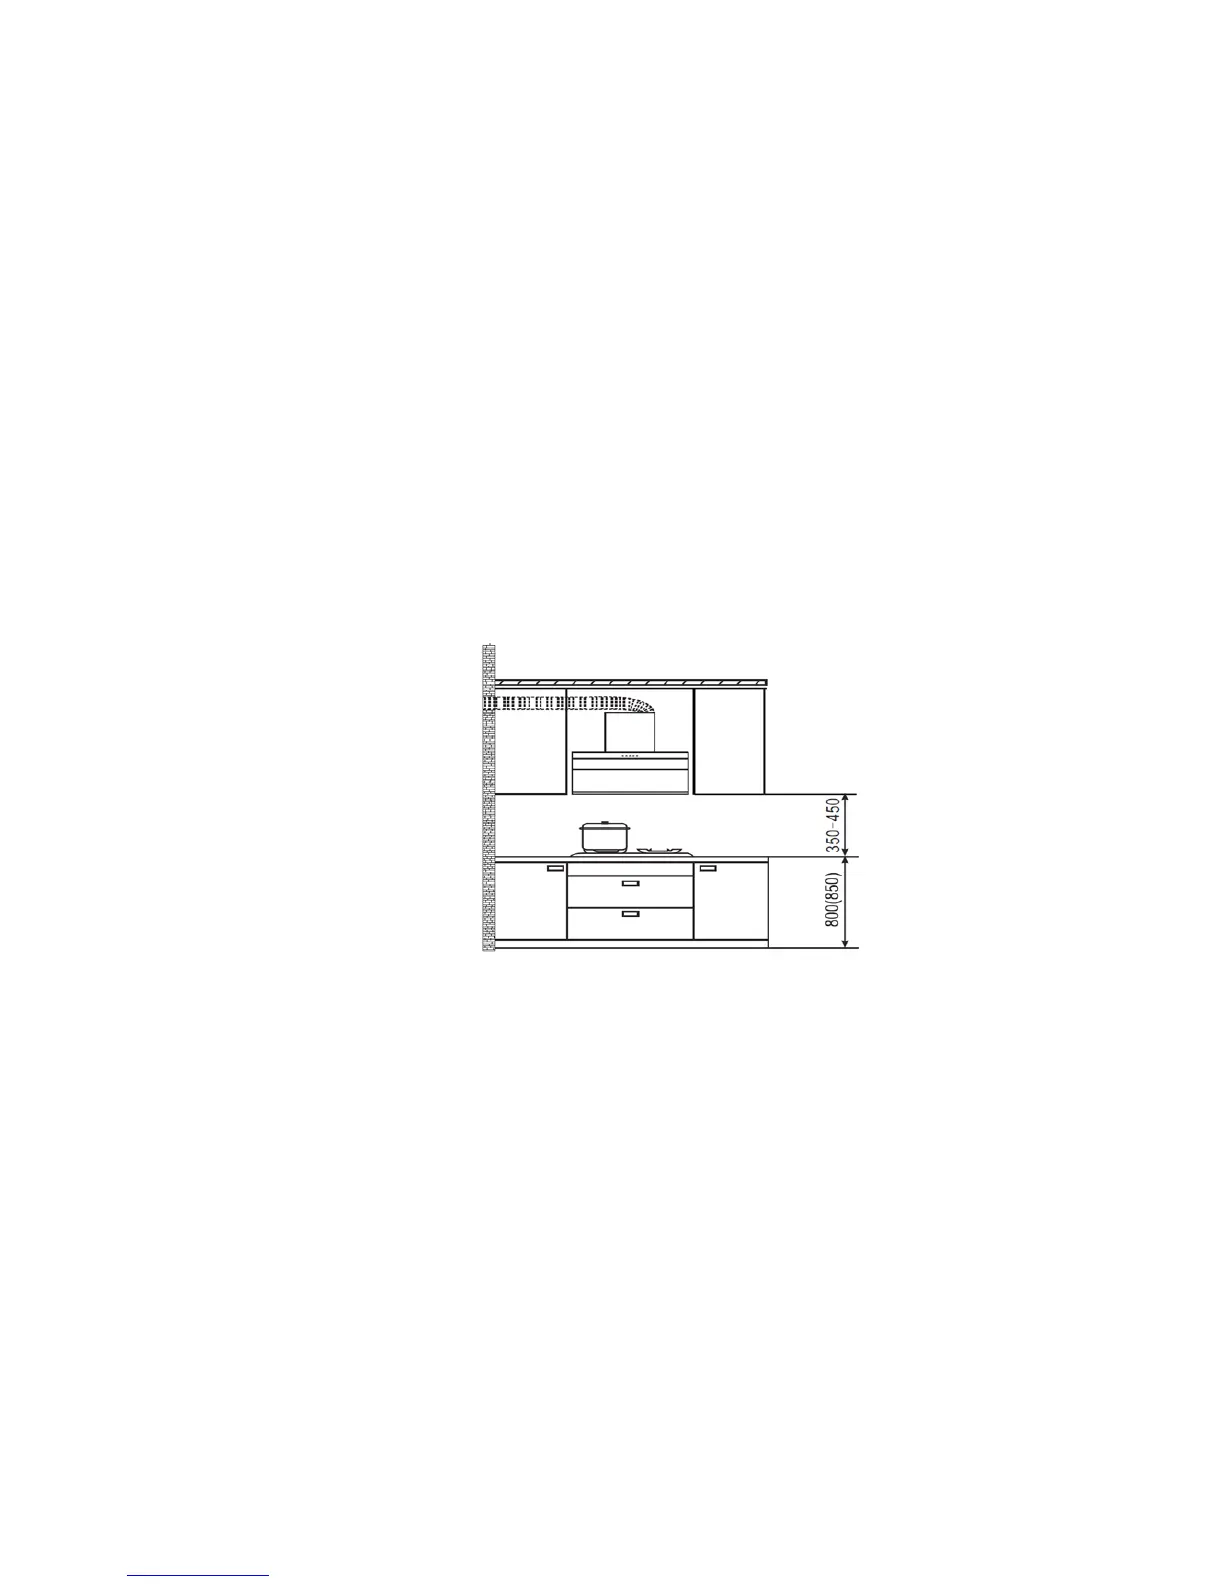
• The optimum height for the installation is between 350 to 450mm which is
measured from the bottom of the cooker hood to the top of the hob.
• Make sure the hood is in level after installation to avoid oil spill over from the oil
cup.
• Before installing, determine the height between the bottom of the cooker hood
to the top of the hob. Mark on the wall to suit the bracket locations.
• Drill 4 holes with diameter of Ø8mm and 60mm deep. Insert the screw anchors
into the holes. Fix the mounting bracket and tighten the screws.
• Remove the horizontal oil cup. Hang the cooker hood on the mounting bracket
and make sure the cooker hood is in level.
• Fix the exhaust ducting on the cooker hood. Install the oil cup on the cooker
hood.
• Install the telescopic exhaust cover to the height required.
• Before connecting to the mains supply, ensure that the mains voltage
corresponds to the voltage on the rating plate of the cooker hood.