28 ELECRAFT
Front Panel Final Assembly
Locate the front panel chassis piece. Place it on a soft cloth
to protect the finish and labeling.
i
In the following step, the paint masking material
will be removed from the inside of the front panel. The
masking material is usually green, but may appear gray
because of paint overspray. DO NOT remove the masking
material from the other chassis pieces at this time.
Some holes in the front panel were masked on the inside
surface during painting. If masking tape (usually green in color) is
still present, you'll need to remove it. The holes that are masked
are in the four corners, along the top and bottom edges.
Masking tape should be removed as follows:
Using a blunt instrument such as a ball-point pen, push on the
tape through a hole until the tape begins to lift away from the
surface.
Peel the tape completely off, using a sharp tool if necessary. Be
careful not to nick or scratch the outer surface of the panel.
After removing any masking tape, place the front panel
chassis piece face-down, with the large, round microphone jack hole
on the right.
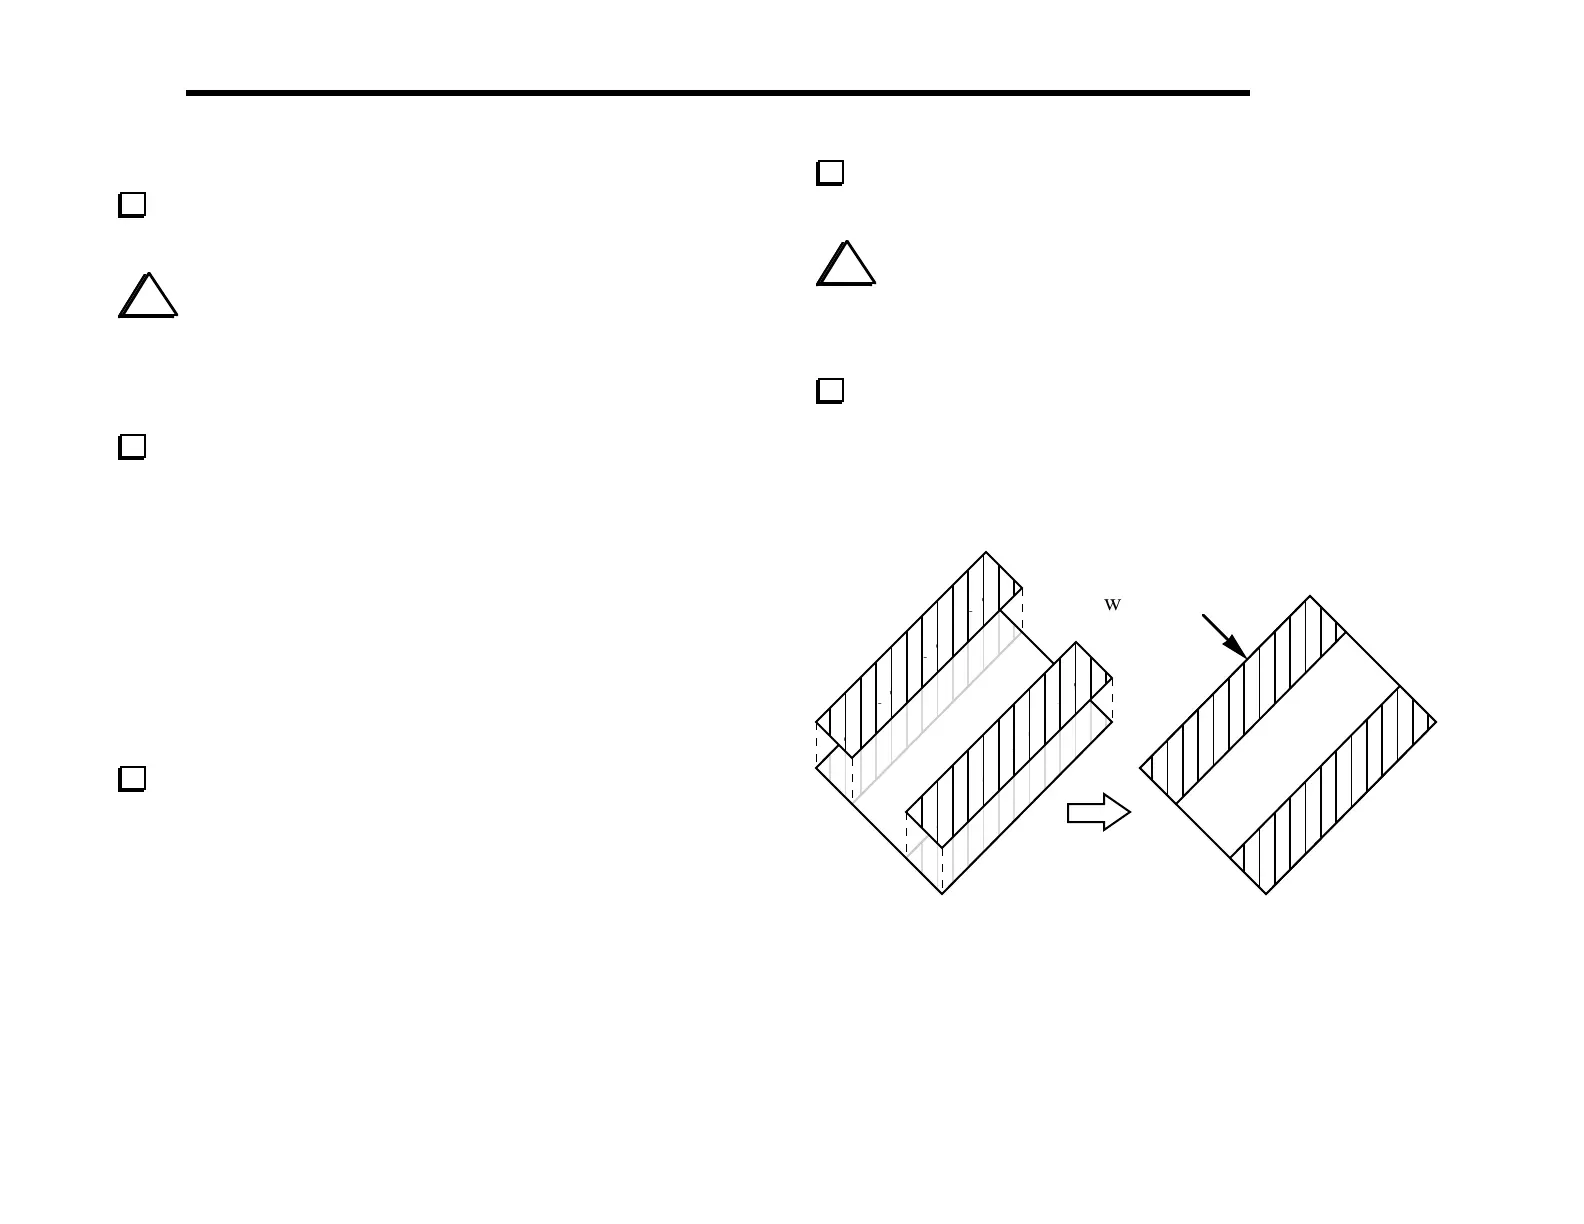
Locate the green plastic bargraph filter and two pieces of
double-backed tape. These items will be found in a small bag.
i
Caution: The adhesive on the double-backed tape is
very strong. Once you position the tape on the green filter,
you will not be able to remove it. Be very careful to align
the tape with the long edges of the filter as explained below.
Remove the white paper backing from one side of each piece
of tape. Attach the tape to the long edges of the green filter
(Figure 5-13). Be careful not to get any adhesive on the center
portion of the filter, since it might be visible after installation.
align edge of tape
with filter
Figure 5-13