Page 17 of 24
USING THE COMFORT KIT (AVAILABLE SEPERATELY)
The optional comfort kit must be installed by qualified personnel
using appropriate fixings for the type of material in which is sited.
Only connect the comfort kit wire to the unit after is fully installed and
while the air conditioner is turned off with the plug removed from the
electrical socket.
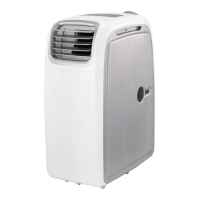
The optional Comfort Kit allows the air conditioner to be used in
spaces where there is not enough space to fit a standard portable
air conditioner. It allows the Airflex 15 to be placed outside the
room to cool. The air conditioner can then cool or heat the space
via the Comfort Kit which acts also as a wired remote and a
remote extender for the original remote. By moving the unit
outside the room the noise of the portable unit is significantly
decreased.
The Comfort Kit is available from your original retailer and
manufacturer under stock code: AIRFLEX15V2-Comfortkit
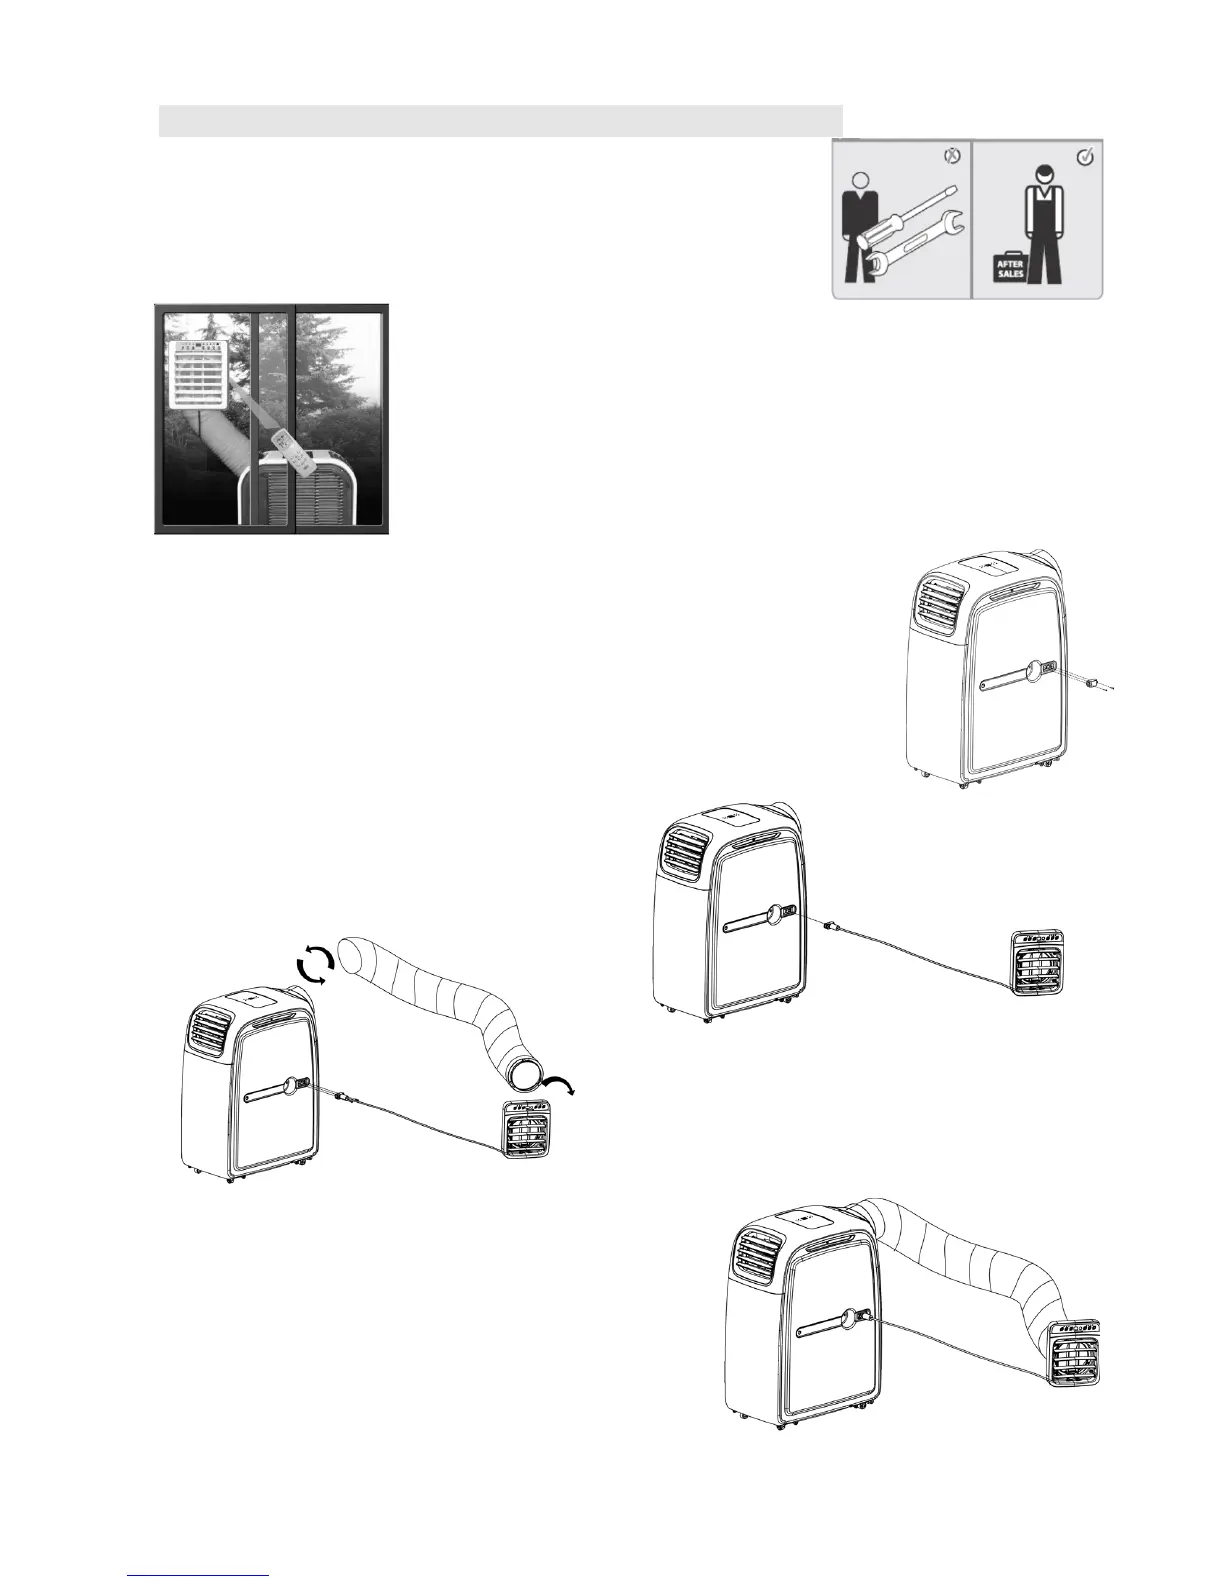
CONNECTING THE COMFORT KIT
1. Remove the blanking plate from the side of the air conditioner by
removing the two screws holding it in place.
2. Attach the comfort kit in position in the room, ensuring there is
space behind, to allow both the vent pipe and communication wire
to be routed to the Airflex15
3. Attach the wire from Comfort Kit to the
side of the air conditioner. This both
provides power to the Comfort Kit, and
communicates when the remote or
buttons on the Comfort Kit are used.
4. Attach one end of the exhaust hose onto
the back of the comfort kit by twisting it
into position. The opposite end of the
hose should then be attached to the hot
air outlet on the air conditioner for
heating or the Cold air outlet for cooling.
Your Comfort Kit is now ready to use. Both the remote
supplied with the air conditioner, and the buttons on the
Comfort Kit can be used to control the operation of the
air conditioner.
Note: We would advise for the unit to be situated
indoors when using the heating function, to ensure
efficient performance of the unit.