ENGLISH 35
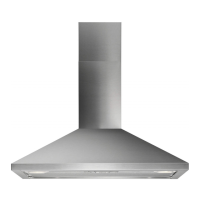
Hood body installation
• Before attaching the hood body, tighten the
two screws Vr located on the hood body
mounting points.
• Hook the hood body onto the screws 12a.
• Fully tighten support screws 12a.
• Adjust screws Vr to level the hood body
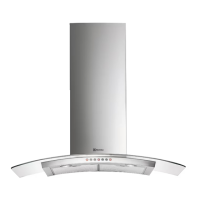
Connection in Ducting Version
When installing the ducting version, connect
the hood to the chimney using either a exi-
ble or rigid pipe ø 150 or 125 mm, the choice
of which is left to the installer.
To install a ø 150
• To install the dumper 10a.
• Fix the pipe in position using sufcient pipe
clamps (not supplied).
To install a ø 125
• To install a ø 125 mm air exhaust con-
nection, insert the reducer ange 9 on the
dumper 10a.
• To install the Adapting ring 10b.
• Fix the pipe in position using sufcient pipe
clamps (not supplied).
• Remove any activated charcoal lters.
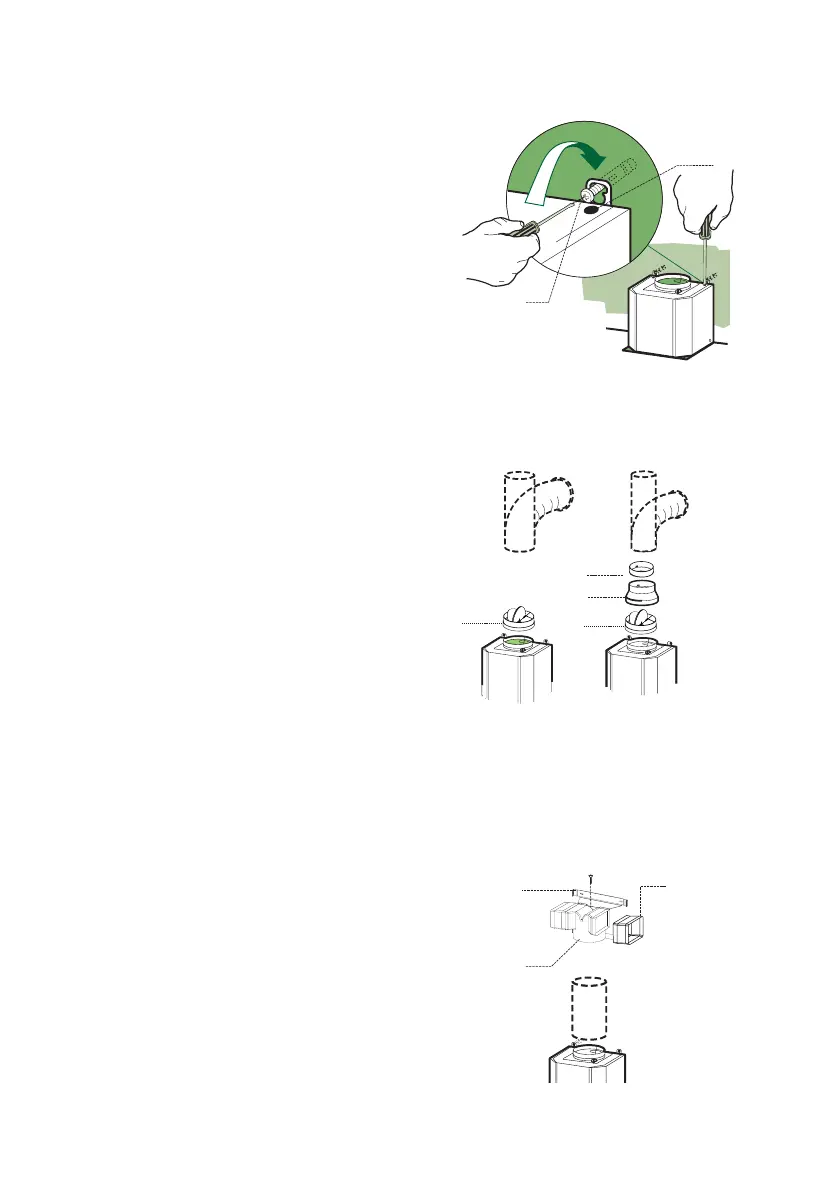
Connection in Recycling Version
• Insert the connection extension pieces laterally
14.1 in connec-tion 15.
• Insert the Connector 15 into the Support bracket
7.3 and x it with a screw.
• Make sure that the outlet of the extension pieces
14.1 is hori-zontally and vertically aligned with
the chimney outlets.
• Connect the air outlet connection 15 to the hood
body outlet using either a exible or rigid pipe
ø 150 mm, the choice of which is left to the in-
staller.
• Ensure that the activated charcoal lters have
been inserted.