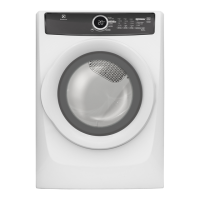
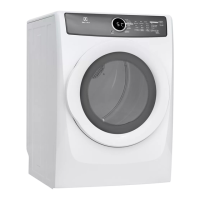
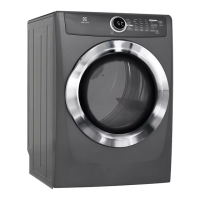
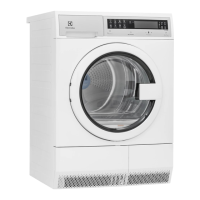
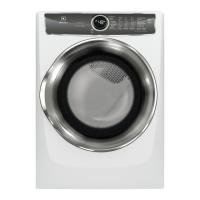
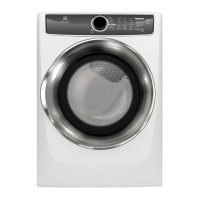
This document is a Use & Care Guide for an Electrolux Compact Ventless Dryer.
Function Description
The Electrolux Compact Ventless Dryer operates on a condensation drying principle, differing from traditional exhaust ducted dryers. It does not require external exhaust venting. The drying process involves a closed-loop circuit where air is heated by an internal element, passes through clothes, then moves through a lint filter and a heat exchanger acting as a condenser. A secondary fan cools the warm, moist air using ambient room air, causing moisture to condense and collect in a recovery basin. This collected water can either be pumped down a drain using a provided kit or collected in a tank that needs to be emptied after each drying cycle.
Important Technical Specifications
- Drying Principle: Condensation, ventless.
- Electrical Requirements: Designed and certified to operate at both 240V and 208V. Drying times on a 208V power supply will be approximately 20% longer than on a 240V supply.
- Electrical Connection: Requires a UL-approved service cord (not provided with the unit, except for Canada) for electric dryers. Options include 10-30R 3-wire (fused 30 amp) or 14-30R 4-wire (fused 30 amp).
- Power Pass-Through: Features an outlet on the rear for use only with specific 120V Electrolux compact washer models: EFLS210TIW, EFLS210TIS, ELFW4222AW. This is not a general use receptacle.
- ENERGY STAR® Partner: Electrolux Major Appliances has determined this product meets ENERGY STAR® guidelines for energy efficiency.
Usage Features
Control Panel and Display:
The dryer features a control knob for cycle selection, an LED display, and various option buttons. The display shows estimated drying time for Auto Dry cycles or actual drying time for Timed Dry cycles, as well as maintenance indicators.
Cycle Selection:
Users turn the cycle selector to choose a desired drying program. Default settings and options are automatically indicated for the selected cycle. Available cycles include:
- Auto Dry Cycles:
- Normal: For cotton items.
- Heavy Duty: For durable fabrics like jeans and overalls.
- Delicates: For knits and delicate items.
- Casual: For cottons and blends with a no-iron finish.
- Mixed Load: For loads containing a mix of fabrics.
- Instant Refresh: To remove wrinkles from clean, dry items, providing 10 minutes of low heat tumbling followed by a 25-minute cool down.
- Towels: For heavy loads like towels and non-rubber-backed bath mats.
- Jeans: For denim jeans.
- Fast Dry: For small loads.
- Activewear: For lightweight synthetic athletic apparel.
- My Favorite: A customizable cycle where users can save preferred settings (temperature, dryness level, options) from an existing dry program.
- Timed Dry Cycles:
- Time Dry: Allows manual selection of drying time (30 to 90 minutes). Moisture sensing bars are not active in this mode.
Cycle Settings:
- Drying Temperature: Options include High, Normal, Low, and Air Dry. Not all temperatures are available for every cycle to protect fabrics.
- Dryness Level (Auto Dry): Options include Standard (default), More Dry (increases time by approx. 10%), Max Dry (increases time by approx. 20%), Less, and Damp. Not all dryness levels are available for every cycle. The default dryness level can be adjusted.
Cycle Options:
- Eco Mode: Runs a more eco-friendly cycle with reduced temperature, resulting in longer cycle times.
- Extended Tumble: Provides an additional 30 minutes of tumbling without heat after the cycle ends to reduce wrinkling. The drum reverses direction every 2 minutes.
- Wrinkle Release: Offers 30 minutes of short intermittent tumbling after the cycle to reduce wrinkles. The drum tumbles for a few seconds in each direction, then rests.
- Control Lock: Prevents accidental starting or stopping of the dryer.
- Mute Sound: Silences the end-of-cycle tone and periodic beeps during extended tumble and wrinkle release.
- Delay Start: Allows delaying the start of a cycle for up to 6 hours, convenient for scheduling or off-peak energy hours.
General Usage Tips:
- Dry similar fabrics, weights, and constructions together.
- Separate dark items from light, and lint-shedding items from lint-attracting items.
- Check for and re-wash stained items before drying to prevent permanent setting of stains.
- Use mesh bags for delicate, rubber-coated, or small items.
- Ensure buckles, buttons, and trim are heatproof and zippers are closed to prevent damage.
- Load items loosely, filling the drum 1/3 to 1/2 full for optimal tumbling and less wrinkling.
- For large items, dry only two or three at a time, adding smaller items to fill the load.
- For delicate or very small loads, add two or three similar items to improve tumbling.
- Remove items immediately after the cycle to prevent wrinkles.
- For single large/bulky items, pause the cycle to turn the item "inside out" for maximum drying effectiveness.
- DO NOT overload the dryer.
- DO NOT over-dry, as it can cause wrinkles, shrinkage, lint, and static electricity.
Reversible Door:
The dryer door can be hinged on either the right or left side.
Maintenance Features
Lint Filter:
- Cleaning: Must be cleaned before or after every load. The "CLEAN LINT" indicator will illuminate as a reminder. Remove by pulling straight up, open the filter grille, remove trapped lint, and clean with hot water if necessary.
- Build-up Removal: Waxy build-up from fabric softener sheets on the lint filter or moisture sensing bars can be removed by washing with warm, soapy water.
- Operation: DO NOT operate the dryer without the lint filter in place.
Water Container (if direct drain kit not installed):
- Emptying: Must be emptied after every load. The "EMPTY WATER CONTAINER" indicator will illuminate as a reminder, or if the container becomes full during a cycle. Support the container, pull it out, and dump the water in a sink or drain.
- Nozzle: Extend the nozzle all the way out to ensure all water is emptied.
- Safety: DO NOT drink or prepare food with the condensed water.
Condenser Assembly:
- Cleaning: The "CLEAN CONDENSER" indicator will illuminate as a reminder. Open the dryer door, locate the top of the condenser access door, pull it open, rotate two latches to lower the retention panel, grab the condenser handle, and pull it straight out. Rinse the condenser in a sink, cleaning with mild soap and water if necessary. Push the condenser back in place, close the retention panel, and rotate the latches back down.
Dryer Interior:
- Cleaning: If the drum becomes stained from non-colorfast fabrics, clean with a damp cloth and a mild liquid household cleanser. Remove cleanser residue before drying the next load.
- Safety: Unplug the electrical power cord before cleaning the interior. DO NOT use any type of spray cleanser.
Dryer Exterior:
- Cleaning: Clean the cabinet with mild soap and water. Avoid harsh, gritty, or abrasive cleansers.
- Condenser Door Area: Remove debris and lint from the front of the condenser door with a vacuum cleaner.
- Residue: Remove glue residue from tape or labels with warm water and mild detergent, or by touching with the sticky side of the tape.
- Moving: Place a strip of cardboard or thin fiberboard under the front leveling legs to prevent floor damage when moving the dryer.
Professional Maintenance:
- The interior of the dryer, lint screen housing, and exhaust duct (if applicable, though this is a ventless dryer, internal ducts may exist) should be cleaned approximately every 18 months by qualified service personnel to prevent lint build-up and inefficient drying.
Troubleshooting:
The manual includes a "Solutions to Common Problems" section for issues like greasy stains, lint, pilling, shrinking, wrinkling, and alarm codes (e.g., AL 50 for motor overload, AL 97 for internal communication disrupt, AL H0 for power supply issue).