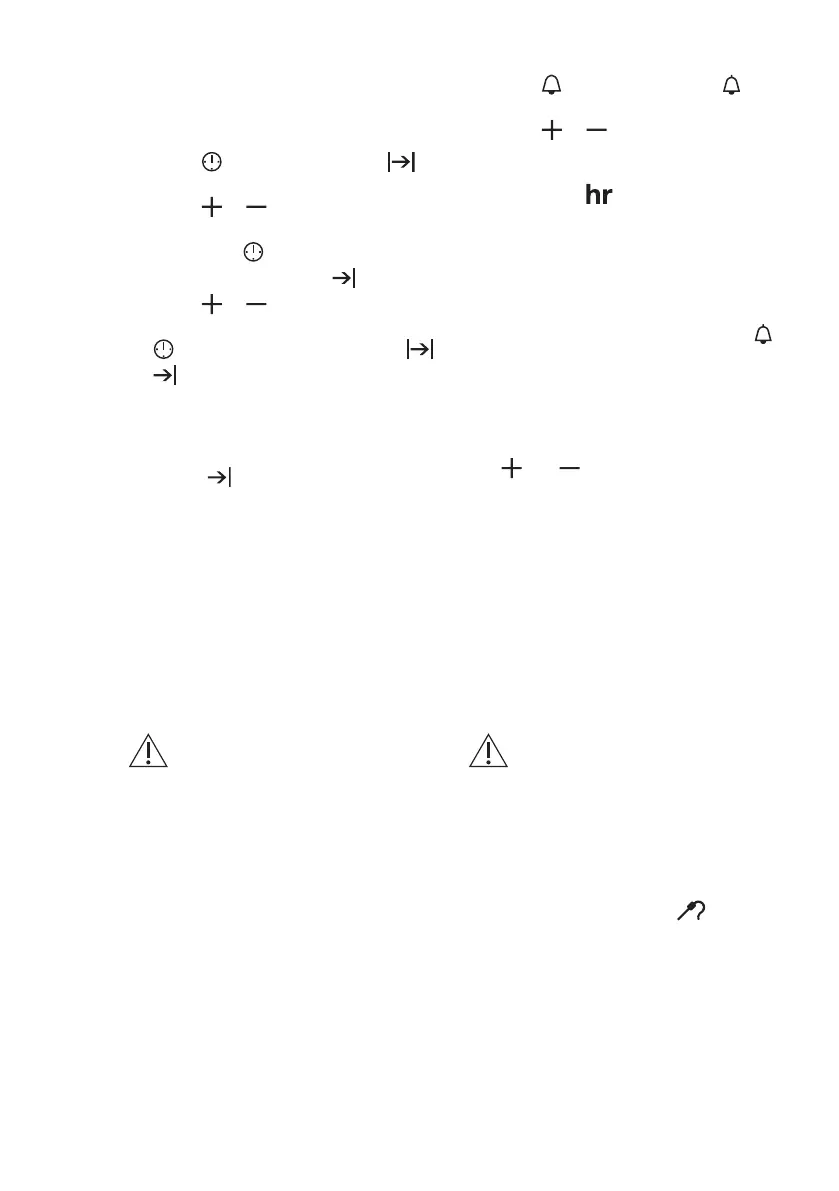
7.5 Setting the TIME DELAY
function
1. Set a heating function.
2. Press
again and again until
starts to flash.
3. Press or to set the minutes
and then the hours for DURATION
time. Press to confirm.
The display shows flashing
.
4. Press or to set the hours and
then the minutes for END time. Press
to confirm. The display shows
and the set temperature.
Oven turns on automatically later on,
works for the set DURATION time and
stops at the set END time.
At the set END time the signal sounds for
2 minutes.
and time setting flash in
the display. The oven turns off.
5. Press any button to stop the signal.
6. Turn the knobs to the off position.
7.6 Setting the MINUTE
MINDER
Minute minder can be both set when the
oven is turned on and off.
1. Press
again and again until and
"00" flash in the display.
2. Press or to set the seconds
and than the minutes.
When the time you set is longer than
60 minutes,
flash in the display.
3. Set the hours.
4. The MINUTE MINDER starts
automatically after 5 seconds.
After 90% of the set time the signal
sounds.
5. When the set time ends the signal
sounds for 2 minutes. "00:00" and
flash in the display. Press any button
to stop the signal.
7.7 COUNT UP TIMER
To reset the Count Up Timer, press and
hold and . The timer starts to count
up again.
8. USING THE ACCESSORIES
WARNING!
Refer to Safety chapters.
8.1 Using the core temperature
sensor
The core temperature sensor measures
the core temperature of the meat. When
the meat is at the set temperature, the
oven turns off.
There are two temperatures to be set:
• The oven temperature. Refer to the
table for roasting.
• The core temperature. Refer to the
table for the core temperature sensor.
CAUTION!
Only use the core
temperature sensor supplied
with the oven, or genuine
replacement parts.
1. Set the oven function and the oven
temperature.
2. Put the point of the core temperature
sensor (with the symbol on the
handle) into the centre of the meat.
3. Put the plug of the core temperature
sensor into the socket on the top of
www.electrolux.com12