Do you have a question about the Electrolux ESI and is the answer not in the manual?
Read all instructions before using this appliance. Save these instructions for future reference. Pay attention to symbols and follow all instructions.
Proper installation by a qualified technician. User servicing should only be done by a qualified technician.
Never allow children to play with packaging. Do not leave children alone. Do not allow children to climb or play around the range.
Do not touch hot surface units, areas near units, heating elements, or interior oven surfaces.
Do not use water or flour on grease fires. Watch fat/grease closely. Use only dry potholders. Do not heat unopened food containers.
All ranges can tip. Install anti-tip device packed with range. Check if bracket is installed properly.
Do not use the oven or warmer drawer for storage. Stepping, leaning or sitting on doors/drawers can cause injury or tipping.
Use proper pan size to cover heating element. Turn utensil handles inward to reduce burn risk.
Never leave surface units unattended at high heat. Do not immerse heating elements. Use proper utensils for cooktop.
Stand to the side when opening hot oven door. Keep oven vent ducts unobstructed.
Always place oven racks in desired location while oven is cool. Use caution when moving hot racks.
Turn Temperature Control Knob to desired temp. Push START. Oven heats to temp and beeps 3 times. Turn knob to OFF to cancel.
Set clock, place food, set temperature, push BAKE TIME, set duration, push START.
Set clock, place food, set temp, push BAKE TIME, set duration, push STOP TIME, set stop time, push START.
Use broiler pan with grid. Do not use without grid or cover grid with foil. Exposed fat can ignite.
Allow oven to cool before precleaning. Wear rubber gloves. Do not use oven cleaners or coatings.
Do not clean the oven door gasket. It is essential for a good seal. Do not rub, damage or remove.
Remove broiler pan, utensils, foil. Oven racks may be left in or removed. Remove excess spillovers.
Ensure door is closed. Turn knob to CLEAN. Push START. Lock motor closes door automatically.
Ensure door is closed. Turn knob to CLEAN. Push START for 3-hour cycle or 2-hour cycle. Lock motor closes door.
LOCK light glows. Door unlocks after cooling for 1 hour. Open door when LOCK light is off.
Turn knob to OFF. Allow oven to cool for 1 hour. Correct cause of smoke/fire. Restart cycle after correction.
Hold START for 30 sec. Turn knob to HI/LO Broil. Adjust temp by 35°F in 5°F steps using START. Turn knob to OFF.
Hold START for 30 sec. Turn knob to HI/LO Broil. Display shows offset. Adjust temp by 35°F in 5°F steps using UP/DOWN ARROWS. Turn knob to OFF.
Check control settings. Cycle may have been interrupted. Clean areas outside self-clean zone before cycle.
| Brand | Electrolux |
|---|---|
| Model | ESI |
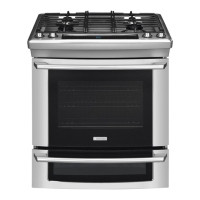
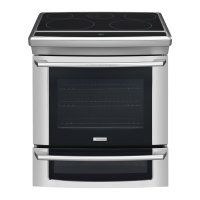
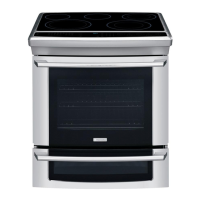
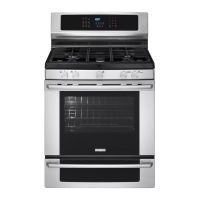
| Category | Ranges |
| Language | English |