■ ■ ■
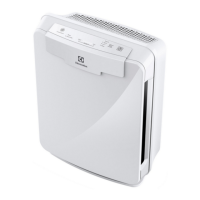
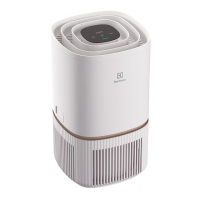
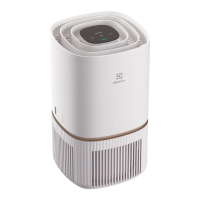
EAP150
G. AIR QUALITY SENSOR: Automatically monitors the air
quality level.
H. Reset: Resets the “Check Filter” indicator light.
I. Check Filter indicator:
J. AIR QUALITY indicator:
K. Fan speed indicator:
Fan speed selector:
M. On-O:
■ ■ ■
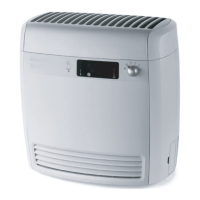
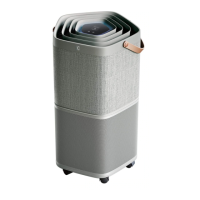
EAP300, EAP450
I. AIR QUALITY SENSOR: Automatically monitors the air
quality level and adjusts fan speed accordingly when in
“A U TO ”.
J. Reset: Resets the “Check Filter” indicator light.
K. Check Filter indicator:
AUTO: Automatically adjusts the fan speed according to the
amount of impurities.
M. PlasmaWave™: Shows that the technology is active.
N. AIR QUALITY indicator:
O. Fan speed indicator:
P. Fan speed selector:
Q. On-O:
R. LIGHT SENSOR: Dims the control panel lights and sets the
■ ■ ■
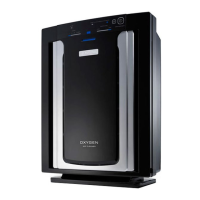
EAP150, EAP300, EAP450
Place the unit away from drafty areas, as the sensors may not
react accurately. Do not place near curtains, furniture, or other
surface.
1.
2. Remove the front panel by pulling gently from the lower
portion of the panel.
Do not force; the panel should remove easily.
■ ■ ■
EAP150
3.
plastic wrapper.
the front of the unit.
5.
6. Replace the front panel by hooking the panel on the top of
the unit. Swing the panel in by pushing gently on each side
of the unit and then lock it into place.
■ ■ ■
EAP300
3.
plastic wrapper.
4.
the front of the unit.
5. Install the Carbon Pre-Filter onto the plastic frame by
pushing against all “hook and loop” squares on the back of
the frame.
6. Install the plastic frame by inserting tabs up into the air
cleaner and gently pushing in at the bottom tab until the
Replace the front panel by hooking the panel on the top of
the unit. Swing the panel in by pushing gently on each side
of the unit and then lock it into place.
■ ■ ■
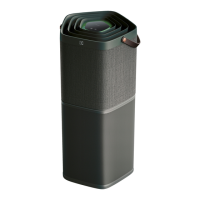
EAP450
3. Remove the Filter Cassette and remove the plastic wrapper
from it.
4. Install the Filter Cassette by inserting tabs up into the air
cleaner and gently pushing in at the bottom tab until the
5. Replace the front panel by hooking the panel on the top of
the unit.
6. Swing the panel in by pushing gently on each side of the
unit and then lock it into place.
■ ■ ■
EAP150, EAP300, EAP450
7. Plug the power cord into a wall outlet.
8. Press and hold the POWER button until a short “beep” sound.
9. The air cleaner will take 3~4 minutes to calibrate the air
■ ■ ■
EAP300, EAP450
10. Once the sensor has calibrated, the lights will be on “AUTO”
mode.