9
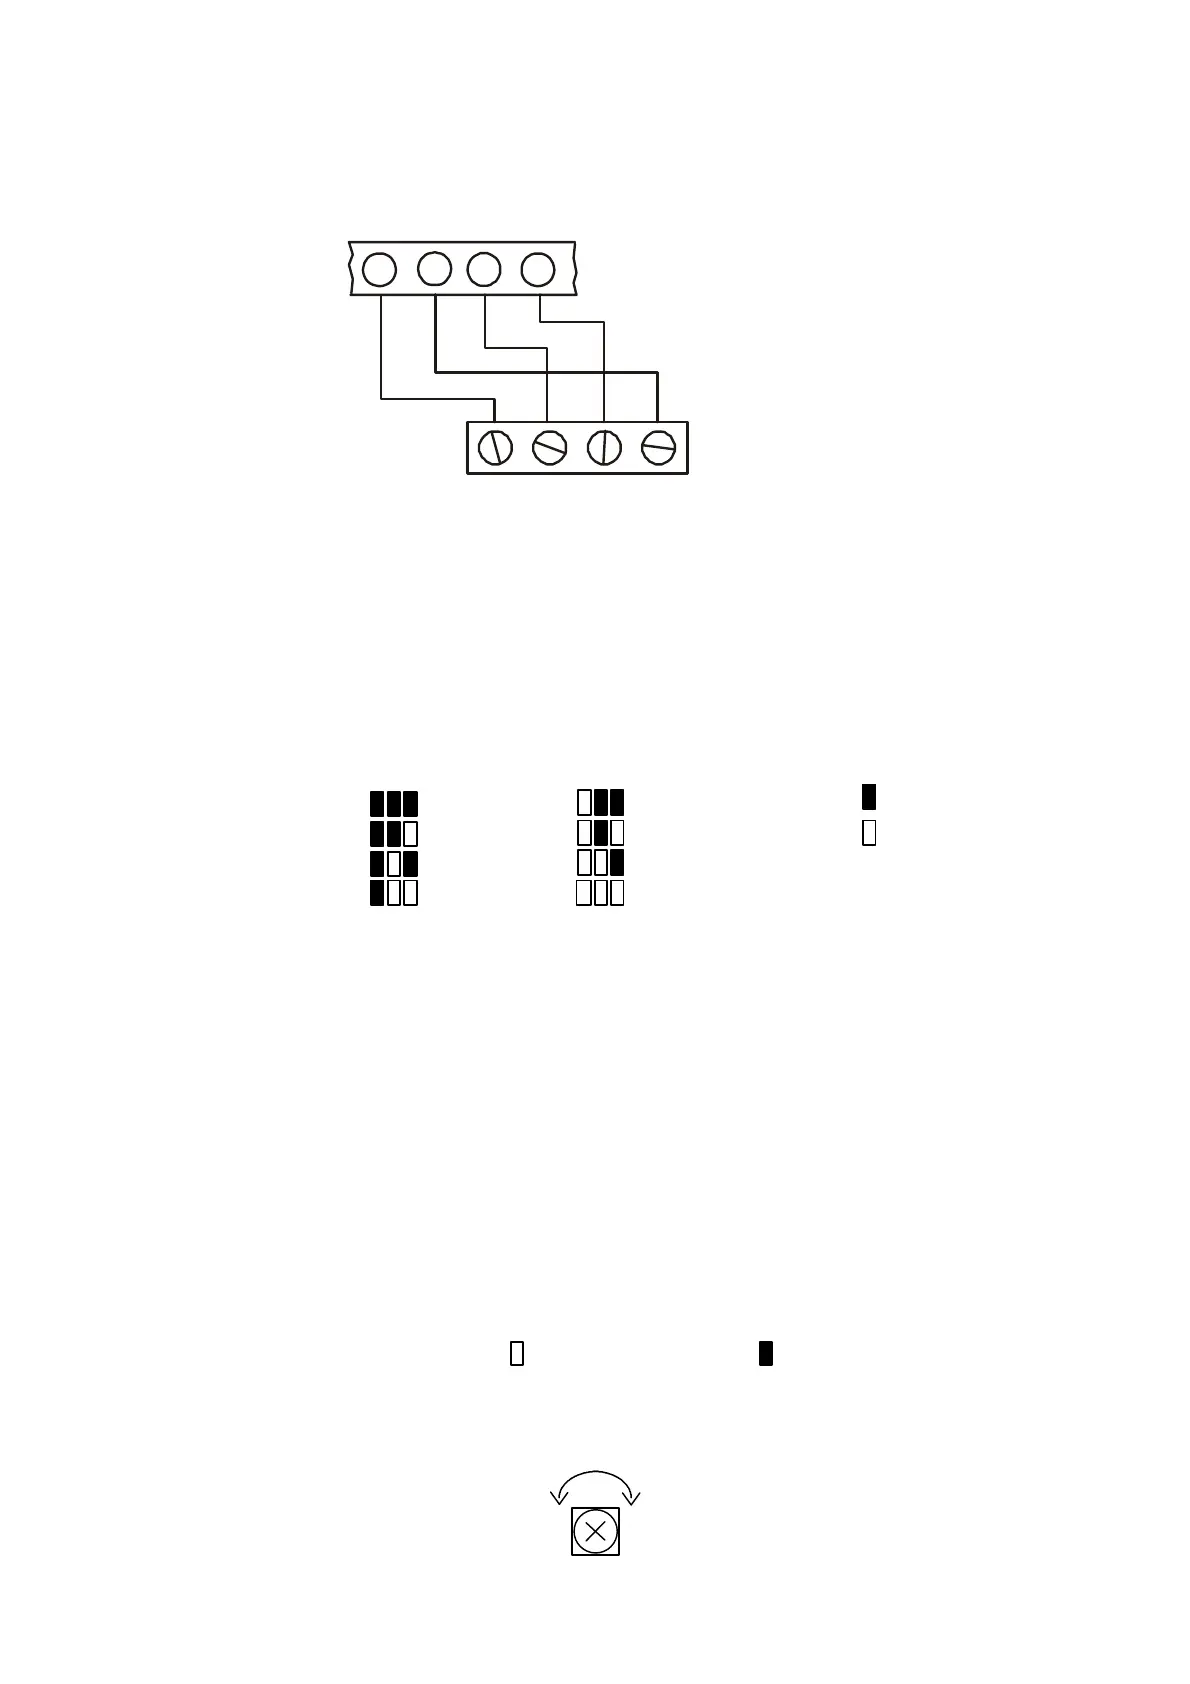
Keypad Wiring Connections
GNDVDD
-
+
GND
-
+
LSCP
BLACK
RED
GREEN
KEYPAD
5 6 7
8
Keypad unit address
Up to eight individually addressed supervised keypads can be installed with the control panel. If more than
one keypad is installed with same unit address, all keypads must be configured as unsupervised.
To configure the keypad unit address:
1. Using a small flat-head screwdriver, open the back cover of the keypad.
2. Locate the jumpers marked “CBA”.
3. Install the jumpers according to the diagram below.
4. Disconnect and reconnect the power supply.
On LED keypads, the keypad’s system defines which zone expander is associated with the keypad. See
Addresses 132-139 for keypad system allocation.
System 1: Zone Expander A System 2: Zone Expander B
System 3: Zone Expander C System 4: Zone Expander D
Note: If zone expander A is not in use, the control panel’s 8 onboard zones are displayed from a
System 1 keypad.
Keypad supervision
A supervised keypad will generate an alarm should it become disconnected from the control panel.
To configure the keypad supervision setting:
1. Using a small flat-head screwdriver, open the back cover of the keypad.
2. Locate the jumper marked S.
3. To configure the keypad in supervised mode, remove the jumper.
Adjusting the display contrast on the LCD keypad
If the LCD display is unclear, the contrast may be adjusted using the LCD contrast trimmer.
Bright
Dim
Jumper removed
Jumper installed
Keypad 1
Keypad 2
Keypad 3
Keypad 4
Keypad 5
Keypad 6
Keypad 7
Keypad 8
CBACBA
S