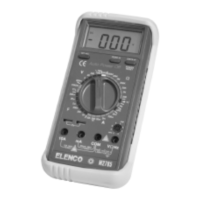
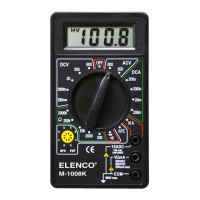
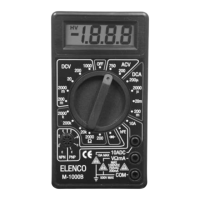
4-2. Measurement Specifications
Accuracy of specifications apply for 1 year after purchase when
operated in a temperature of 18
O
C to 28
O
C (64
O
F to 82
O
F) and a
relative humidity of less than 75%.
Basic electrical specifications are given as +
[(% of reading) +
(number of least significant digits)].
DC Voltage
200mV 100mV+(0.25% of rdg+2dgt)
2V 1mV +
(0.8% of rdg+2dgt)
20V 10mV +(0.8% of rdg+2dgt) DC 1000V
200V 100mV +
(0.8% of rdg+2dgt) or PEAK AC
1000V 1V +(0.8% of rdg+2dgt)
NORMAL MODE REJECTION RATIO: greater than 46dB at 50Hz, 60Hz (1k unbalance)
Overload Protection: 1100VDC or peak AC for 50 seconds.
AC Voltage
200mV 100mV+(1.0% of rdg+4dgt)
2V 1mV +
(1.0% of rdg+4dgt)
20V 10mV +(1.0% of rdg+4dgt)
AC 750V max.
200V 100mV +(1.0% of rdg+4dgt) 50Hz - 400Hz
750V 1V +
(1.5% of rdg+5dgt)
Resistance
200W 0.1W +(0.8% of rdg+4dgt)
2kW 1W +
(0.8% of rdg+4dgt)
20kW 10W +
(0.8% of rdg+4dgt) Protected by
200kW 100W +
(0.8% of rdg+4dgt) PTC
2MW 1kW +
(1.5% of rdg+5dgt) (500V rms)
20MW 10kW +
(2.0% of rdg+10dgt)
200MW 100kW +
(2.0% of rdg+10dgt)
DC Current
20mA 10nA +(0.8% of rdg+4dgt)
200mA 100nA +
(0.8% of rdg+4dgt)
2mA 1mA+
(0.8% of rdg+4dgt)
Protected by
20mA 10mA+
(0.8% of rdg+4dgt)
0.5A/250V
200mA 100mA+
(1.0% of rdg+3dgt)
Fuse
10A 10mA +
(1.5% of rdg+3dgt) 10A/250V Fuse
Maximum Measuring Voltage Drop: Less than 300mV.
-6-
(4) Diode Test
1. Plug the red test lead into the “V/W/Hz” input jack and the black one into
the “COM” input jack.
2. Set the function rotary switch to position.
3. If the semiconductor junction being measured is connected to a circuit,
turn off the power to the circuit being tested and discharge all capacitors.
4. Connect the test leads to the device and read the forward value on the
digital display.
5.
If the digital display reads overrange (OL), reverse the lead connections.
The placement of the test leads when the forward reading is displayed
indicates the orientation of the diode.
The red lead is positive and the black lead is negative. If overrange (OL)
is displayed with both lead connections, the junction is open.
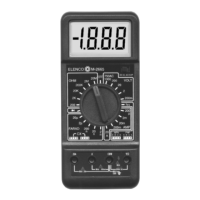
(5) Transistor hFE Measurement
1. Transistor must be out of circuit.
2. Set the function/rotary switch to the hFE position.
3.
Plug the emitter, base and collector leads of the transistor into the correct
holes in either the NPN or the PNP transistor test socket, whichever is
appropriate for the transistor you are checking.
4. Read the hFE (beta or DC current gain) in the display.
(6) Capacitance Measurement
1. Set the function/rotary switch to the desired capacitance position.
2. Discharge capacitor before measurement.
3. Insert the capacitor leads into the capacitor test socket.
4. One lead must be inserted into one hole and the other lead must be
inserted into the other hole.
5. Read the capacitor value on the digital display.
(7) Continuity Test
1. Plug the red test lead into the “V/W/Hz” input jack and the black one into
the “COM” input jack.
2. Set the function/rotary switch to position.
3. Buzzer sounds if the resistance between two leads is less than approx.
30W.
(8) Frequency Measurement
1. Plug the red test lead into the “V.W.Hz” input jack and the black one into
the “COM” input jack.
2. Set the function/rotary switch to the “Hz” position.
3. Connect the test leads to the frequency source to be measured.
4. Read the frequency value on the digital display.
-11-
Range Resolution Accuracy Maximum Input
Range Resolution Accuracy Maximum Input
Range Resolution Accuracy Input Protection
Range Resolution Accuracy Input Protection