OPERATING INSTRUCTIONS
HOW TO USE THE
M
M
E
E
N
N
U
U
B
B
U
U
T
T
T
T
O
O
N
N
S
S:
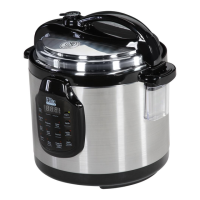
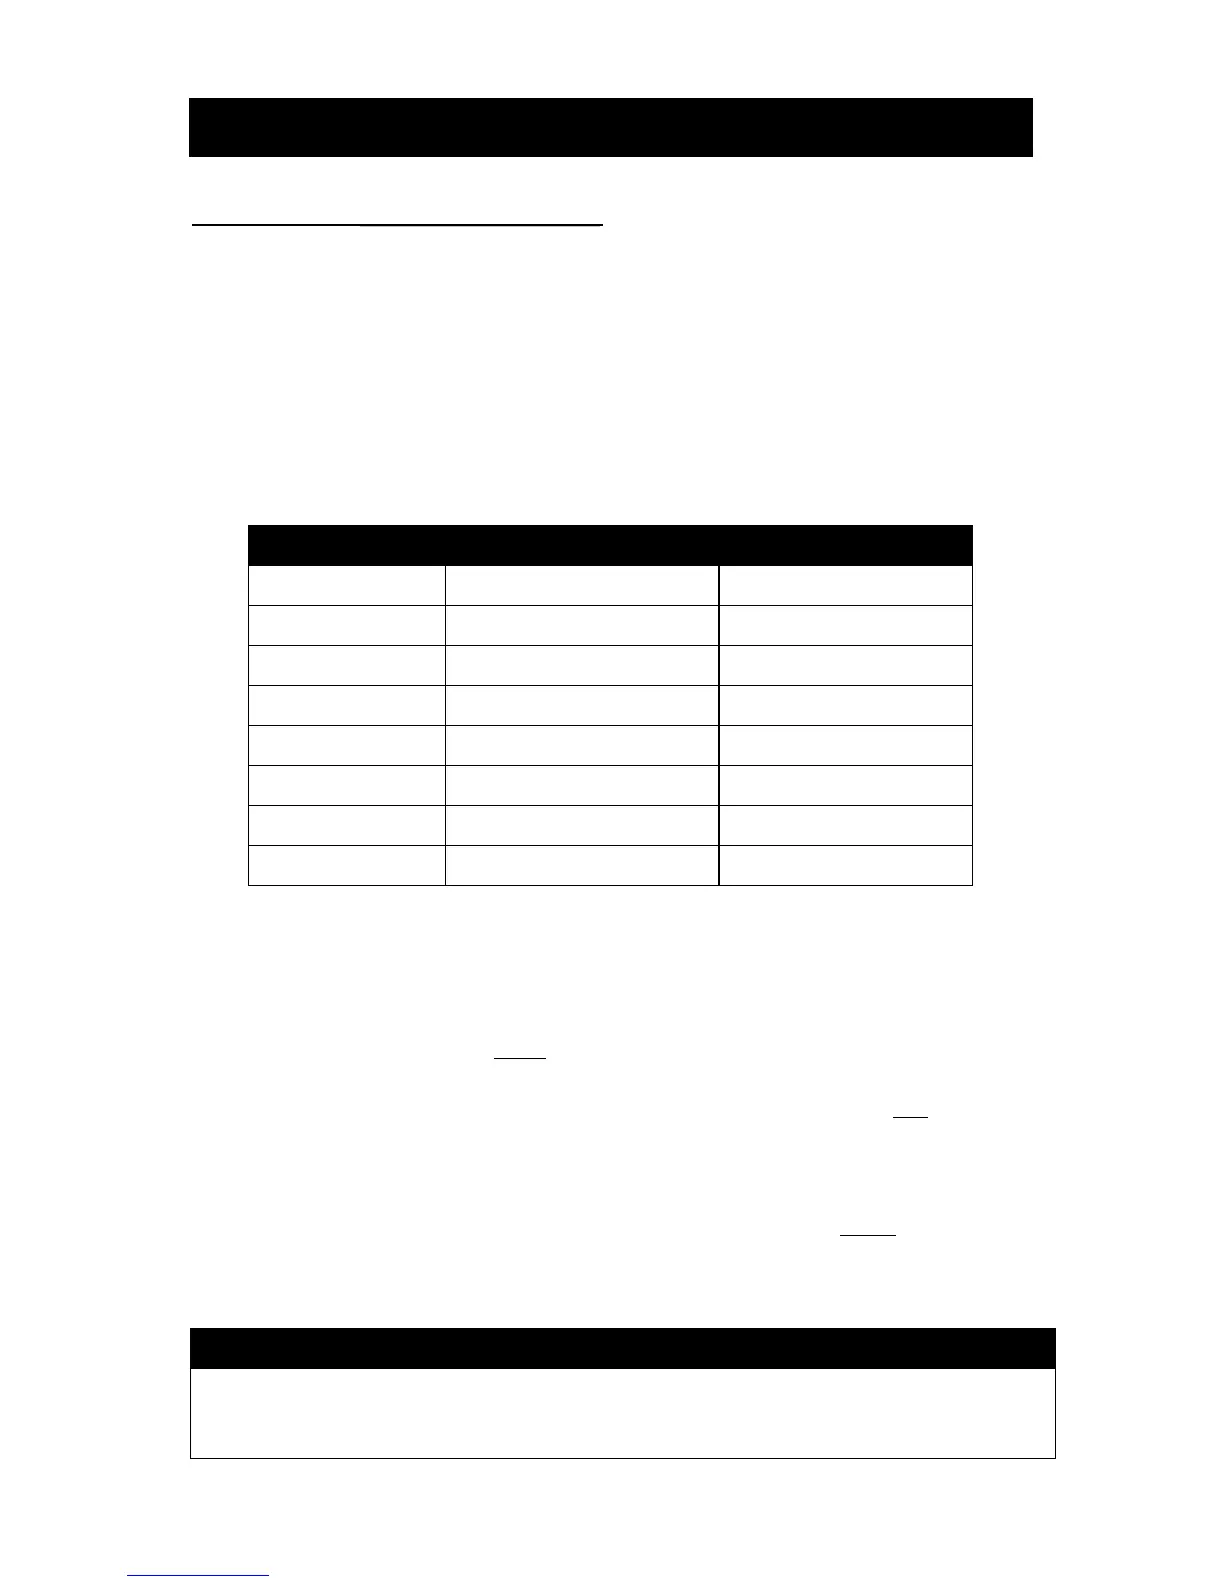
There are eight MENU BUTTONS programmed for your pressure cooker. They are RICE,
SOUP & STEW, MEAT & CHICKEN, SLOW COOK, BEANS/POTATOES, BROWN/SAUTE, FISH &
VEGETABLES, AND DESSERTS. The default times are programmed for quick and easy
cooking for small portions of food. (When cooking food that is more than 3lbs. or more
than 6-cups, please use the Timed Cooking function.) Each of the default times is
programmed to detect the weight of food being cooked and how much liquid is inside
the pot during the cooking cycle. The unit will automatically build up the pressure, cook
the food and go to KEEP WARM when cooking is complete.
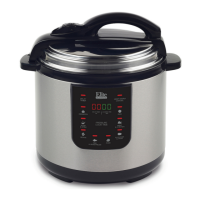
1. Prepare desired food and place into cooking pot.
2. Secure the Lid (2) onto the unit, turn it Counter-clockwise to lock it properly in place.
3. Make sure the Pressure Limiting Valve (3) is set to the “Airtight” position.
4. Plug the power cord into a 120V power outlet.
5. The LED screen will display 00 00.
6. Choose the desired MENU BUTTON. The Default Cook Time will display for the
selected setting. For example, if RICE is selected, the display will show P12. There is
no need to press any other button.
7. The RICE Indicator will blink five times and then illuminate solid once it begins
operation.
While the unit is building up pressure the display will show 00 12. The unit may
take between 5-20 minutes to build up pressure depending on weight of
contents inside.
When pressing a MENU BUTTON, the LED screen will not immediately change until the
pressure has built up to capacity. This may take approximately 5-10 minutes depending
on the quantity of food you are cooking.
 Loading...