Keep Working
KEEP WORKiNG
11
MC5
You can program button 1, button 2 and button 3 individually. If you program button 1, button 1 is enabled. If you program
button 2, button 2 is enabled and button 1 is disabled.
Adding additional remote controls (Programming): Remove the cover, press and hold the programming button “S1” (Fig. 8) for
more than 2 seconds, then the “LED- LEARN programming light-emitting diode” (Fig. 8) will light up, then press the button
on the remote you want to use, the “LED- Light Emitting Diode” light will turn on for about 2 seconds and then turn off again.
The programming process is finished. Up to 25 remote controls can be used
• Erase remote controls: To erase all existing remote controls, press and hold the programming button “S1”, the programming
LED light will turn on, release the button until the LED light turns off. This indicates that all remote controls have been comple-
tely erased, if you change to another remote control code factory you must erase first.
• Check the opening direction: If the door does not move in the desired direction, then you will have to change DIP switch 5
(See Table 1).
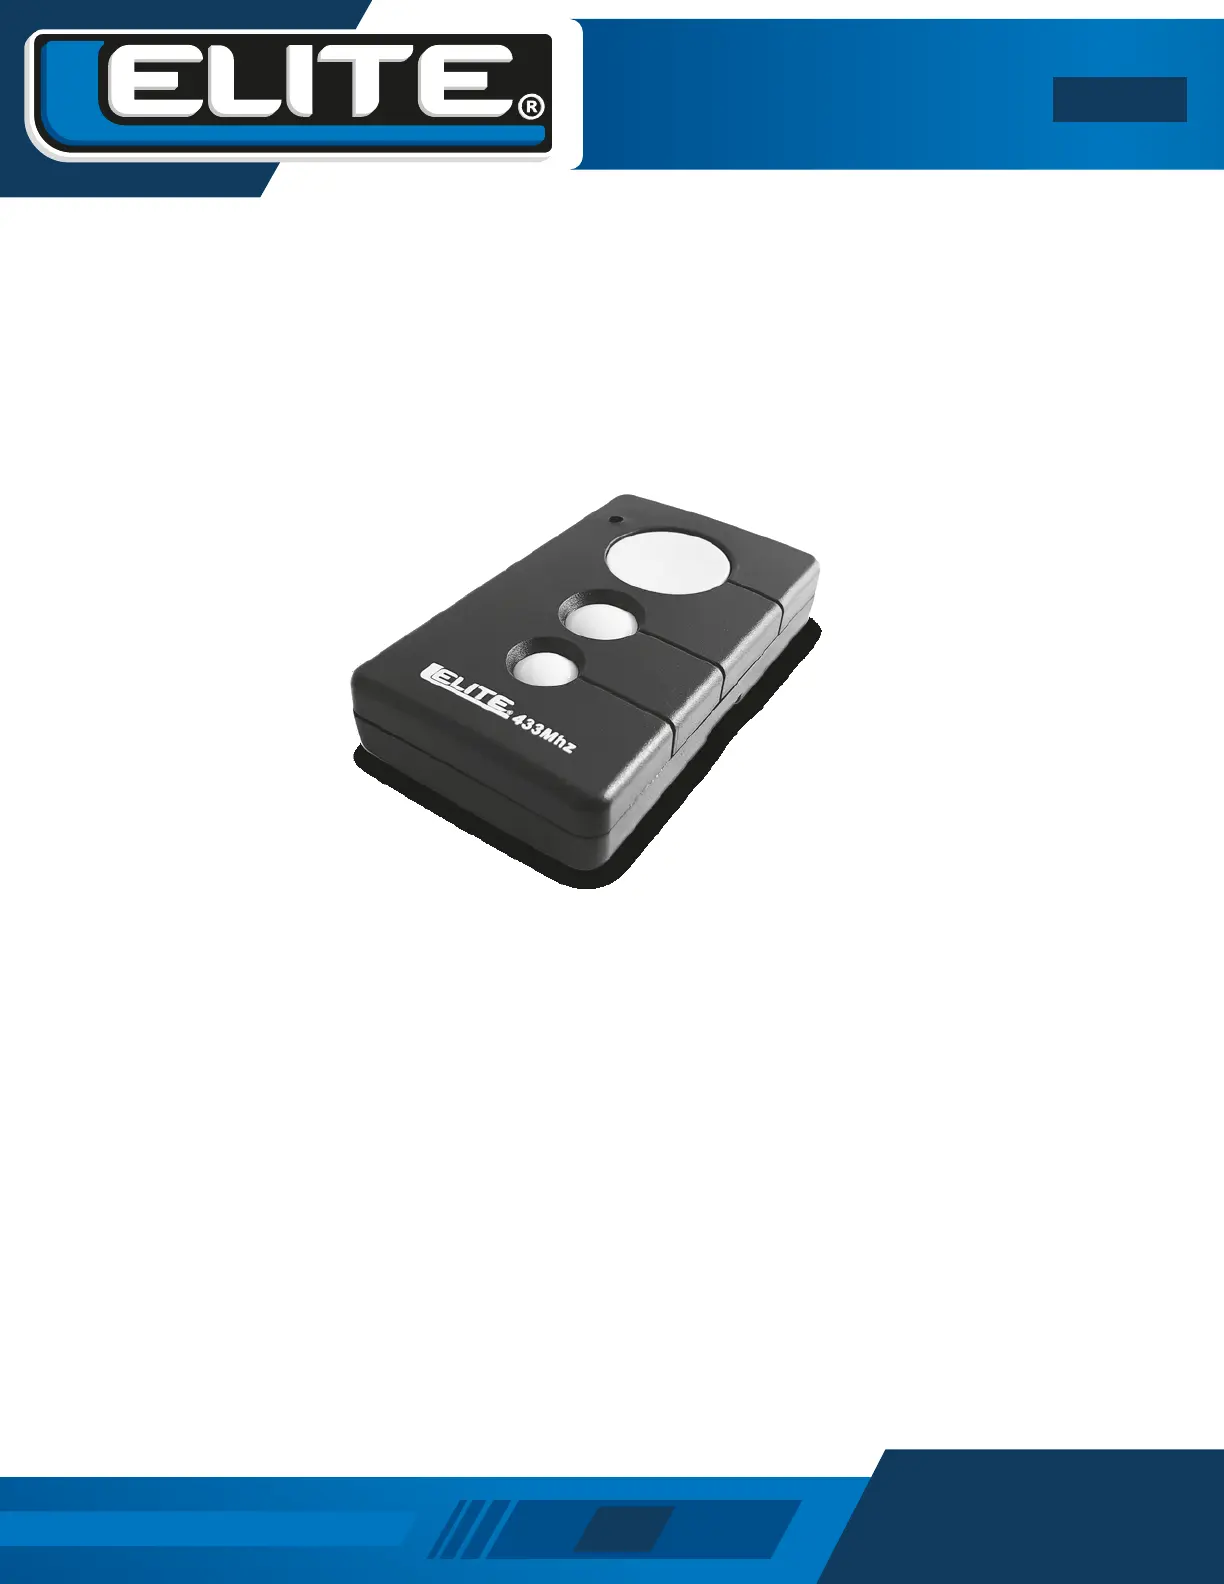
Fig.12 Remote Control