Do you have a question about the Elived YD1003 and is the answer not in the manual?
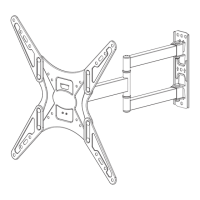
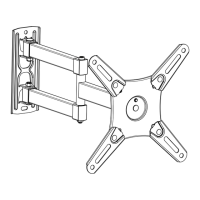
Confirm TV VESA pattern is within 100x100mm to 400x400mm range.
Ensure TV weight, including accessories, is under 88 LBS (40 KG).
Verify wall material is wood stud or concrete, not drywall alone.
Lists tools needed for installation that are not included.
Read instructions, avoid drywall-only installation, ensure wall strength, and proper usage.
Thread screws by hand into TV holes to find the correct diameter.
Ensure screws are not too short or too long to avoid bottoming out.
Use shorter screws (M-A, M-C, M-B) for flat back panels.
Use longer screws (M-A, M-C, M-B) and M-D/M-F for round backs.
Find stud edges using awl/nail/finder and mark the center.
Align wall plate holes with stud center line and mark hole locations.
Drill pilot holes to a depth of 2 3/4 in. (70 mm) into the stud center.
Position wall plate, level it, and mark pilot hole locations.
Drill pilot holes using a 10mm drill bit to a depth of 70mm.
Remove and save two preassembled screws and washers.
Lift and hang the TV assembly onto the arm and wall plate.
Fasten the monitor plate to the arm with saved screws and washers.
Adjust TV tilt angle between +5° and -10° using the open end wrench.
Level the TV up to ±3 degrees by adjusting specific screws.
| Maximum Weight Capacity | 77 lbs |
|---|---|
| Load Capacity | 77 lbs |
| Material | Steel |
| Mounting Type | Wall Mount |
| Color | Black |
| Screen Size | 32 to 65 inches |
| Compatible TV Size | 32-65 inch TVs |
| Tilt Range | +5° to -15° |
| VESA Compatibility | 100x100mm to 400x400mm |