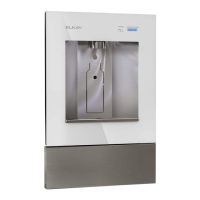
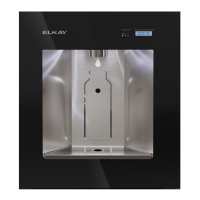
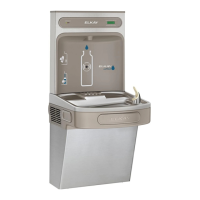
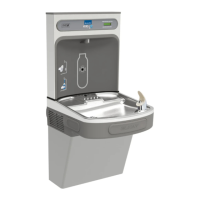
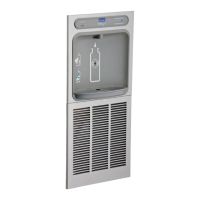
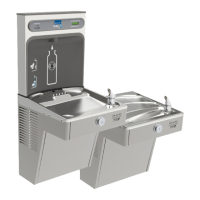
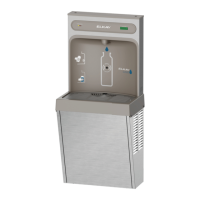
EZ8WSLSMC_1G EZ8WSSSMC_1G LZ8WSLSMC_1G LZ8WSSSMC_1G
Elkay Manufacturing Company (630) 574-8484
1000006140 (Rev. A - 03/21)
Page 6
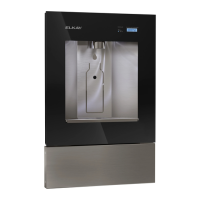
1. Remove the bottle ller top cover by removing the two
screws using a 5/32” Allen wrench. Do not discard the
screws, they are required for re-assembly.
2. Locate the programming button at the top right side of
the unit on the control board.
4.2 Access the Programming Menu
1. Depress the program button for approximately two
seconds until the display changes, then release.
2. The display will scroll through two messages.
a. RST FLTR – Reset Filter Monitor (ltered units
only).
b. SETTINGS – System Setting Sub Menu.
Depress the program button when the display reads
SETTINGS. The display will scroll through four
messages:
• RNG SET – Range set for IR sensor. Default is 3.
• UNIT TYP – Type of unit. Default is refrigerated.
• FLT SIZE – Select lter capacity. Default is 3000
GAL.
• RST BCNT – Reset bottle count (ltered units only).
3. Push the button while the desired message is
displayed. If the program button is not pushed, the
messages will cycle three times before resetting back
to run mode.
4.3 Reset the Filter Monitor (Filtered Unit Only)
1. Depress the program button when the display reads
RST FLTR.
2. Depress the program button when the display reads
FLTR = and the display will change to FLTR = 0.
3. The green LED on the bottle ller panel should now be
illuminated indicating that the lter monitor has been
reset.
4.4 Change the Range Of The IR Sensor
1. Depress the program button when the display reads
RNG SET.
2. The display will show the default RNG = 3. 1-10 is the
range, 1 is closest to the sensor, 10 is farthest away.
3. Depress the button again to change the value. When
the desired range is selected, wait four seconds for
the unit to default back to run mode.
4. Test the bottle ller by placing a hand or a bottle in
front of the sensor.
4.5 Change the Unit Type
1. Depress the program button when the display reads
UNIT TYP.
2. The display will show the default REFRIG.
3. Depress button to change to refrigerated if NON-
REFRIG is displayed.
4. When the desired range is selected, wait four seconds
for the unit to default back to run mode.
5. Test the bottle ller by placing a hand or a bottle in
front of the sensor.
4.6 Change the Filter Capacity (Filtered Unit
Only)
1. Depress the program button when the display reads
FLT SIZE.
2. The display will show the default 3000GAL.
3. Depress the button again to change the value to
6000GAL.
4. When the desired range is selected, wait four seconds
for the unit to default back to run mode.
4.7 Resetting the Bottle Count
1. Depress the program button when the display reads
RST BCNT.
2. The display will show the current value, e.g. 0033183.
3. Depress the button again to change the value to 0.
The display will show BTLCT = 0 for approximately 2
seconds and return to run mode showing 0000000 on
the display board.
Note: Once the bottle count is reset to 0, there is no way
to return to the previous count.
4. Test the bottle filler by placing a hand or a bottle in
front of the sensor and dispense product until the
bottle count changes to 1.
4. Changing the Factory Default Settings (Not Required for
Installation)
4.1 Accessing the Programming
Button
 Loading...