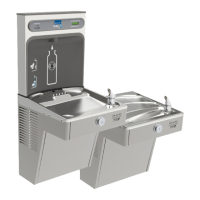
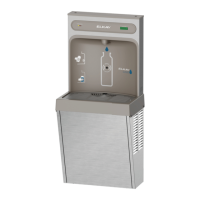
EZ8WSLSMC_1G EZ8WSSSMC_1G LZ8WSLSMC_1G LZ8WSSSMC_1G
Elkay Manufacturing Company (630) 574-8484
1000006140 (Rev. A - 03/21)
Page 8
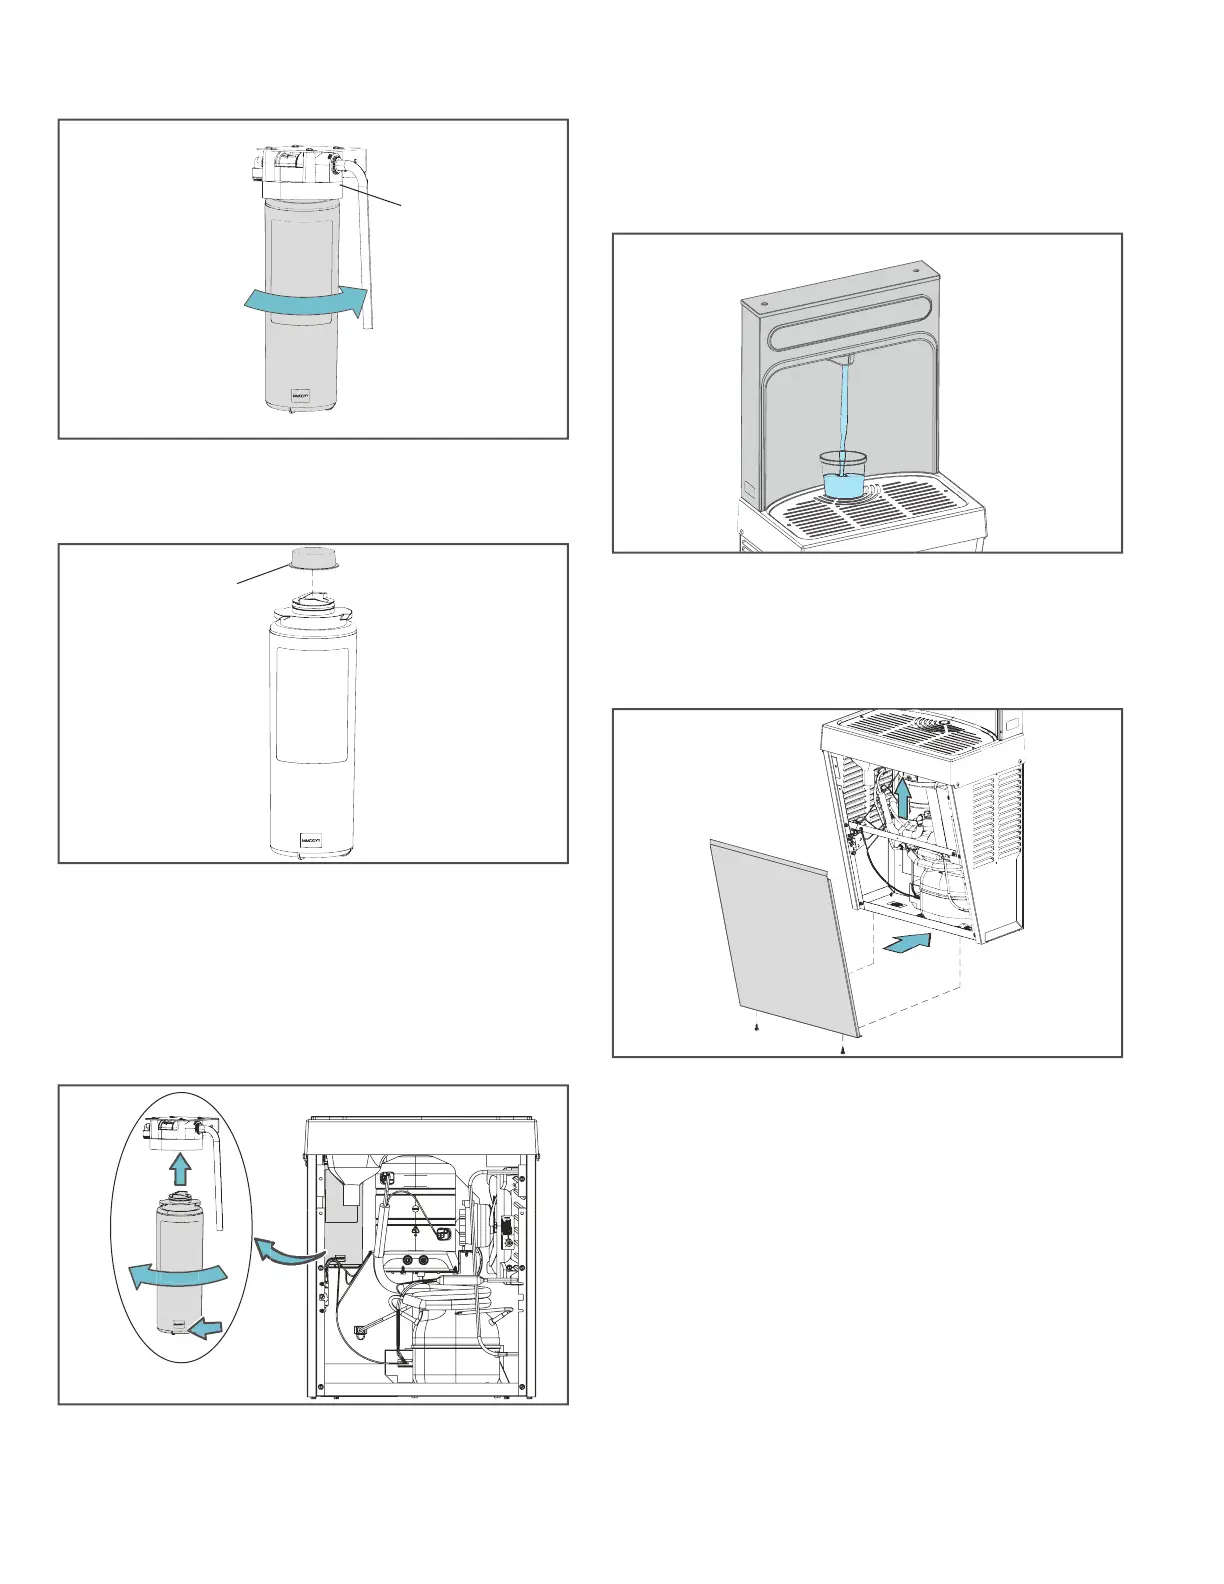
7. Twist the lter counterclockwise until it is disengaged.
Remove the lter and keep upright; remove towel.
8. Drain the lter before disposing in a trash can.
9. Remove protective cap from the new lter.
10. Mark the current date on the lter label.
11. Attach the lter to the lter head with label facing
outward by rmly inserting into the head and by
rotating the lter head clockwise, if required.
Note: Filter label should be readable from the front of the
filter during installation.
12. Restore power back to the unit.
13. Turn on water supply.
14. Verify proper dispensing by placing cup or any object
in front of sensor area and verify water dispenses.
Dispense at least two gallons of water to bleed off
any trapped air from supply lines and ne carbon
particles from the lter.
15. Check all the lines and connections for water leaks.
Repair connections if necessary. If there are no leaks
and unit is functioning correctly.
16. Reinstall front panel with 5/16” screws.
Note: Once power is applied to the bottle filler, the
GREEN LED light should illuminate showing good
filter status (if equipped with filter) along with the
LCD Bottle Counter.
GREEN: 0 - 80% of Filter Life or 0 - 11
Months (Whichever Comes First).
YELLOW: 80 - 100% of Filter Life or 11 - 12
Months (Whichever Comes First).
RED: 100% Plus of Filter Life or 12
Months (Whichever Comes First).
Protective Cap
Filter Head
 Loading...