Page 3 of 8
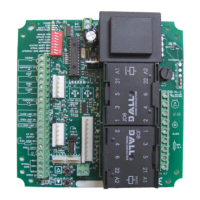
Installation
1) Controller should be mounted in suitable enclosure for the environment and be:
a. Vertically mounted and free from vibration
b. Not exposed to and is free from all dust and debris
c. Fitted with appropriate cable glands to maintain IP rating of enclosure selected
d. Fitted with appropriate wall fixings used to secure the enclosure
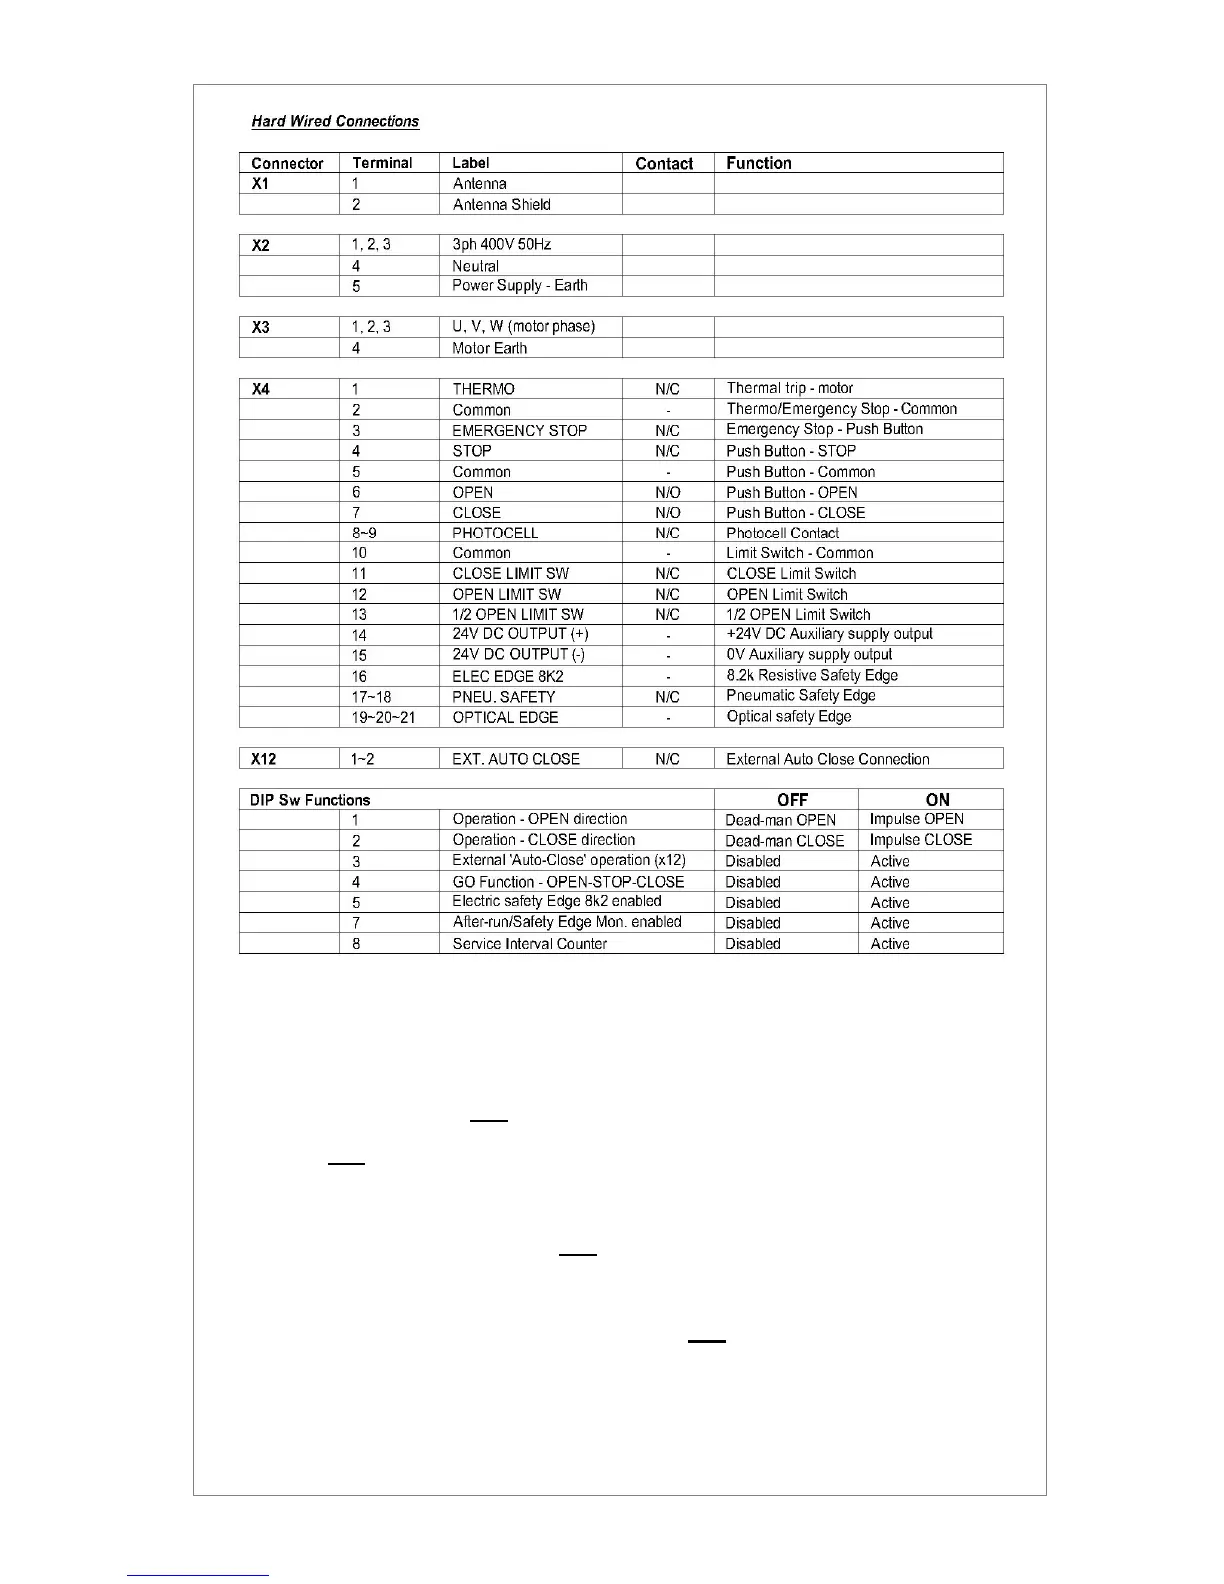
2) Ensure that all power is OFF before connecting any wiring to the controller or motor referring
to the connection details in this manual,
3) Check ALL wiring connections are secure upon completion
Setting Travel Limits
1) Manually haul the door to mid position
2) Ensure ALL dipswitches are set to OFF
3) Re-apply mains supply power
4) Press the open button and observe the operating direction, the door should move in dead-
man operation in the opening direction
a. If not correct, turn the Main Supply Power OFF, rotate any two of the motor phases
U, V, W i.e. (U&V) (U&W) or (V&W)
b. Turn mains supply power ON and re-check for correct direction
5) Using pushbuttons move the door to its fully open position, then set the open travel limit cam
Repeat in the close direction setting the close travel limit cam
Fully open & close the door and check end of travel positions adjust travel limits if necessary