EasyManua.ls Logo

Elmo k-100sm - PROJECTION

Elmo k-100sm
36 pages
Print Icon
To Next Page IconTo Next Page
To Previous Page IconTo Previous Page
Loading...
15
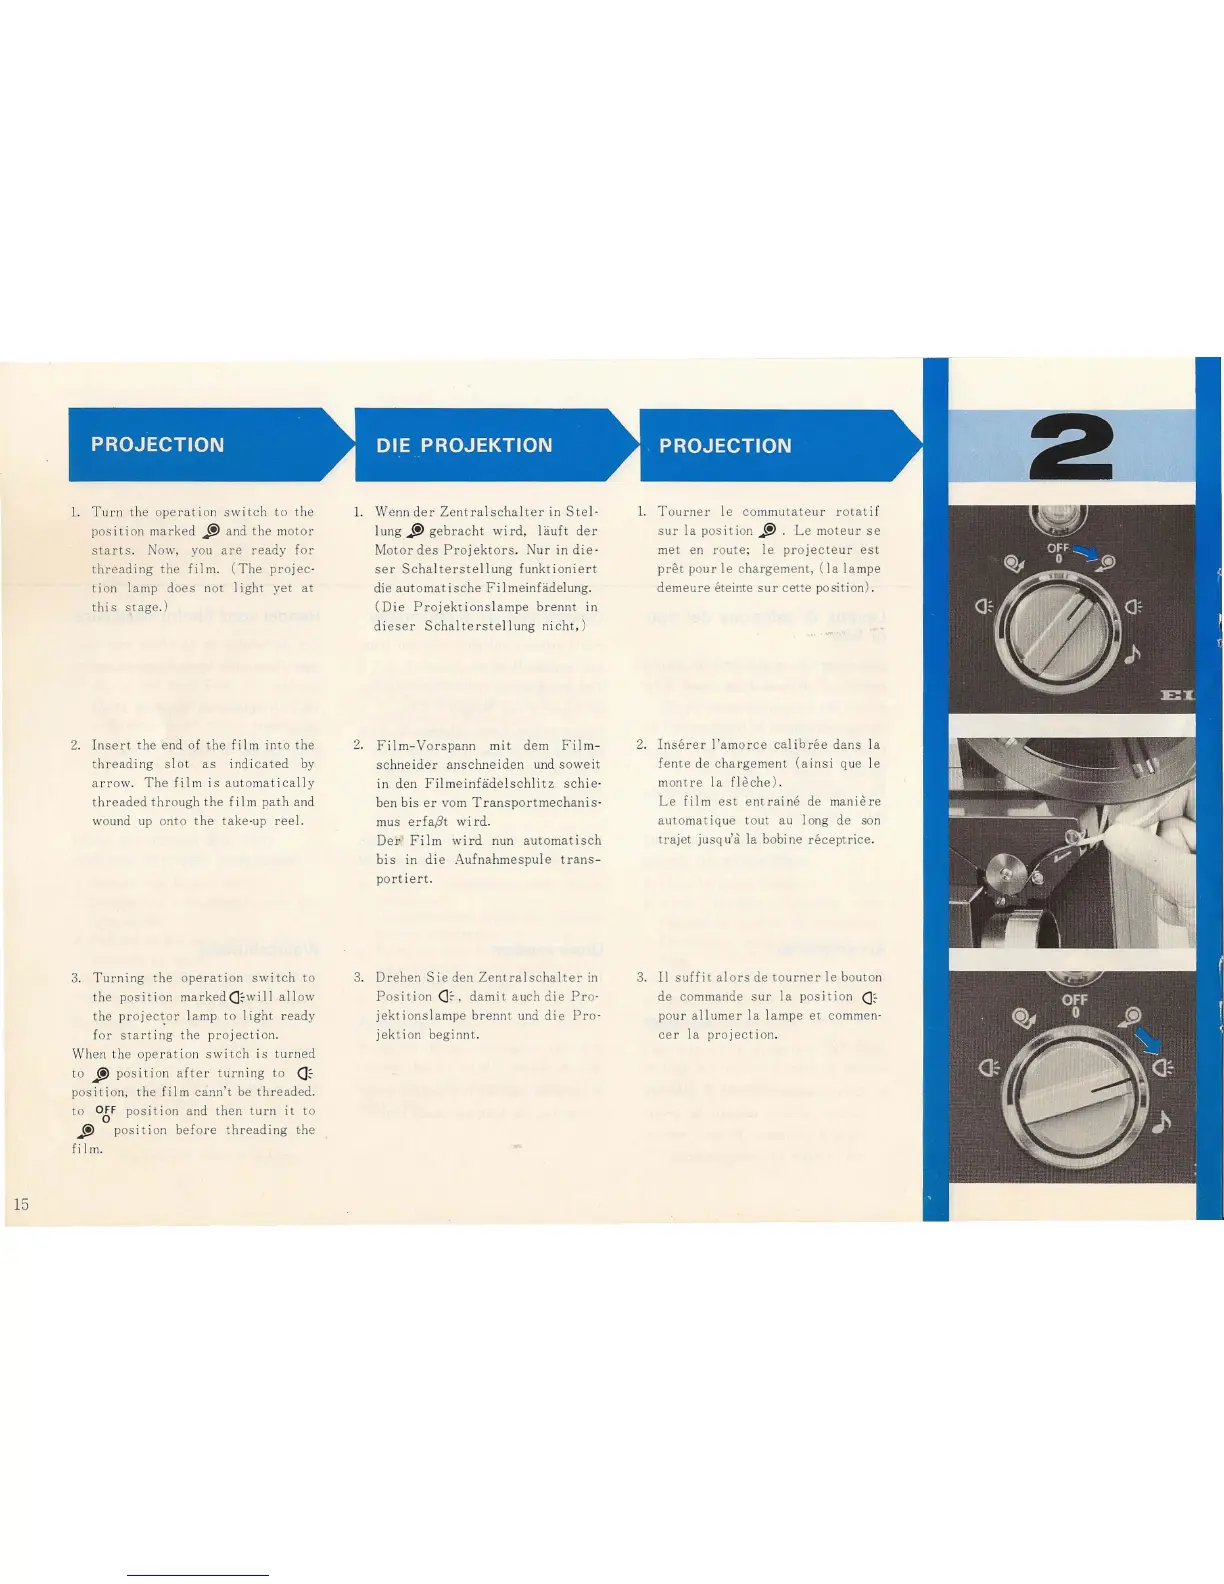
1.
Turn
the
operat
ion s
wit
ch
to
the
pos i t i
on
ma
rked
j!)
and t he m
otor
starts.
Now, you
are
ready
for
thread
ing
the
film
.
(The
projec
'
t ion lamp
does
not
li
ght
yet
at
th
is
s
tag
e.)
2. In
ser
t the
end
of
th
e fi
lm
in
to
the
t
hr
ead
ing
slot
as
indi
cat
ed by
arrow
.
Th
e
film
is
automat
i
ca
ll
y
th
readed
through
the
f i I m
pa
th
and
wound up
onto
t he
take
·up
reel.
3.
Turning
the
operat
ion
switch
to
the
posi t ion
marked
(J
·wi
ll
allow
the
pr
oj
ector
la
mp
to
I i
ght
ready
for
sta
r
ting
t he
pro
j
ect
io
n.
When
the
operat
i
on
switch
is
tur
ned
to
j!)
posi
tion
aft er t
urning
to
<J
~
p
ositio
n,
th
e
film
cann't
be
threaded
.
to
all
position
and
then
turn
it
to
j!)
position
before
threading
~he
film.
1.
We
nn
der
Ze
ntralschal
te
r in
Ste
l·
lung
j!)
gebracht
wird,
l
auft
der
Motor
des
Pro
j
ektors
. N
ur
in
die
·
ser
Schal
terste
llung
funkti
oni
ert
die au
tomat
i
sche
Fi
I meinfadelung.
(
Die
Pr
oj
ekt
io
nsl
ampe
brennt
in
di
eser
Scha
l
terste
l
lung
ni
cht,
)
2. F i
lm
-
Vorspann
mit
dem
Film
-
sc
hneide
r
anschneiden
und
sowe
it
in
den
Filme
infa
delsch
li
tz
sch
ie·
ben
bis
er
vom
Trans
portmechanis
·
mus
erf
apt
wi
rd
.
Del' F i I m wi
rd
nun
automat
i
sch
bis
in
die
Aufnahmespule
t r
ans
-
p
ort
ier
t.
3.
Drehen
Sie
den
Zentralschalter
in
Pos
it ion () ,
da
mi t
auch
die
Pro
·
j
ekt
ionsla
mp
e
brennt
und
die
Pro'
j
ekt
ion begi nnt.
1.
T o
urn
er
Ie co
mmu
tate
ur
rotati
f
sur
la
position
j!)
.
Le
moteur
se
met
en
route;
Ie
projecte
ur
est
prih
pou r Ie
cha
rg
ement,
(]
a la mpe
demeure
eteinte
sur
cette
position) .
2.
Insere
r
l'amo
rce
cal i b
ree
d
ans
I a
fe
n
te
de
c
hargemen
t
(a
i
nsi
que Ie
mo
nt
re
la
fleche
) .
Le
film
est
entrai
ne de
maniere
automatiq
ue
tout
au
lon
g de son
tra
j
et
ju
sq
u
'a
la bobi ne
receptrice
.
3. II
suff
it
alors
de
tourner
Ie bouton
de
commande
sur
la
position
a
ce
pour
allumer
la
l
ampe
et
commen'
ce
r
la
project
ion.