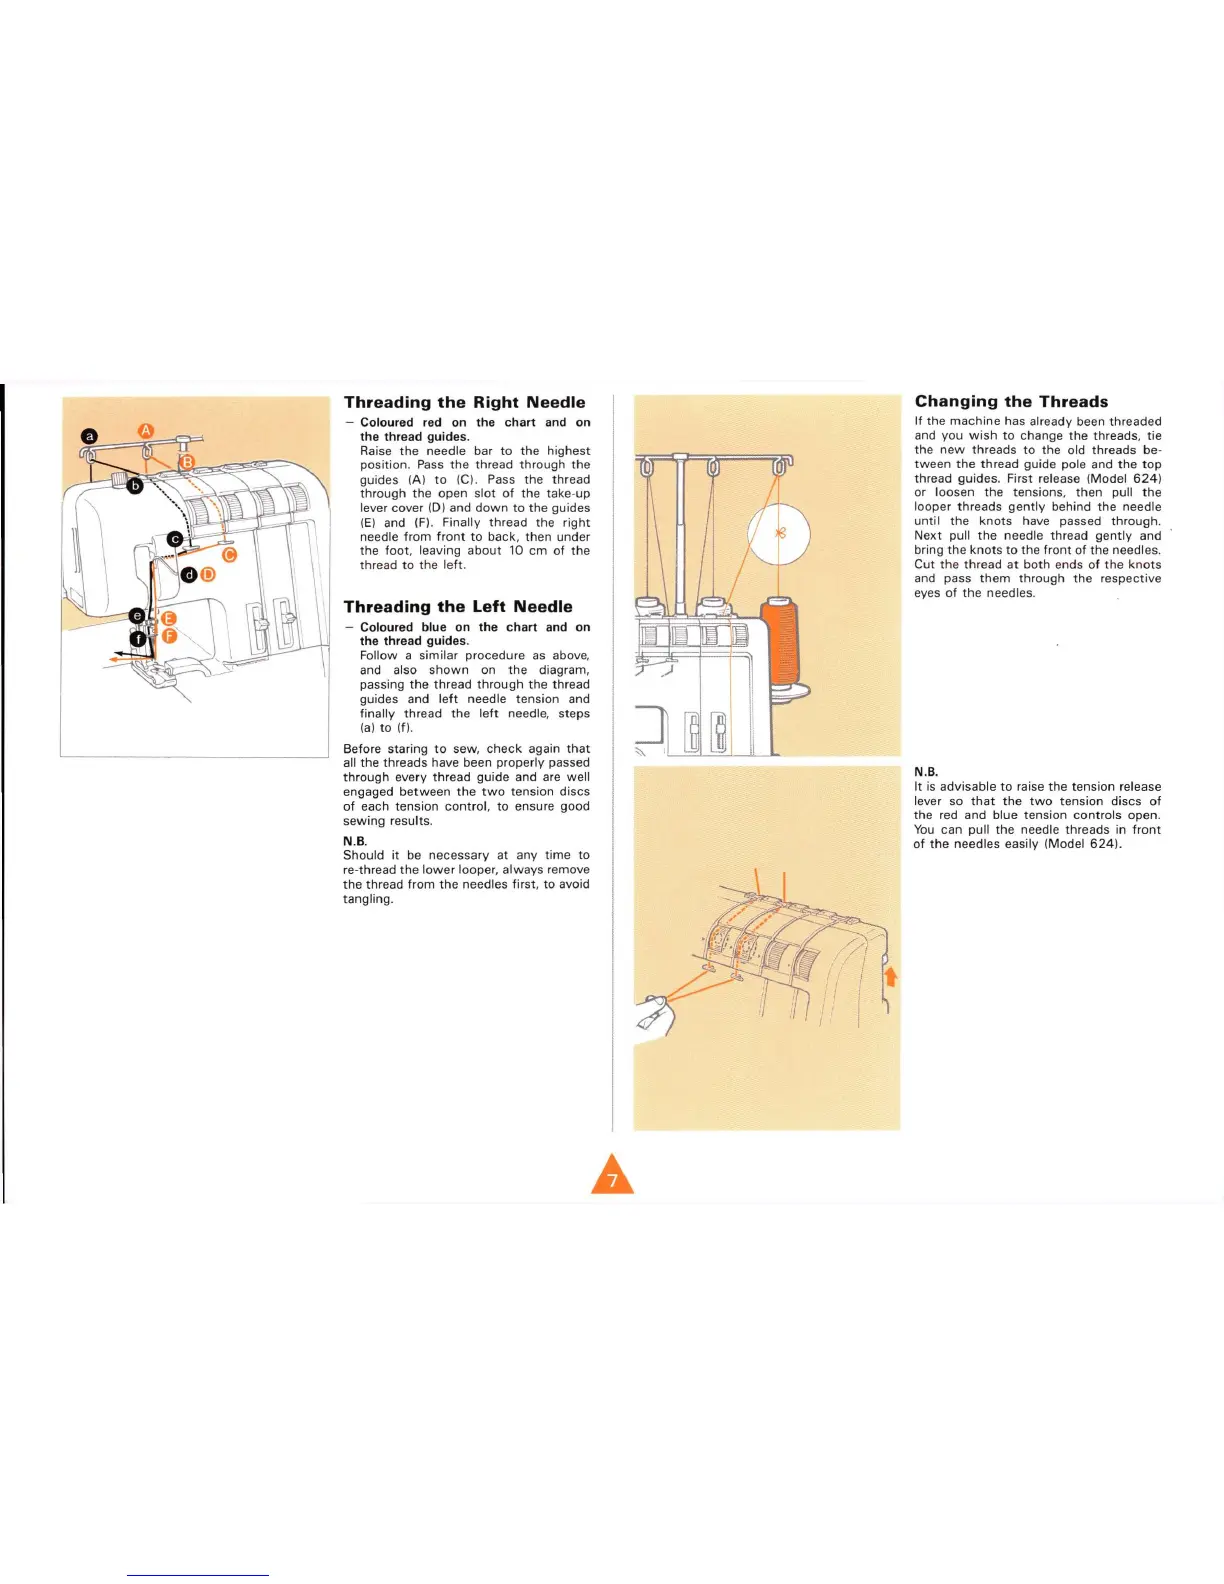
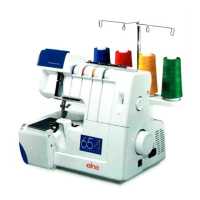
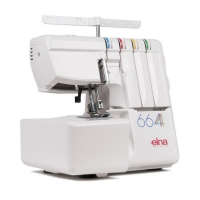
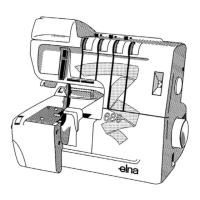
Threading the Right Needle
- Coloured red on the chart and on
the thread
guides.
Raise the needle bar to the highest
position.
Pass the thread through the
guides (A) to (C). Pass the thread
through the open slot of the take-up
lever cover (D) and down to the guides
(E)
and (F). Finally thread the right
needle from front to back, then under
the foot, leaving about 10 cm of the
thread to the left.
Threading the Left Needle
- Coloured blue on the chart and on
the thread
guides.
Follow a similar procedure as above,
and also shown on the diagram,
passing the thread through the thread
guides and left needle tension and
finally thread the left needle, steps
(a)
to (f).
Before staring to sew, check again that
all the threads have been properly passed
through every thread guide and are well
engaged between the two tension discs
of each tension control, to ensure good
sewing results.
N.B.
Should it be necessary at any time to
re-thread the lower looper, always remove
the thread from the needles first, to avoid
tangling.
Changing
the
Threads
If the machine has already been threaded
and you wish to change the threads, tie
the new threads to the old threads be-
tween the thread guide pole and the top
thread guides. First release (Model 624)
or loosen the tensions, then pull the
looper threads gently behind the needle
until the knots have passed through.
Next pull the needle thread gently and
bring the knots to the front of the needles.
Cut the thread at both ends of the knots
and pass them through the respective
eyes of the needles.
N.B.
It is advisable to raise the tension release
lever so that the two tension discs of
the red and blue tension controls open.
You can pull the needle threads in front
of the needles easily (Model 624).