Do you have a question about the ELNA Elnita and is the answer not in the manual?
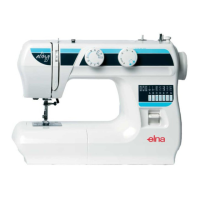
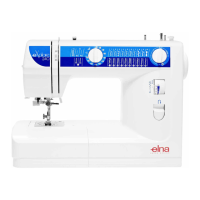
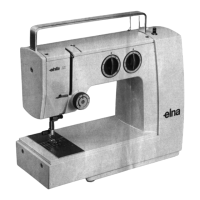
Identifies and describes the key components of the Elna Elnita sewing machine.
Details the accessories provided with the sewing machine, typically found in a pouch.
Covers essential initial setup, checks, and the procedure for changing the needle.
Provides step-by-step instructions for winding a bobbin with thread.
Explains how to insert the bobbin and perform a crucial check for correct operation.
A detailed, step-by-step guide on how to thread the upper portion of the sewing machine.
Information on the universal upper tension setting and methods for its adjustment.
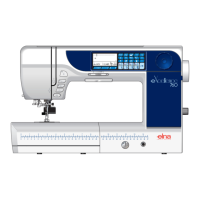
The Elna Elnita is a sewing machine designed for ease of use and versatility in everyday sewing tasks. This instruction manual aims to familiarize users with its operation and features.
The Elna Elnita is a sewing machine capable of performing various stitches, including straight and zigzag stitches. It features a bobbin winding mechanism, a thread take-up lever, and a presser bar for handling different fabric types. The machine is designed to be user-friendly, with a safety dial that locks the mechanism when not in use, preventing accidental starts. It also includes a built-in sewing light for improved visibility during operation.
| Brand | ELNA |
|---|---|
| Model | Elnita |
| Category | Sewing Machine |
| Language | English |