6
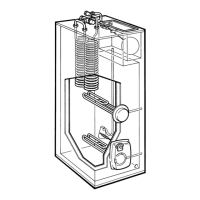
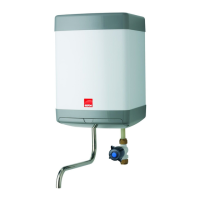
Coral E
5.3 Hand over the system
1. The system can now be handed over to the User, who should be given this instruction booklet.
2. Clear verbal instructions should be given to the User on how to operate the unit and specific controls, with
particular reference to the User's instructions given in section 10.
3. Complete the installation details on the back page of this booklet.
6. SERVICING
If the unit is installed in a hard water area and is suffering from scaling problems, contact the Elson Technical
Helpline on 0191 4270777 for information on descaling.
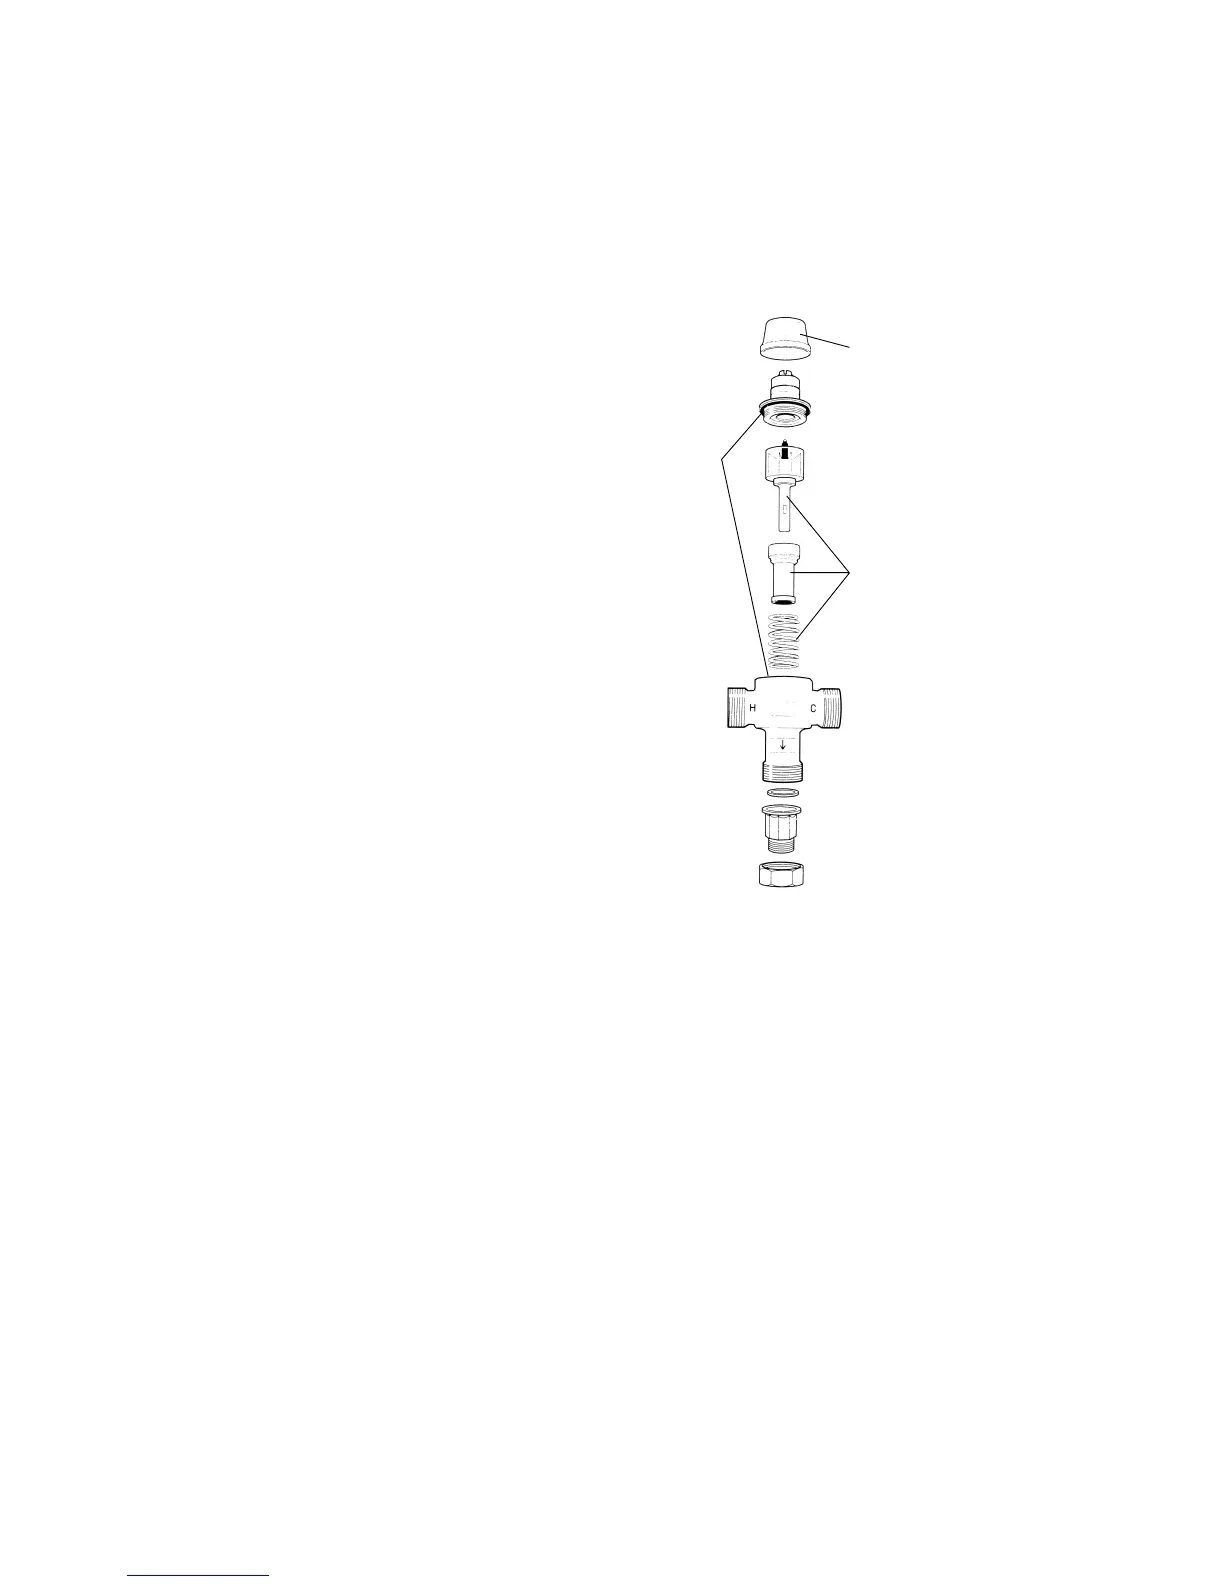
6.1.Maintaining the blending valve
If the temperature of the water at the hot taps has become
too hot or cold, the blending valve may require cleaning.
Clean the blending valve as follows:-
1. Isolate the hot and cold supplies and remove the
valve body from the unit by undoing the adaptor
union nuts. Make a note of the orientation of the
parts as they are removed so that the can be re-
assembled in the correct manner. See Fig. 4.
2. To clean the internals of the main valve body, first
remove the cap and then carefully remove the valve
headwork by unscrewing the large hex nut.
3. Slide the piston and thermostat assembly out of the
valve body and clean all internal surfaces and 'O' rings
with a weak solution of scale remover or (vinegar)
approved for use with potable water.
4. Using a WRAS approved silicone based waterproof
grease, lightly lubricate the 'O' ring in the body and
the external surface of the piston.
5. After cleaning, re-assemble the valve and re-set the
temperature as described in section 5.2.
6.2 To replace the overheat limit thermostat
1. Switch off the electricity supply to the unit.
2. Remove the four screws securing the lower immersion heater cover and lift off the cover.
3. Disconnect the two leads from the thermostat, positioned above the immersion heater and remove the two
fixings securing the thermostat. Take care not to lose the spacers behind the thermostat.
4. Fit the replacement thermostat (ensuring the spacers are in position on the fixing screws behind the thermostat)
securing it in position with the fixings previously removed and reconnect the leads (polarity is not important).
Check that thermostat reset button is depressed.
5. Replace the immersion heater cover and secure with four screws.
6.3 To replace an immersion heater
Both immersion heaters are the same, but the wiring is different. Refer to the wiring diagrams for the correct
connections.
1. Switch off the electricity supply to the unit.
2. Turn off the water supply and drain the unit.
3. Remove the plastic cover from the immersion heater - Four screws on the bottom heater, top heater cover ¼
turn anticlockwise.
4. Top heater only:- Remove the plastic cover from the immersion heater - one nut.
5. Disconnect the wiring from the heater and unscrew it from the unit.
6. Fit a new heater, using the new rubber gasket supplied with the replacement heater, and reconnect the wiring.
See wiring diagram.
Note: PTFE tape or thread sealant must not be used when fitting a replacement immersion heater.
Temperature adjuster key
and cap
SKIT 160 300
(kit also contains adjusting
key)
Full internal service kit
SKIT 160 302
Seal service kit
SKIT 160 301
Fig. 4