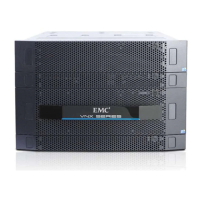
Installation
Installation
Please note that there are modifications to the printed Please note that there are modifications to the printed File and Unified Installation File and Unified Installation guides whichguides which
one should be aware of.one should be aware of.
Under the PrepaUnder the Prepare your re your system:system:
Removing mini-rack components section, the updated text should now read:Removing mini-rack components section, the updated text should now read:
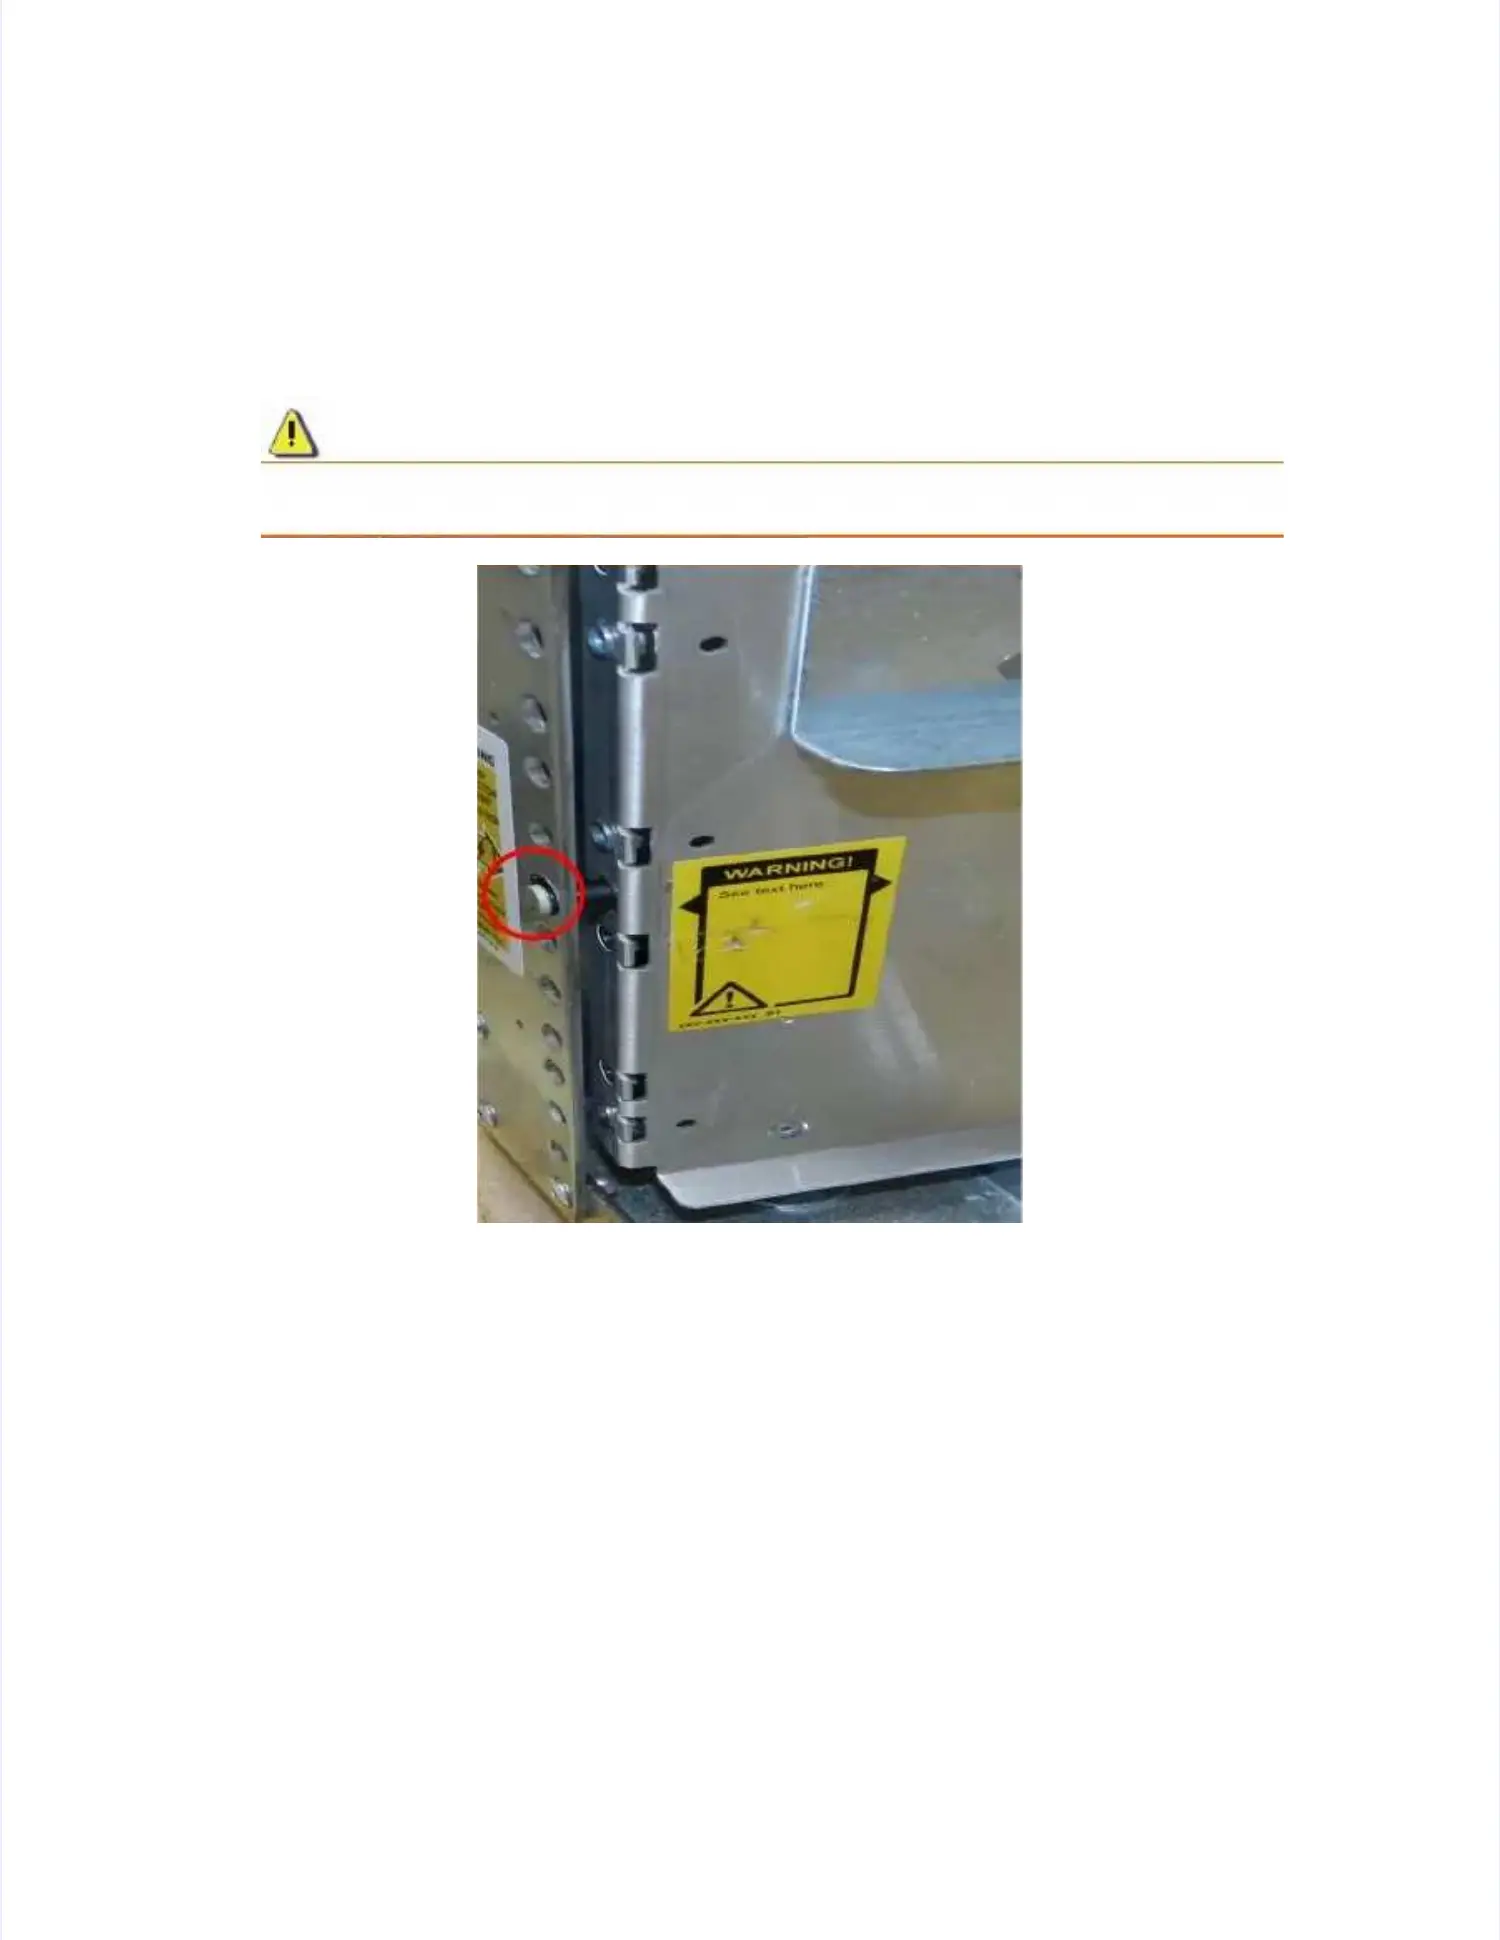
CAUTION:
CAUTION: On the left ganged rail, there is a blue light power connector protrudingOn the left ganged rail, there is a blue light power connector protruding
from the front whifrom the front whi ch goes througch goes through a hole in the front channel of the mini-h a hole in the front channel of the mini-rack.rack.
Figure 8
Figure 8 Light Bar power connectorLight Bar power connector
1. [ 1. [ ] ] Carefully remCarefully remove the ove the ganged rails ganged rails from tfrom the mini-rack he mini-rack by pulling by pulling each ganged each ganged rail out rail out fromfrom
the rear, then the front.the rear, then the front.
2. [ 2. [ ] ] Unscrew Unscrew the front the front and rear and rear screws and screws and remove the remove the ganged rails ganged rails from from the mini-rack.the mini-rack.
3. [ 3. [ ] ] Retain all tRetain all the removed he removed rails and scrrails and screws for ews for later assembly later assembly of the of the rails into the rails into the site rack.site rack.

 Loading...