EasyManua.ls Logo

Emerson Bettis G7 Series - User Manual

Emerson Bettis G7 Series
64 pages
Print Icon
To Next Page IconTo Next Page
Loading...
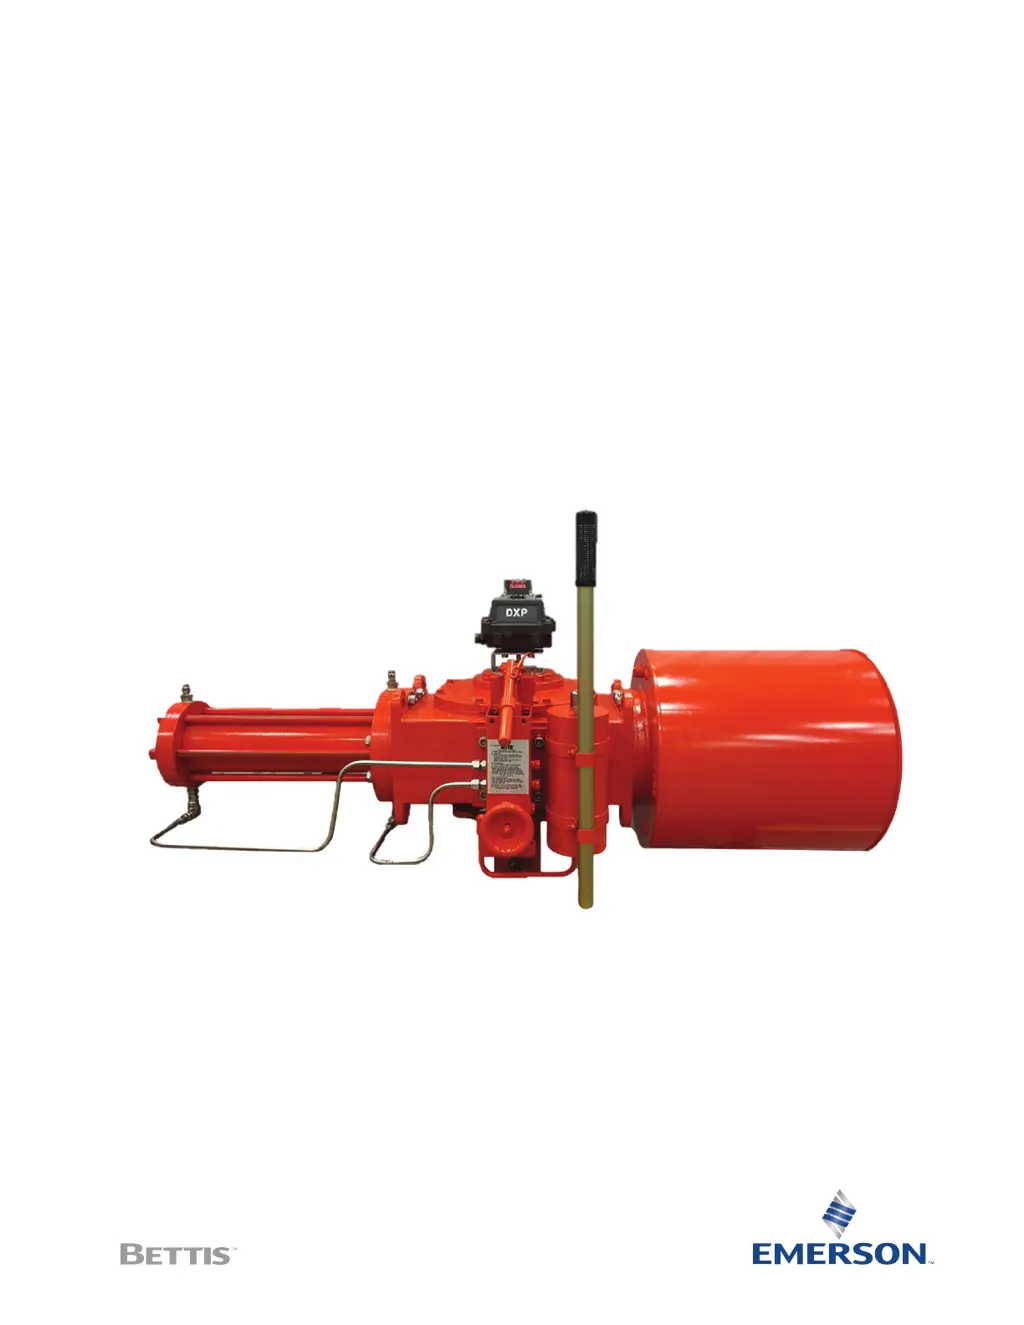
Installation, Operation and Maintenance Manual
VA-DC-000-1803 Rev. 2
July 2020
Bettis G01 through G10
Double-Acting Pneumatic Actuators with M18 Hydraulic Override

Table of Contents

Other manuals for Emerson Bettis G7 Series

Questions and Answers

  • A
    Amy RobinsonJul 25, 2025
    Why does my Emerson Controller have an apparent lack of torque?
    • M
      Michelle WilliamsJul 25, 2025
      If your Emerson Controller seems to lack torque, first ensure the supply pressure exceeds the actuator's minimum operating pressure and that the output torque at that pressure meets the valve's torque demand. Adjust the speed controls to increase flow. Also, check for any blockages in the exhaust port; clean or replace the exhaust port silencers if necessary. Inspect the pipe work for blockages, crushing, or leaks, and clear or replace as needed. If these steps don't resolve the issue, examine the controls and replace any defective seals in the cylinder or housing assemblies.
  • A
    Aaron JohnsonAug 5, 2025
    How to fix erratic movement in Emerson Bettis G7 Controller?
    • T
      Tanner ChungAug 5, 2025
      If your Emerson Controller exhibits erratic movement, start by checking the operating medium to ensure a consistent supply pressure, correcting as needed. If the issue persists, the controller may need lubrication. Dismantle, relubricate, and reassemble the unit. Also, worn parts could be the cause, so dismantle and visually inspect for wear, replacing the actuator if necessary.
  • R
    Robert TateAug 13, 2025
    What to do if my Emerson Controller has a short stroke?
    • N
      Natalie FowlerAug 13, 2025
      If your Emerson Controller has a short stroke, check the position of the travel stops on the valve and/or actuator and readjust them if necessary. Hardened grease can also cause this issue, so dismantle the unit, remove any hardened grease, relubricate, and reassemble. Ensure there's no debris in the cylinder or housing from previous maintenance; disassemble to remove any debris and then reassemble.

Summary

Section 1: Introduction

1.3 General Safety Information

Critical safety guidelines and warnings for handling actuators.

Section 2: Actuator Disassembly

2.2 Pneumatic Power Module Disassembly

Step-by-step guide for disassembling the pneumatic power module.

2.3 Drive Module Disassembly

Detailed instructions for disassembling the drive module.

2.4 M18 Hydraulic Override Cylinder Disassembly

Procedures for disassembling the M18 hydraulic override cylinder.

2.5 M18 Pump Disassembly

Steps for disassembling the M18 pump component.

Section 3: Actuator Reassembly

3.2 Drive Module Reassembly

Step-by-step instructions for reassembling the drive module.

3.3 Pneumatic Power Module Reassembly

Guide for reassembling the pneumatic power module.

3.5 M18 Hydraulic Override Cylinder Reassembly

Procedures for reassembling the M18 hydraulic override cylinder.

3.6 M18 Pump Reassembly

Instructions for reassembling the M18 pump.

3.8 Actuator Testing

Procedures for performing leakage and operational tests on the actuator.

Section 5: Module Removal and Installation

5.1 Pneumatic Power Module Removal

Steps for removing the pneumatic power module.

5.2 Pneumatic Power Module Installation

Steps for installing the pneumatic power module.

5.3 M18 Hydraulic Overrides Cylinder Removal

Procedures for removing the M18 hydraulic override cylinder.

5.4 M18 Hydraulic Override Cylinder Installation

Steps for installing the M18 hydraulic override cylinder.

Section 7: Troubleshooting

7.1 Fault Insertion

Table to identify common actuator faults and their remedies.

7.2 Operational Test

Procedures for performing full stroke and partial stroke tests.

Section 8: Removal and Decommissioning

Emerson Bettis G7 Series Specifications

General IconGeneral
CategoryController
BrandEmerson Bettis
SeriesG7
ControlModulating or On/Off
Temperature Range-40° to 176°F (-40° to 80°C)
Power Supply24V DC or 110-230V AC
Output Signal4-20mA, HART, or Digital
Operating Temperature-40° to 176°F (-40° to 80°C)
Enclosure RatingIP66
Communication ProtocolHART

Related product manuals