18
If you want to change the pairing code of the two units or the thermostat does
not function properly, repeat the entire pairing procedure from step 1 – the pairing
code will be rewritten automatically.
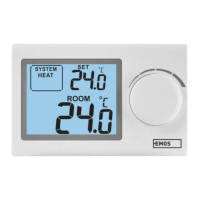
Testing Wireless Communication between the Units
1. Use the button on the thermostat or use the app to set a temperature
several degrees higher than the current room temperature.
2. The red LED on the switching unit will light up.
3. If the LED does not light up, move the control unit closer to the switching unit.
The maximum range between the control and switching unit is 100 m in an
open space.
The range may decrease indoors as the signal has to pass through walls and
other obstacles.
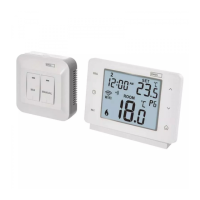
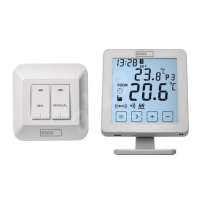
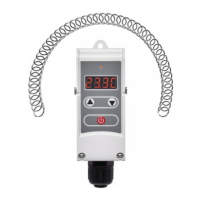
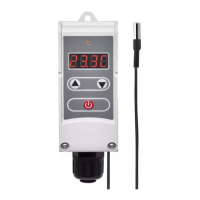
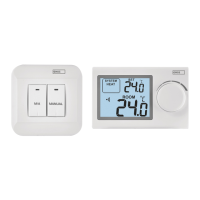
Main Switch
To turn on the switching unit, set the switch to the position.
If the heating system is not used for an extended period of time, it is recommen-
ded to turn the switching unit o (switch the main switch to the position).
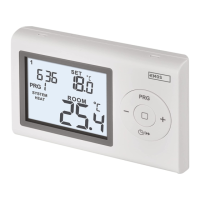
LED Indicators
Automated Mode
In automated mode, a red LED will glow when the thermostat switches on the
output relay.
Manual Mode
Press the MANUAL button; a green LED will light up.
The receiver will switch to manual mode and will not respond to commands
from the thermostat.
To switch on the output relay (turn on the connected device), press the M/A
button; a red LED will light up on it.
To turn o manual mode, press the MANUAL button again; the green LED will
switch o.
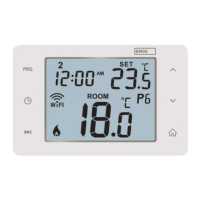
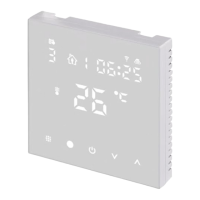
Setting the Clock, Calendar
Press the button; the values will start ashing.
Use the buttons to set the following values (holding the button down
accelerates the value change):
Day – Month – Year – Hour – Minute.
Conrm the set value by pressing .
To end setting, press the button or wait 30 seconds.
After setting is complete, the current day number will be displayed:
1 – Monday
2 – Tuesday
3 – Wednesday
4 – Thursday
5 – Friday
6 – Saturday
7 – Sunday