14
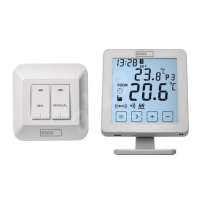
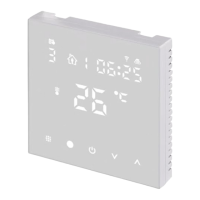
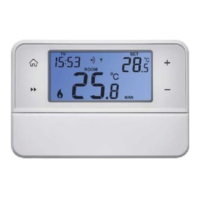
Thermostat Stand (see g. 2)
1 – micro USB socket for connecting the power cable
2 – r emoving the thermostat from the stand (start with the bottom of the
thermostat rst)
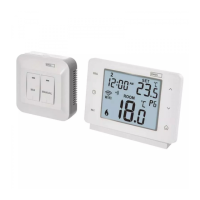
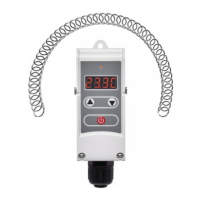
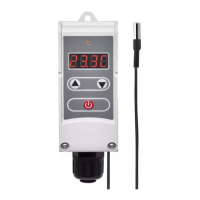
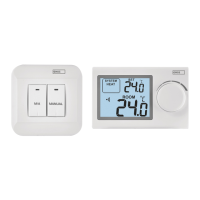
Description of the Receiver (Switching Unit) (see g. 3)
1 – main switch
position – o
position – on
2 – M/A button (red LED)
3 – MANUAL button (green LED)
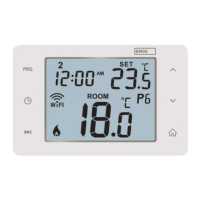
Procedure for Removing the Front of the Switching Unit (see g. 4)
2, 3 – Use a screwdriver to press down and hold the inner lock, remove the
front cover.
4, 5 – Connect the wires to the labelled terminals according to the wiring
diagram, click the cover back in place.
Mobile Application
The thermostat can be controlled using a mobile application for iOS or Android.
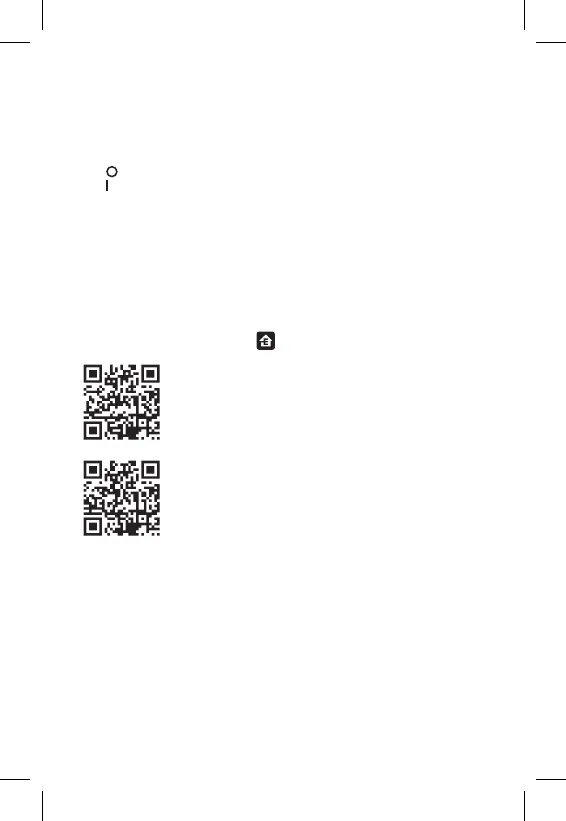
Download the EMOS GoSmart app
for your device.
QR code for downloading the Android app
QR code for downloading the iOS app
Description of Registering and Logging into the Application (see g. 5)
To use the mobile application, you must rst register by tapping the Sign Up button.
Enter your country and e-mail address, check o your consent with the end user
licence agreement and tap Get Verication Code.
Enter the verication code sent to your e-mail.
Then, set the password for your account and tap Done.
Choose whether you want to enable Data Analysis/Personalisation and tap Go
to App.
Connecting the Thermostat to a Wi-Fi network for Control via the
Mobile App (see g. 6)
Tap Add Device in the app and enable location access.
Choose add manually and select Small Home Appliances – Thermostat (Wi-Fi)
or Others – Others (Wi-Fi).