Do you have a question about the Emotiva Gen 2 XPA-2 and is the answer not in the manual?
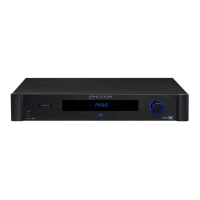
Window housing status LEDs and multi-segment LED bargraph meters.
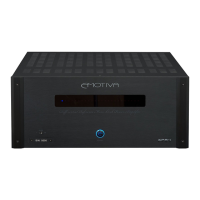
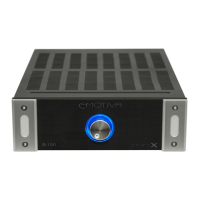
Button to switch amplifier On/Standby; halo indicates status.
Input and output for trigger signals to control power and other devices.
Switches to disable front panel status LEDs and meter LEDs.
Balanced (XLR) inputs and switches to select between balanced and unbalanced sources.
Stereo/Bridged mode switch and binding posts for speaker connections.
IEC power inlet, AC power switch, and voltage detection indicators.
Connect speaker between (+) terminals for bridged operation.
Selects between Stereo and Bridged operation modes.
Instructions for connecting speakers using binding posts, emphasizing phase and wire gauge.
How to connect balanced (XLR) and unbalanced (RCA) audio sources.
Connecting trigger signals for automatic power control.
Automatic detection and configuration for 115 VAC or 230 VAC line voltage.
Operation of rear AC power switch and front standby button.
Switches to select between balanced (XLR) and unbalanced (RCA) inputs.
Setting the amplifier for Stereo or Bridged operation.
Switches to disable front panel status and meter LEDs.
Using trigger signals for automatic power control.
The XPA-2 requires no periodic maintenance or calibration.
Instructions for cleaning the unit with a soft rag and mild cleaning solution.
Topology, channels, power output, bandwidth, load impedance, frequency response, THD+N, SNR, damping factor.
Details on power supply, input sensitivity, gain, connections, and impedance.
Power requirements and trigger signal specifications.
Overview of front and rear panel controls and indicators.
The XPA-2 is protected against temperature, shorts, ground faults, and other common faults.
Physical size and weight of the unit, both unboxed and boxed.
Troubleshooting steps for no sound or no power.
Troubleshooting when front panel LEDs are off or meters are not lit.
Troubleshooting distorted sound or phasey sound.
Troubleshooting sound issues specific to Bridged Mode configuration.
What to do when LEDs flash red, indicating a fault condition.
Troubleshooting problems with trigger input not activating the unit.
Details on what is covered against defects in materials and workmanship.
Explains Emotiva's options for repair, replacement, or refund.
Lists conditions and damages not covered by the warranty.
Steps to follow for making a warranty claim and obtaining service.
Information on recommended cables and interconnects for optimal performance.
| Type | Stereo Power Amplifier |
|---|---|
| Channels | 2 |
| Gain | 29 dB |
| Damping Factor | > 500 |
| Power Output (8 Ohms) | 300W |
| Frequency Response | 20 Hz - 20 kHz + / - 0.1 dB |
| Signal-to-Noise Ratio | > 120 dB |
| Input Sensitivity | 1.5V |
| Dimensions | 17" x 7.75" x 19" (WxHxD) |
| Input Impedance | 23.5 kOhms |
| Topology | Fully Discrete, Short Signal Path Class A/B |
| Inputs | Unbalanced (RCA); Balanced (XLR) |
| Outputs | 5-way binding posts |
| Power Consumption | 1200W |