EMPIREPAINTBALL.COM
4
Auto-Trigger
The Empire Sniper paintball marker is equipped with an Auto-Trigger. To use the Auto-
Trigger, hold the Trigger in while pumping the marker. Each time the handle is pumped
a paintball will be fired from the marker.
5. MARKER ADJUSTMENT
Always check the velocity of the marker prior to playing paintball. Different playing
fields may have different maximum velocity limits, check the regulations at your local
field. At no time should your marker shoot at velocities above 300 feet-per-second
(91.44 meters-per-second).
Checking Velocity
• Putonaneyeprotectivedevicedesignedspecificallyforpaintballandmakesure
that anyone within range of the Empire marker does the same.
• Whilepointingthemarkerinasafedirection,removethebarrelblockingdevice.
• PointtheEmpiremarkeroverachronographthatwillmeasurethevelocityofthe
paintballs discharged by the marker.
• Setthemarkerto“Fire”mode,safetyOFF(redvisible).
• Loadapaintballandfirethemarker,checkingthereadingonthechronograph.
Adjusting Velocity
The velocity can be adjusted via the inline regulator pressure and by the rear
adjustmentscrew.Therearadjustmentscrewwillcompressthemainspringmaking
the Hammer hit the valve harder, this will also increase the tension on the pump
stroke. We recommend that you mainly
adjustthevelocityviatheinlineregulator
(see regulator adjustment) and use the
rear adjustment screw to fine tune the
velocity. Turning the input pressure up
too high may result in lower velocity as the
pressure behind the valve will be too high.
• Usetheincluded3/16"Allenwrenchto
turntherearvelocityadjuster(Fig5.1).
• Turningtherearvelocityadjusterinwardorclockwisewillincreasethevelocityand
turning it outward or counterclockwise will decrease the velocity.
• Neverturntherearadjustmentscrewoutpastflushwiththebackofthemarkerbody.
• Alsomatchingyourbarrelbacktothepaintballsyouareusingwillhelpraisevelocity.
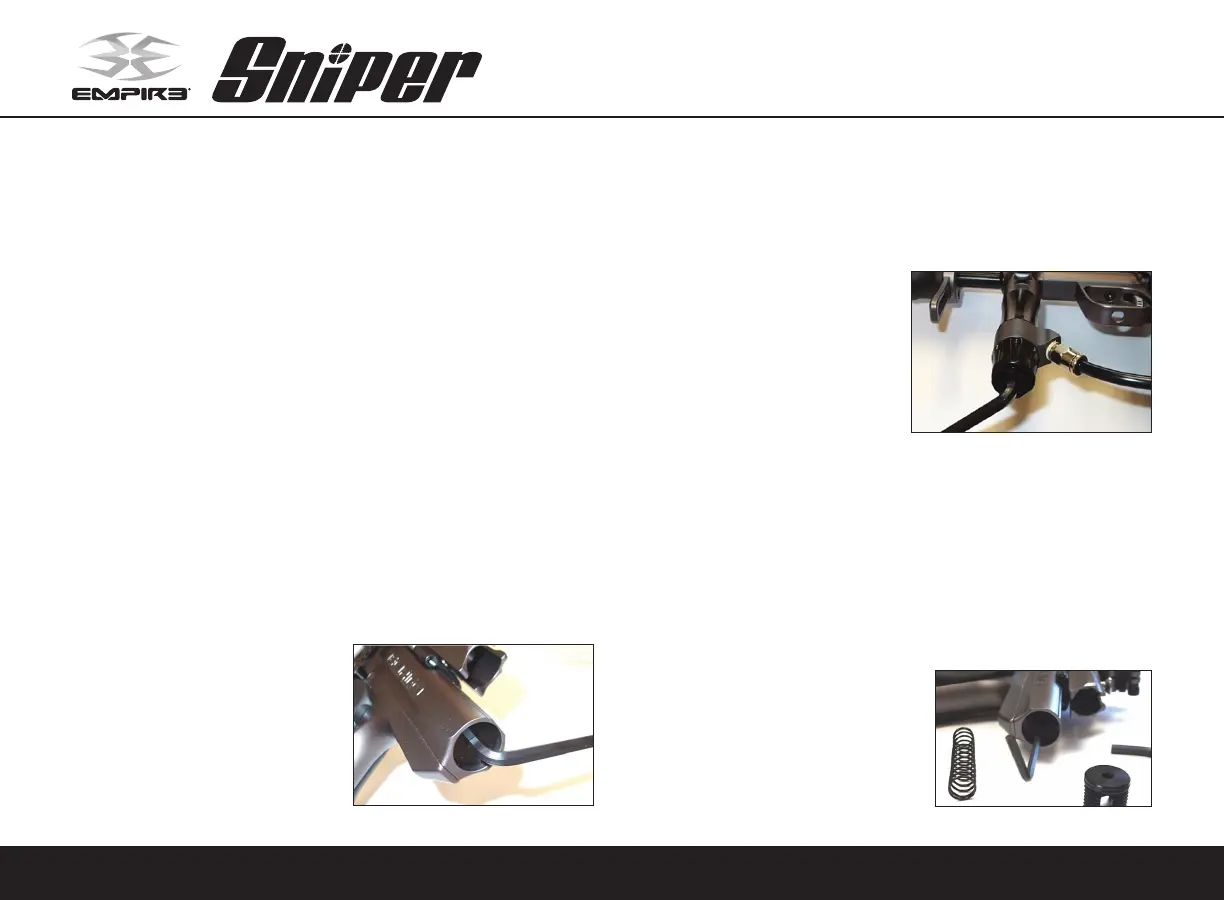
Regulator Adjustment
• TheSniperisfactorysetatabout225
psi.Youcanadjusttheinputpressure
by turning the adjustment screw
located on the bottom of the inline
regulator.
• Usetheincluded1/4"Allenwrenchto
adjustthepressure(Fig5.2).
• Turn the wrench inward or clockwise
to decrease the input pressure, and
outward or counterclockwise to increase the input pressure.
• Whenincreasingtheinputpressure,theadjustmentchangewillbevisibleonthe
Pressure Gauge.
• When decreasing the input pressure, the marker will have to be fired to see a
pressure change on the gauge.
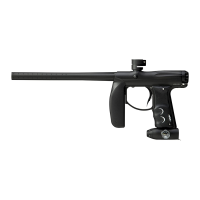
Hammer Lug Adjustment
The Hammer Lug controls how far the Trigger must be pulled in order to fire the marker.
IftheHammerLugisadjustedtoohigh,themarkerwillnotcockasitwon’tengagethe
Sear.IftheHammerLugisadjustedtoolow,
the marker will fire too early or not at all.
HammerLugadjustmentiscriticalto having
a well tuned marker. We recommend that
the Hammer Lug be set .040"-.050" from
the bottom of the main body. Hammer Lug
adjustment will also affect the Auto-Trigger
activation point.
Fig. 5.1
Fig. 5.2
Fig. 5.3