7
Gas Analyzer Preparation
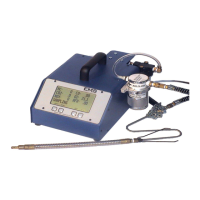
Getting started is simple. Figure 5 shows the items you should have received in the
shipping container. Note: This description applies to the Model 5002 analyzer with a
display, see Page 16 for instructions on setting up a Model 5002-W & 8000 bluetooth
wireless analyzer. The first step is assembling the sample hose. Once the sample hose is
assembled, connect the hose to the sample hose fitting on the back of the analyzer.
Figure 5
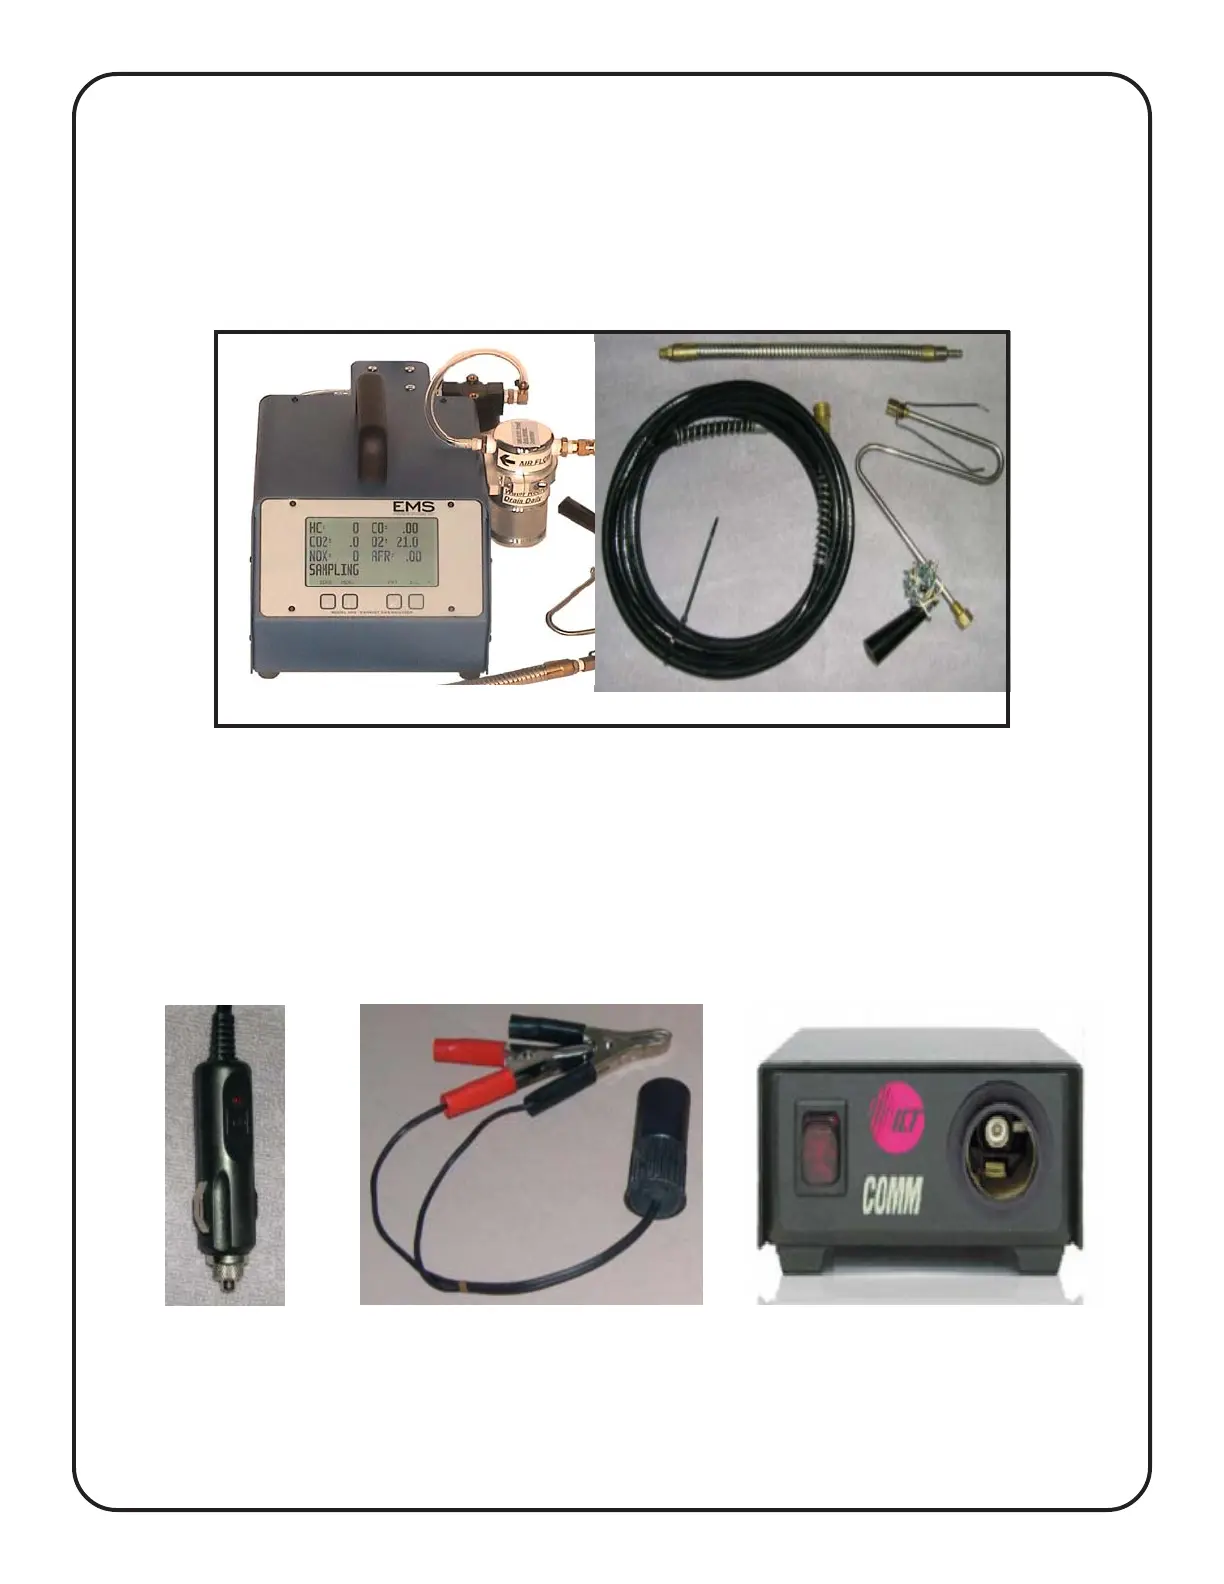
The next step is providing power to the analyzer. The analyzer should be connected to
a 12v DC power source. You have several options:
1. Cigarette Lighter Connection - Figure 6 (Supplied by EMS)
2. Cigarette lighter to battery connection with adapter - Figure 7(Optional)
3. AC to DC Power Supply - Figure 8 ( 3 AMP min.) Optional)
The Power LED in the lower left corner of the display will light once voltage is applied.
Figure 6
Figure 7
Figure 8