Page 24 of 32
Example transmitter grouping
The following example shows how to assign an alarm transmission from handpush 001, to transmitter
group 1 (Tgroup1). Follow the steps below:
Access the Main Menu by following the operations listed under the previous ‘Accessing the
engineering menus ’ section.
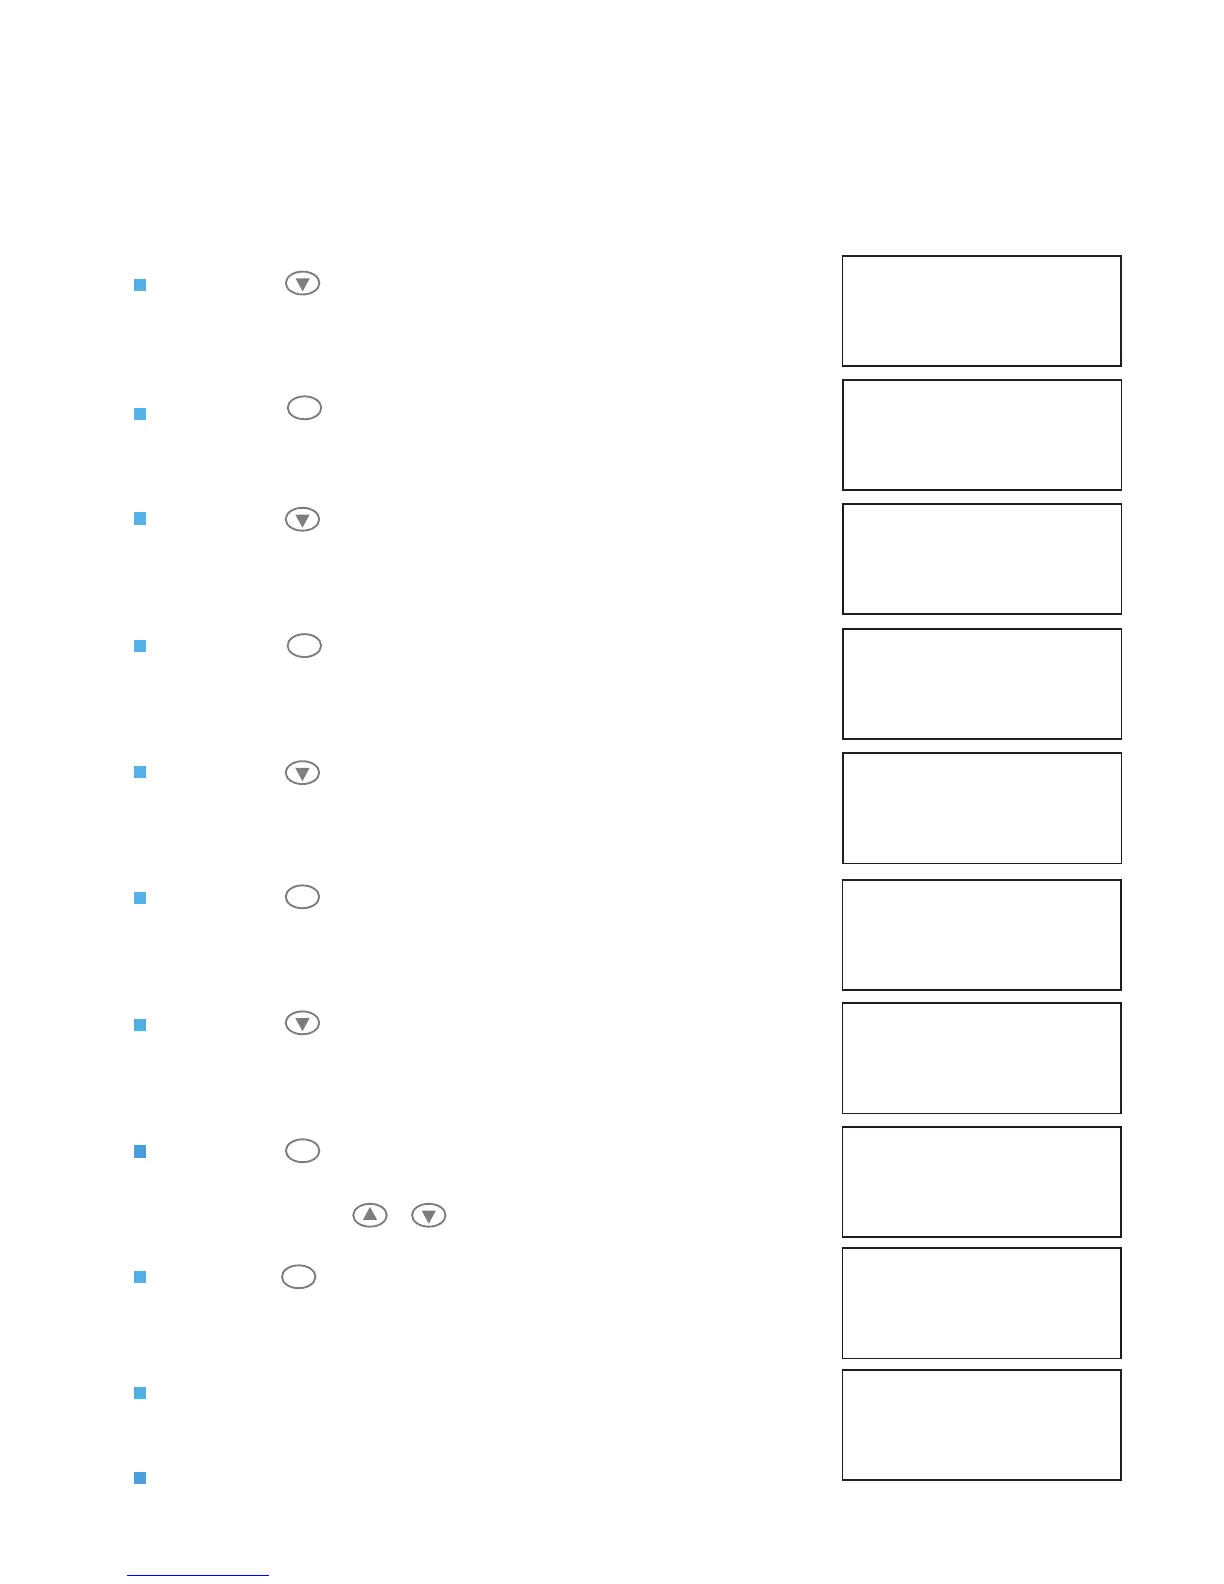
Press the button until the screen displays:
Press the button. The screen will change to display:
Press the button until the screen displays:
Press the button until the required group is displayed:
In this example, Tgroup No:1
Press the button once and the screen will display:
Press the button until the required action is displayed:
In this example Event: Alarm
Press the button once and the screen will display:
Press the button. The screen will change to show a
list of the transmitters programmed into the system:
If required, press & until the required device is selected.
Press the button to select the required transmitter. The
screen will change to display:
Followed by:
Press the 3 key twice to return to the Main Menu.
| Network |
> Txer Grouping <
| Bus I/O |
2=Help 14:00
| ** T - Groups ** |
> View Grouping <
| Change Grouping |
2=Help 14:00
1
| View Grouping |
> Change Grouping <
| ^^^^^^^^^^^^^^^^^ |
2=Help 14:00
| ** T - Groups ** |
> Tgroup No: 1 <
| Event : None |
2=Help 14:00
1
| TGroup No: 1 |
> Event: None <
| No of Items: 0 |
2=Help 14:00
1
| TGroup No: 1 |
> Event: Alarm <
| No of Items: 0 |
2=Help 14:00
| Event: Alarm |
> No of Items: 0 <
| ^^^^^^^^^^^^^^^^^ |
2=Help 14:01
1
| ** Select Item ** |
> Hand Push 001 <
|---------------------------------|
2=Help 14:01
Saving Data
Please Wait
2=Help 14:01
1
| Event: Alarm |
> No of Items: 1 <
| ^^^^^^^^^^^^^^^^^ |
2=Help 14:01
Note: transmitter groups must now be allocated to relay outputs. See overleaf.