Micropilot FMR51, FMR52
Endress+Hauser 41
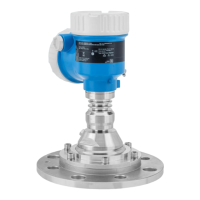
Mounting cladded flanges
• Use flange screws according to the number of flange holes.
• Tighten the screws with the required torque (see table).
• Retighten the screws after 24 hours or after the first temperature cycle.
• Depending on process pressure and process temperature check and retighten the screws at
regular intervals.
Usually, the PTFE flange cladding also serves as a seal between the nozzle and the device
flange.
Flange size Number of screws Recommended torque [Nm]
minimum maximum
EN
DN50/PN16 4 45 65
DN80/PN16 8 40 55
DN100/PN16 8 40 60
DN150/PN16 8 75 115
ASME
2"/150lbs 4 40 55
3"/150lbs 4 65 95
4"/150lbs 8 45 70
6"/150lbs 8 85 125
JIS
10K 50A 4 40 60
10K 80A 8 25 35
10K 100A 8 35 55
10K 100A 8 75 115
Installation in vessel (free
space)
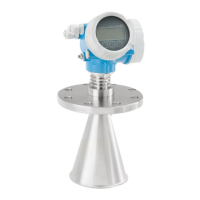
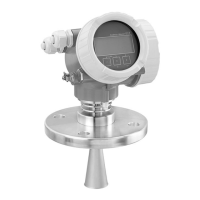
Horn antenna (FMR51)
Alignment
• Align the antenna vertically to the product surface.
The maximum range may be reduced if the horn antenna is not vertically aligned.
• A marking at the flange (somewhere between the flange holes) or the boss enables alignment of
the antenna. This marking must be aligned towards the tank wall as well as possible.
 Loading...