Assembly
Please Note: We recommend that you have a person assist you with the assembly
of
your new treadmill. Use caution during the assembly of this product.
Step 1:
Align the vertical support frame
(C) to the bottom base of the treadmill
deck
(A). Then attach (C) to (A) using two (A-1) – set screws and two
(C-1) – washers. Attach (G) & (F) to (H) using 2 (A4) bolts.
Step 2:
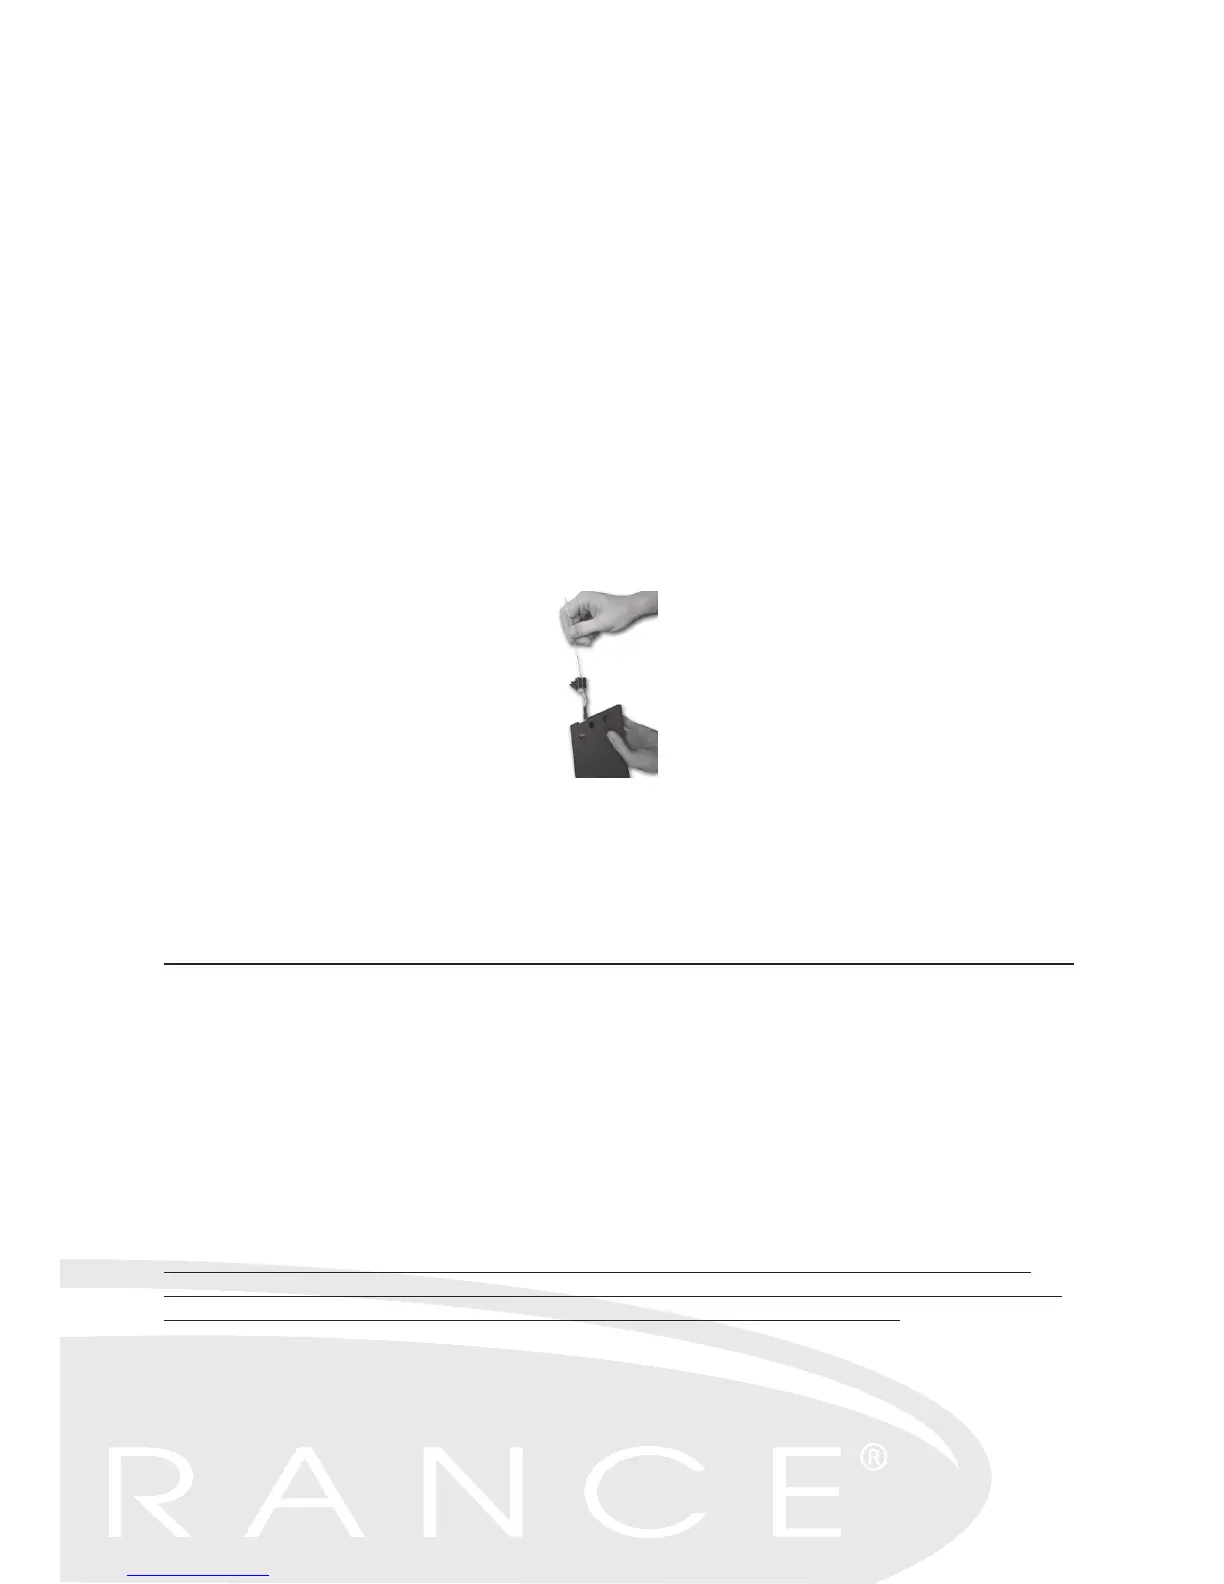
A) Locate the silver feeding line attached to the inside of
(D) and find the
control wire attached to
(A). Carefully hook the silver feeding line around
the control wire harness at the bottom base of the treadmill deck
(A).
Feed the silver feeding line and the control wire harness into the bottom
of the vertical support frame
(D) and all the way though the top.
As shown in (Fig 1).
B) Attach (E) to (H) using 2 (A5)
C) Once the Wire Harness has completely passed through the vertical
support frame, attach the vertical support frame
(D) to the bottom portion
of the deck
(D) using two (A-1) – bolts and two (C-1) – washers.
D) Note: Do not attach (A3) bolts until after step 3.
ATTENTION: Do not fully tighten these set screws until entire unit is assembled.
Step 3:
A) Connect the Wire Harness to Console Wire Harness (See Fig 2). Then
connect the Console
(H) Heart Rate Wire Harness with the contact Bar (E)
Wire Harness as Shown in Fig 3
B) Carefully align the Console (H) with the vertical support frames (D) & (C).
Once aligned, secure the console (H) with 4 (A-5) bolts and 2 (C-1) washers.
C) Next, insert two (A-3) set screws at the bottom of the vertical support
frames and then proceed to tighten the rest of the unit.
ATTENTION: When attaching the vertical support frame (D) to the treadmill
deck (A) and then to the console (H) be sure not to crimp or sever the Control
Wire. Severing these wires can cause the treadmill to short out.
D) Finally, attach the sports bottle holder (I) by using two (A-6)
Phillips screws & 2
(C-2) Washers.
(Fig 1)
11


 To Next Page