5
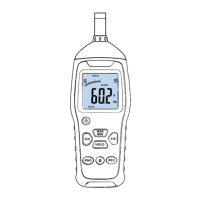
7. Data recording icon
8. Memory-full indicator
9. Meter connected to PC via USB indicator
10. Data hold indicator
11. MAX/MIN mode indicator
12. Over-range indicator: reading exceed the selected range. Switch
to a higher range or set to auto-range.
13. A/C Frequency weighting indicator
14. Sound level unit (decibel)
1.4 Battery Installation and Replacement
To install the battery open the battery compartment located on the
back of the meter. To do this you will need to unscrew the single
screw at the top of the battery compartment cover. Be careful not to
lose the screw. Attach the 9V battery to the wired clip inside the
compartment. Carefully place the battery and wire inside the
compartment. To close the compartment slide the cover back into
place and hold firmly while securing the screw.
When the battery power is low, the low battery indicator