7
Preparing Your Radio For Use
1
2
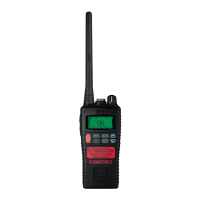
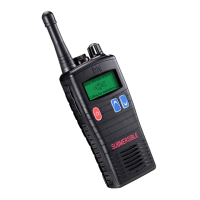
Attaching / Removing Audio Accessories
1 To attach, remove the accessory cover by unscrewing the
locking screw anti-clockwise (leave cover attached or store
in a safe place). Attach accessory plug by locating over the
socket. Carefully tighten the locking screw clockwise until
finger tight (do not tighten with a screwdriver etc).
2 To remove, unscrew the locking screw by hand in an
anti-clockwise direction (carefully use a coin or
screwdriver if too tight). Ensure you re-fit the accessory
cover so as to protect the socket.
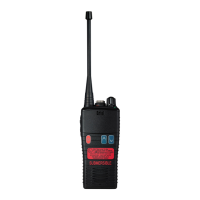
Charging Your Radio
Several charger options are available. Please refer to your
charger user guide.
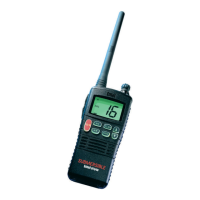
Turning your radio on
Turn your radio on by pressing the on / off button on the front of the radio. The radio will bleep
and the LED will illuminate constant yellow for approximately 4 seconds, followed by a second
“warble” (if not disabled by the Dealer when programmed).
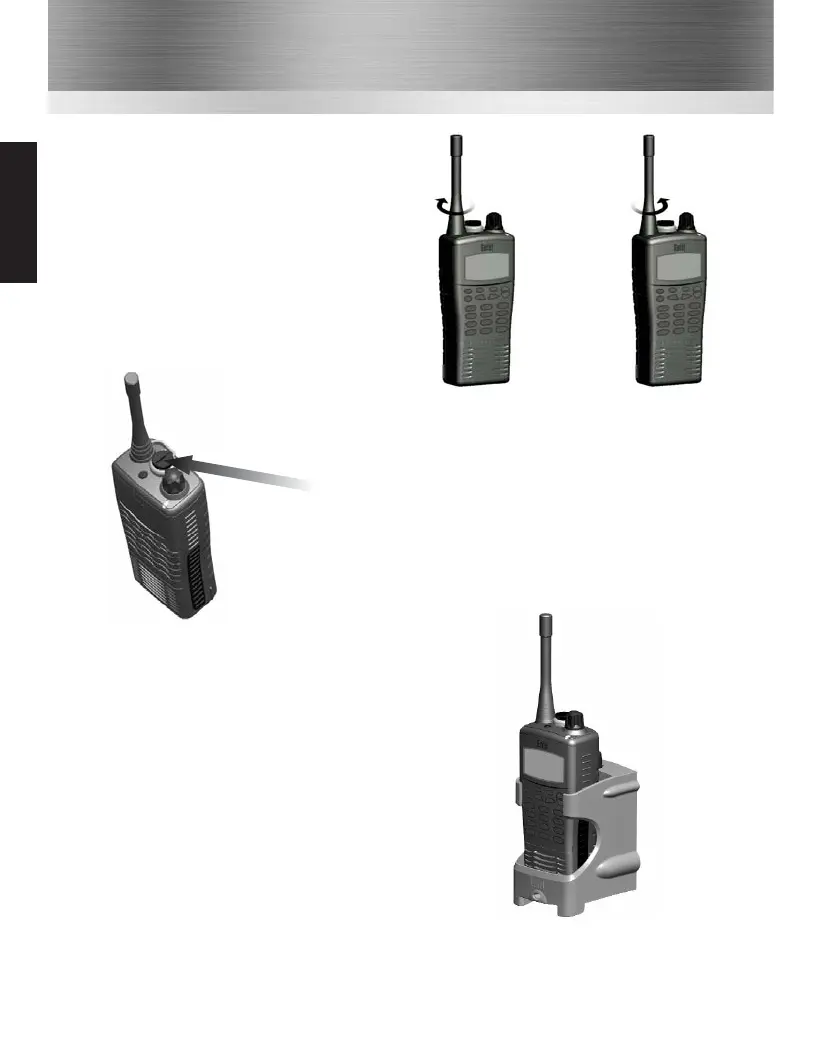
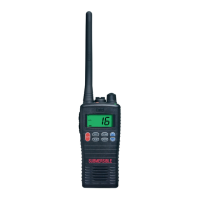
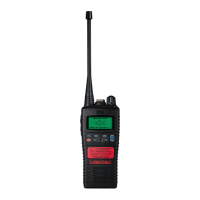
Attaching / Removing the Aerial
1 To attach, carefully align the aerial with the
socket. Screw in the aerial clockwise (taking
care not to cross the thread) until it is
seated firmly against the top of the radio.
2 To remove, unscrew the aerial
anti-clockwise.
Common