11 12
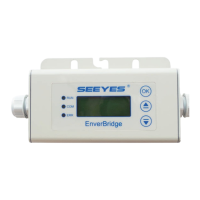
Select “YES”and press “OK”to enter the parameter setting interface. The setting
time is about 1~2 minutes.
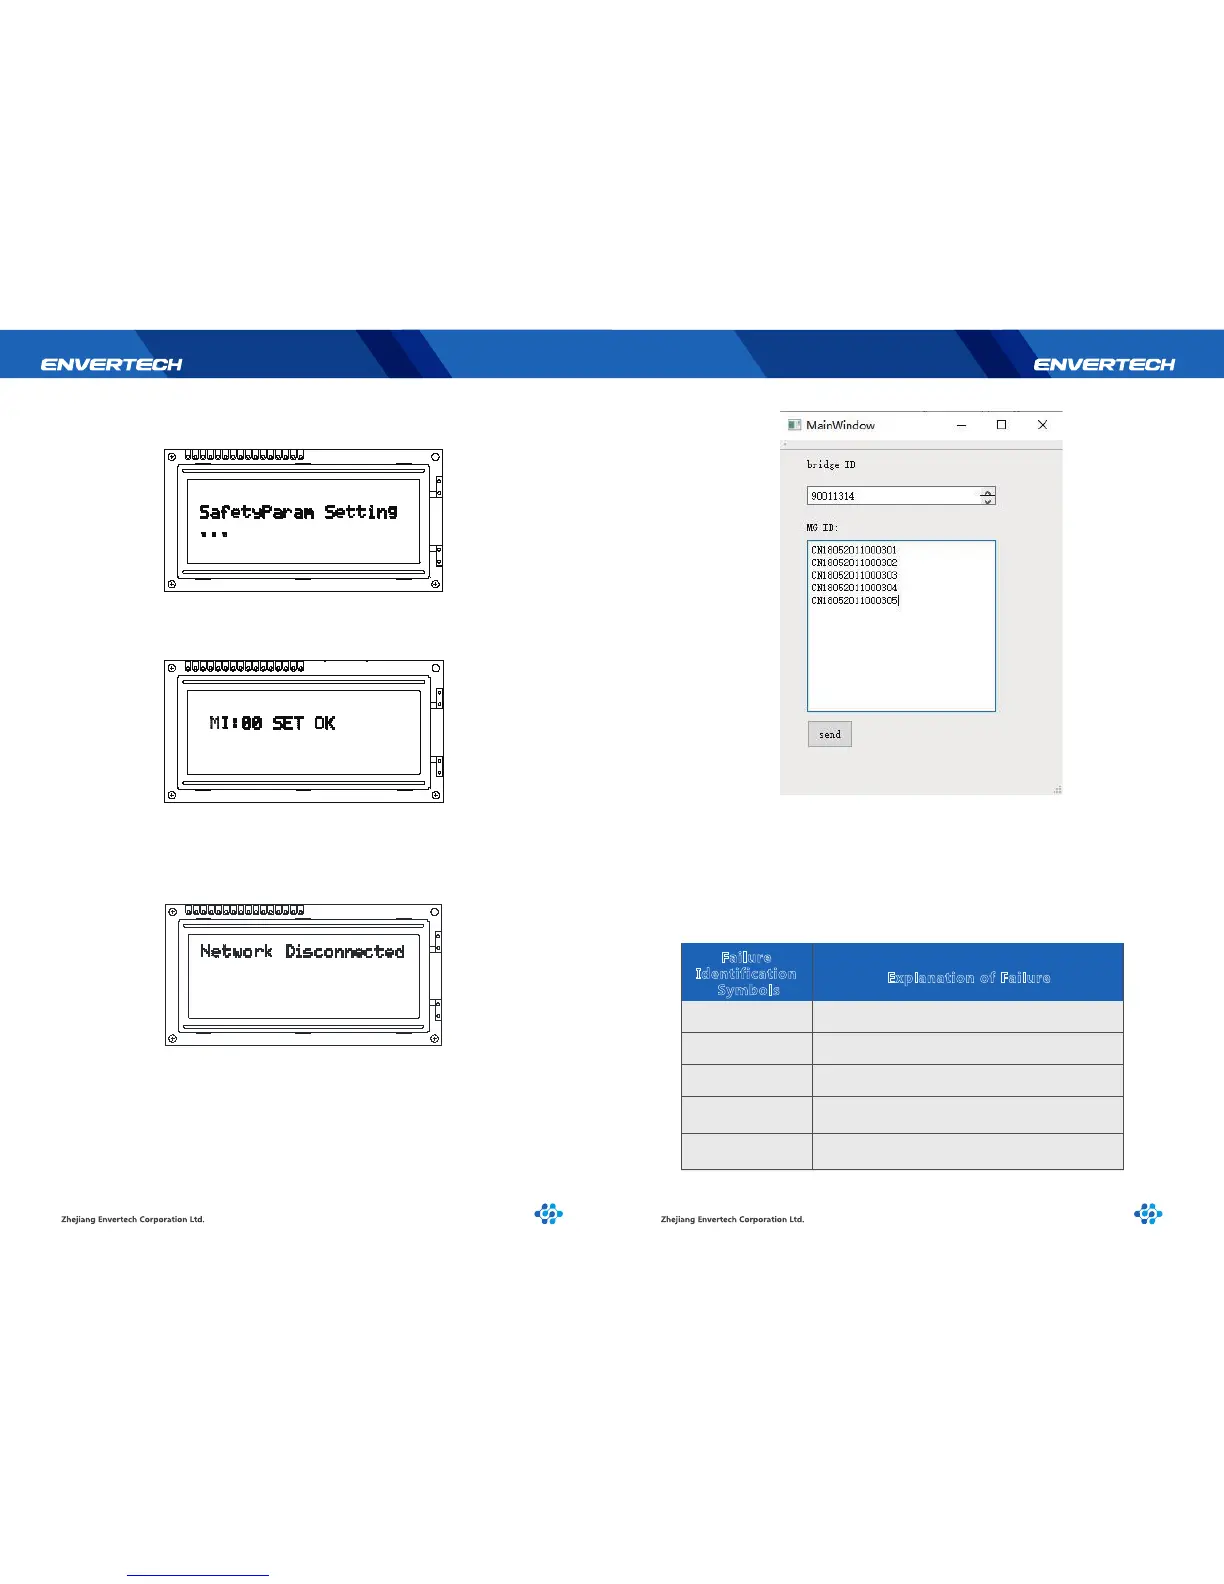
After successful setting, the screen will be shown as below. The number after “MI”
is the quantity of the microinverters that complete setting. This interface will remain
until the user presses “OK” and return to the main menu.
Bind successfully, and the monitor will display on the third line“ID SET OK”after
receiving the IDs..
Press “OK”to return after completion.
Step 6. Select “Restart System”, and the monitor will restart in 2 seconds.
3.1.4 Explanation of Malfunction
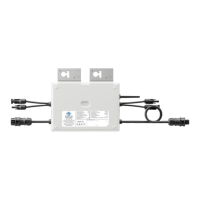
Step 5. When you select “Set MI ID”, please ensure that the monitor is connected
to the network and is in the same LAN as where the host computer is located. Press
“OK” to have the YES /NO option. Select “NO” to exit and return to the previous
menu. Select“YES” to start this function. If the network is not connected, it will
show the following interface, press “OK” to return to check the network.
If the network runs well, “Please Send MI ID”will pop up on the first line of the
screen. This interface will last 60 seconds and then return automatically.
When the monitor is in this interface, please use the MI binding tool on the
computer to send the corresponding group of IDs to add EnverBridge ID and
microinverter IDs.