7. Debugging and Operating
Please notice the symbols.
7.1 Energize the System
1. Turn on the switch or the circuit breaker at each microinverter AC branch.
2. Turn on the main AC circuit breaker in the distribution box. Your system will
start to produce power after 3 minutes.
3. Envertech microinverters begin to communicate through the power lines to
EnverBridge. The entire system will be detected within 10 minutes.
4. The voltage and frequency of EVT800 can be adjusted on the site. If
adjustments are required by your local utility company, installers can use
EnverBridge to manage grid parameters after all microinverters have been
detected.
7.2 EVT800 Operation
The Envertech microinverter is powered on when there is sufficient DC voltage
from the PV module. The LED light of each microinverter will blink green to
indicate normal start-up operation approximately 1 minute after DC power is
applied.
8. Troubleshooting and Maintenance
Adhere to all the safety measures described throughout this manual. If the PV
system does not operate correctly, the following troubleshooting measures can
be applied by
qualified personnel.
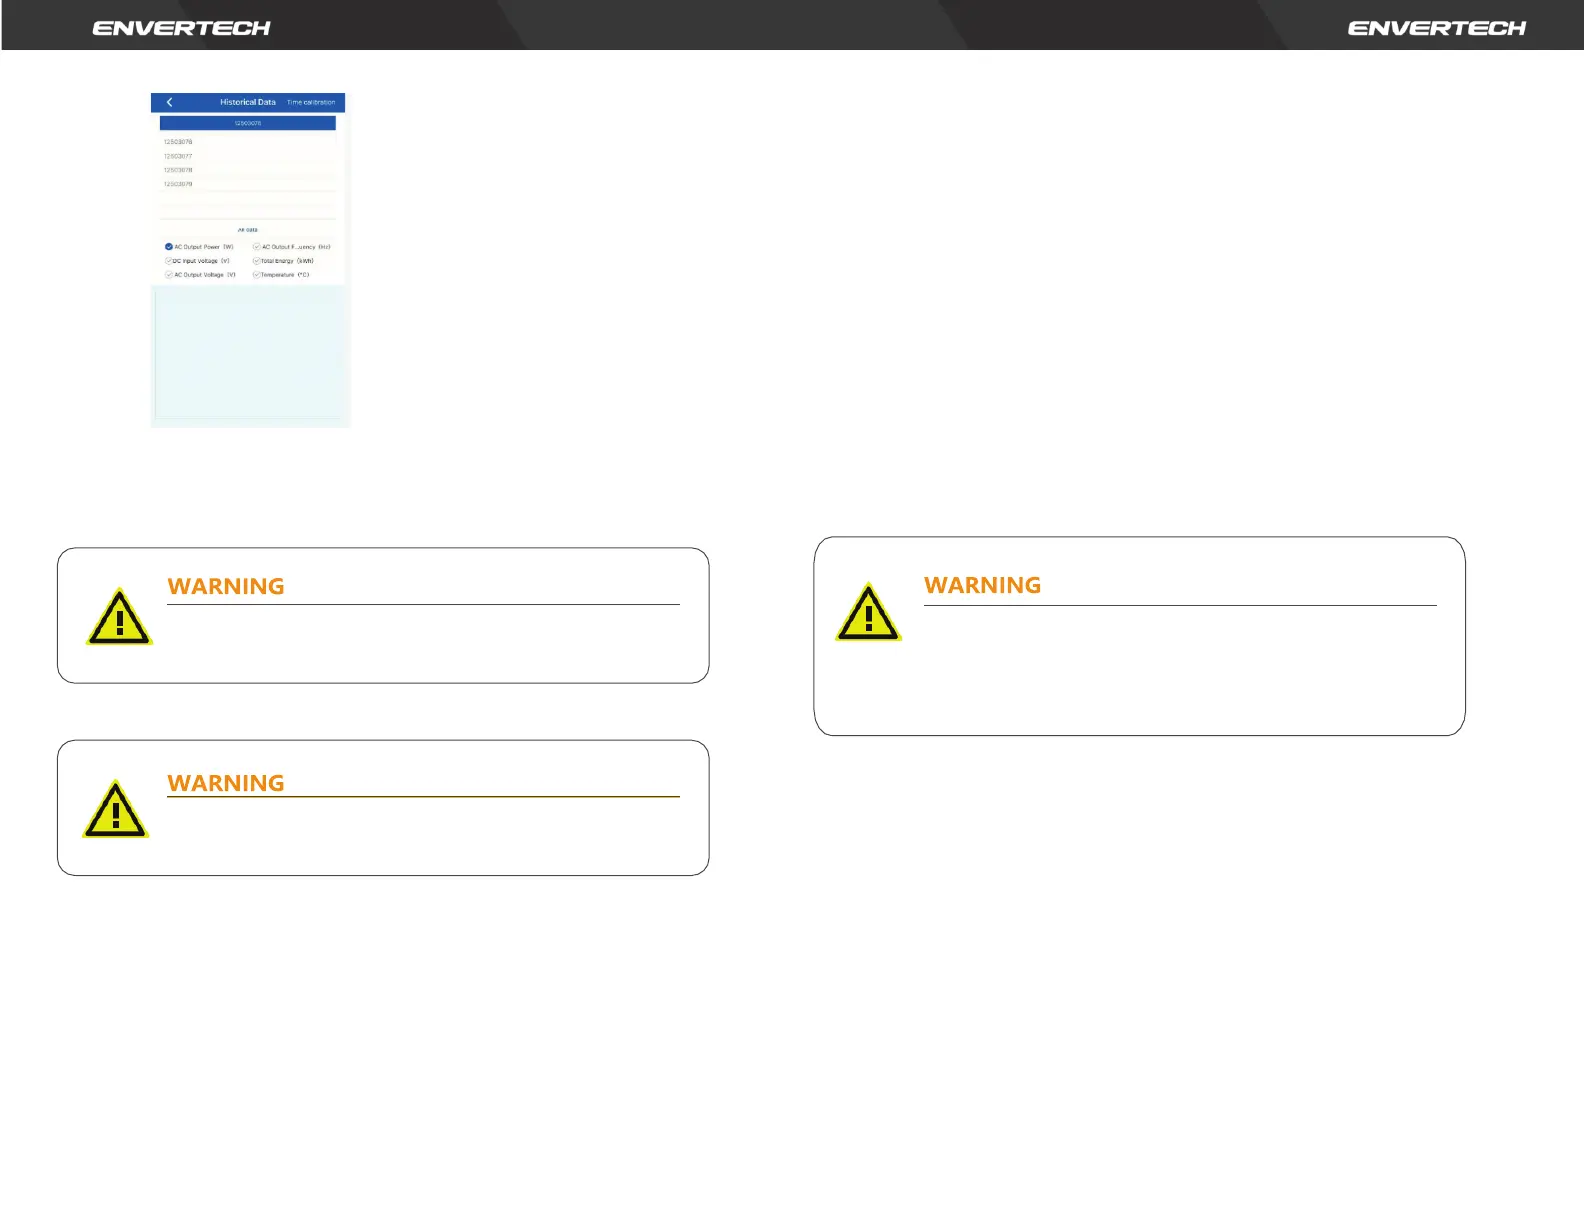
8.1 LED Status Indications and Error Report
LED Startup:
The LED of each microinverter blinks red for a while at the beginning, and then
blinks green to indicate normal start-up approximately 10 seconds after DC
power is applied. If the LED blinks red after DC power is on, it indicates a failure
during the start-up.
Post-Startup LED Indications:
Check LED status to confirm the present situation.
Flashing Green: It indicates normal operation.
Flashing Red:
Only qualified personnel may connect the Envertech
microinverter to the utility grid after receiving prior approval
from the electrical utility company.
Ensure that all AC and DC wiring is correct. Ensure that none of
the AC and DC wires is twisted or damaged.
Do not attempt to repair the Envertech microinverter. It
contains no user-serviceable parts. If the microinverter fails,
contact your direct supplier or Envertech customer service to
obtain an RMA (return merchandise authorization) number and
start the replacement process.