4.3 Further Information
If you have any further questions concerning accessories or installation, please
check our website www.envertec.com or send an email to tech@envertec.com
.
5. Planning of Microinverter Installation
5.1 Symbols on Inverter
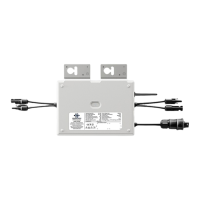
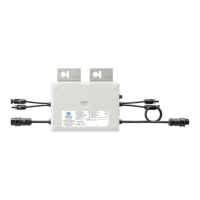
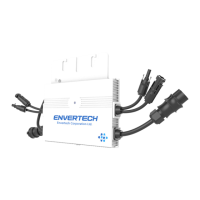
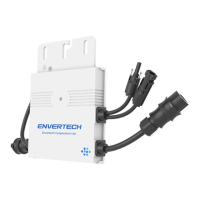
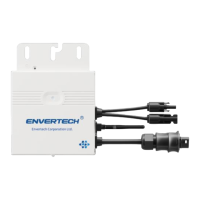
5.2 Accessories
PV Module Module
AC Extension Cable
connectors(Optional)
To connect the AC side to
the grid.
AC Connector
Connect the
microinverter's AC side to
the extension cable.
6. Microinverter System Installation
Installing Envertech microinverter system involves several key steps. Each
step listed here is elaborated on the following pages.
Step 1. Verify voltage
Step 2. Mount microinverters onto the rack
Step 3. Ground the system
Step 4. Install a WiFi antenna
Step 5. Fasten AC cables
Step 6. Connect to the grid
Step 7. Connect PV modules to microinverters
Step 8. Switch on the PV system
Step 9. WIFI Configuration
Step 10. Monitoring through EnverPortal
Symbol
Description
Dangerous electrical voltage
This device is directly connected to public grid, thus
all work related to the inverter shall only be carried
out by qualified person
NOTICE, danger!
This device directly connected with electricity generators and
public grid
Danger of hot surface
The components inside the inverter will release a log of heat
during operation. DO NOT touch aluminum casing during
operating.
An error has occurred
Please go to Chapter 8 “Trouble Shooting” to repair the error.
This device SHALL NOT be disposed of in residential waste.
Please go to Chapter 10 “Recycling and Disposal” for proper
treatments.
No unauthorized perforations or modifications
Any unauthorized perforations or modifications are
strictly forbidden. If any defect or damage
(device/person) is occurred, Envertech shall not take
any responsibility for it.
Only qualified personnel may connect the Envertech
microinverter to the utility grid after receiving prior approval
from the electrical utility company.