PRO 32 & 48 X-AXIS ASSEMBLY
4
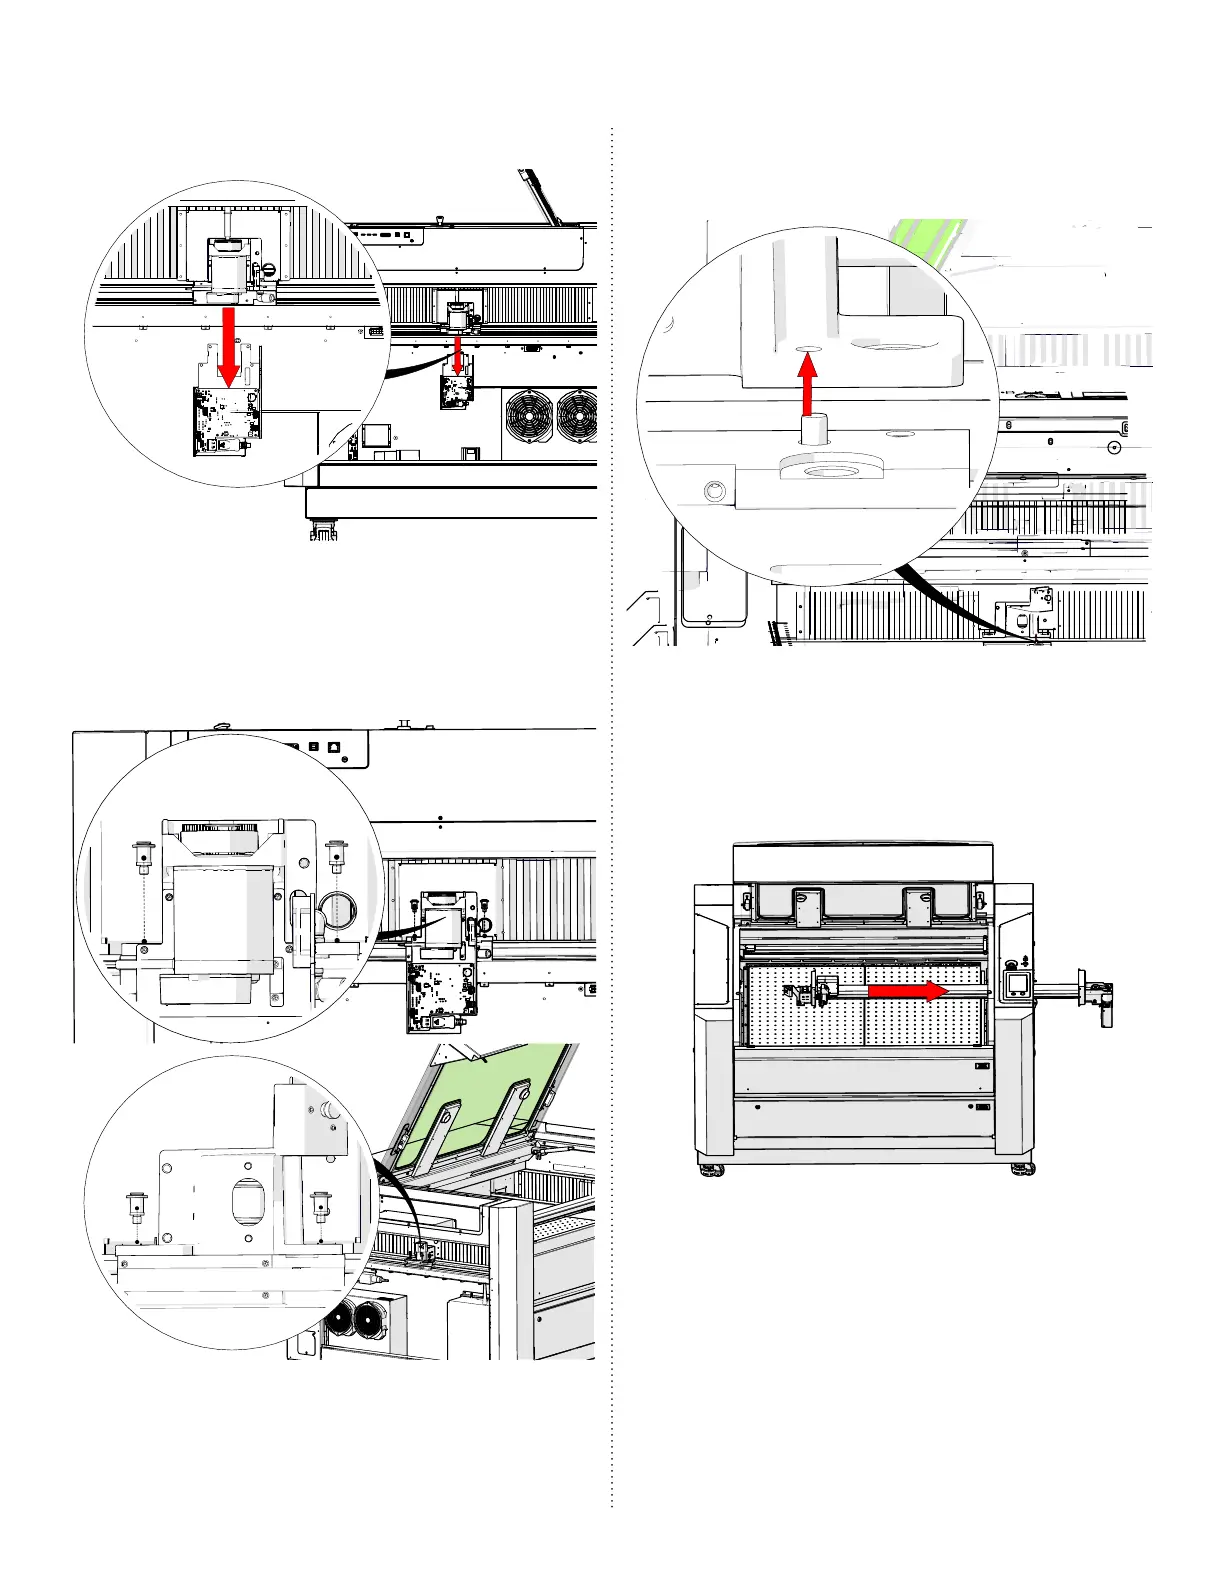
16. Li the x-axis assembly upwards to clear
the locator pins on the le and right
y-axis bearing blocks:
17. Slide the x-axis assembly out of the
engraver through the right side of
the machine, taking care to clear the
carriage assembly through the opening
without damage:
14. Remove the x-axis drive board housing:
15. Remove and or loosen the four (4)
5/32” fasteners that secure the x-axis
assembly to the y-axis bearings. There
are two (2) on the right side and two (2)
on the le side:

 Loading...


