EasyManuals Logo

Epilog Laser Fusion User Manual

Epilog Laser Fusion
10 pages
To Next Page IconTo Next Page
To Previous Page IconTo Previous Page
Page #2 background imageLoading...
Page #2 background image
Adjusting the Table Level
Fusion and FiberMark Fusion
Revision Date: 9/10/2014 pg. 2 of 10
Procedure A: Check Table Level
Step 1: Position Lens Carriage in Reference Corner
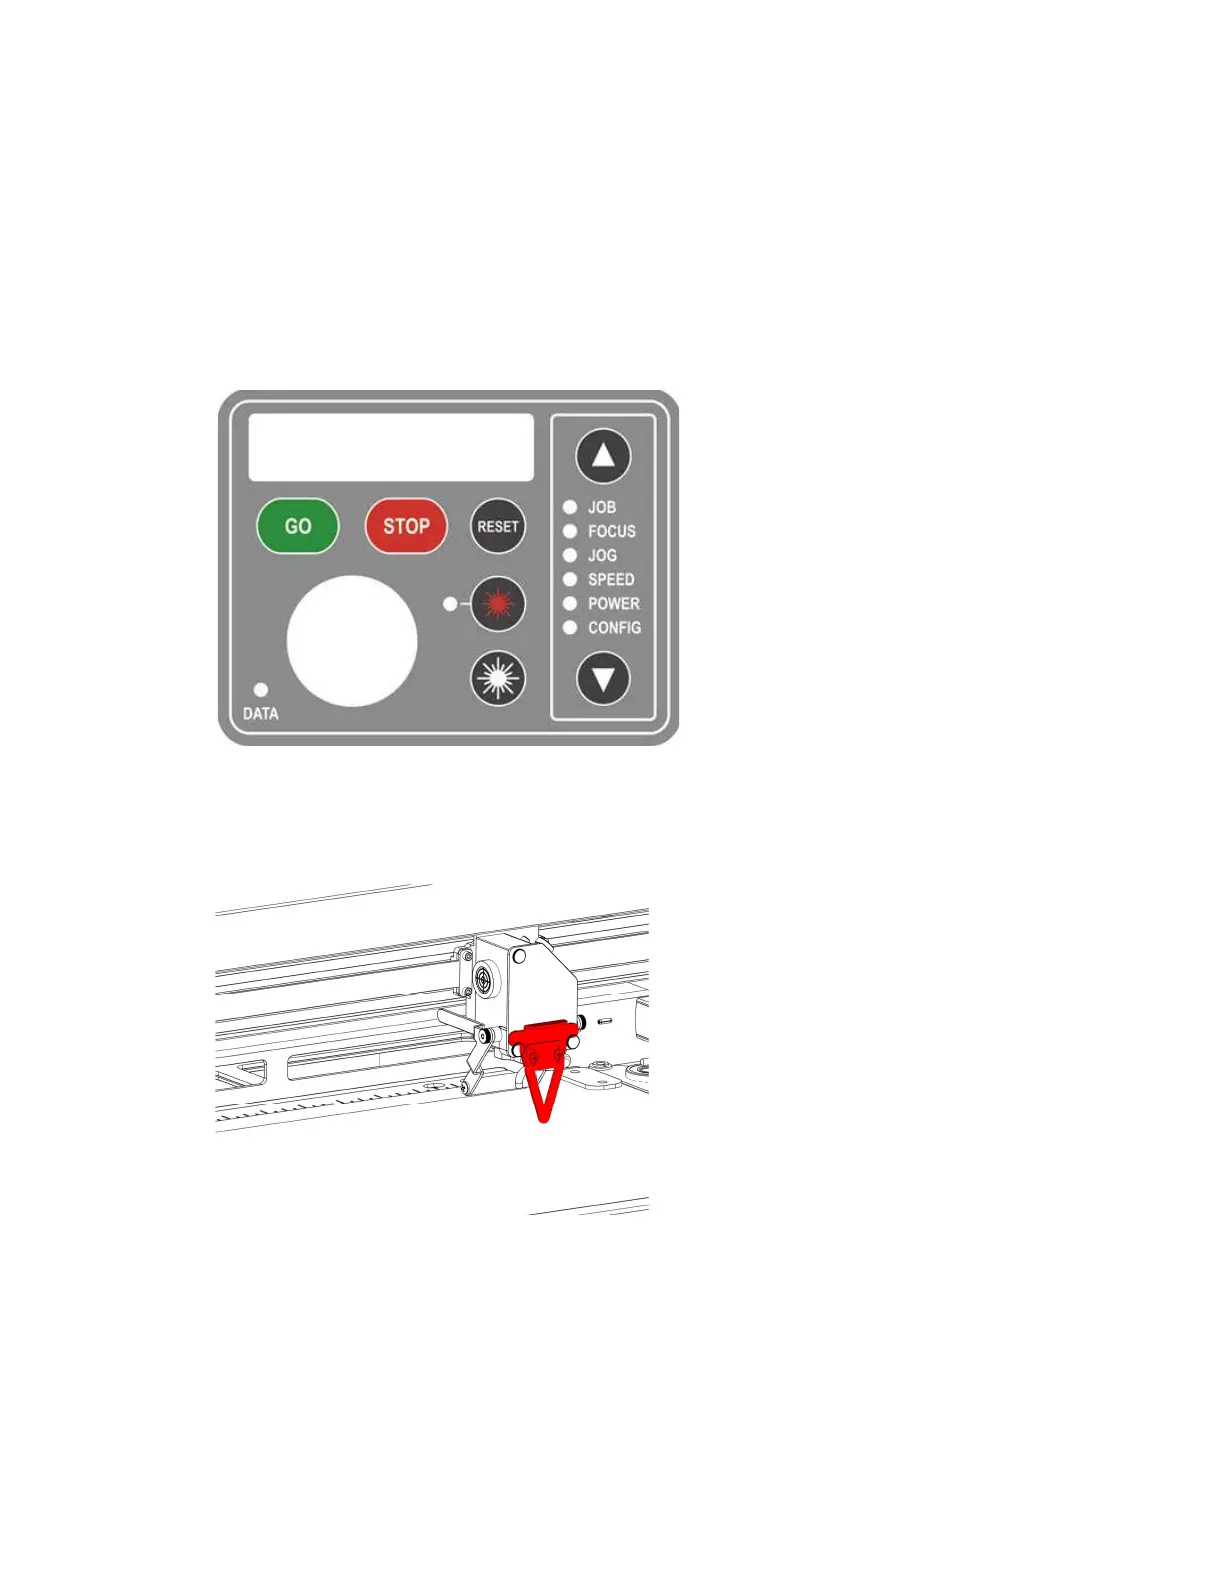
With the engraver powered ON and the Cutting Table removed, use the Up and
Down Arrow Keys on the Key Pad to place the engraver into Jog mode. Use the
Joystick to move the Lens Carriage to the Back Right Corner of the engraver.
Step 2: Place Manual Focus Gauge
Place the Manual Focus Gauge on the Lens Carriage.

Other manuals for Epilog Laser Fusion

Questions and Answers:

Question and Answer IconNeed help?

Do you have a question about the Epilog Laser Fusion and is the answer not in the manual?

Epilog Laser Fusion Specifications

General IconGeneral
Laser TypeCO2
Max Material Thickness12.25" (311 mm)
ResolutionUp to 1200 DPI
ConnectivityEthernet, USB
Operating ModesRaster, Vector or Combined
InterfaceTouchscreen control panel
Power Supply110V or 220V, depending on model
CoolingWater-cooled laser tubes
SoftwareEpilog Laser Dashboard
Supported File FormatsAI, BMP, DXF, EPS, GIF, JPG, PDF, PLT, PNG
Warranty1 year limited warranty
Z Table TravelVaries by model (typically 12 in)
ExhaustRequired, external blower recommended

Related product manuals