EasyManuals Logo

Epilog Laser MINI User Manual

Epilog Laser MINI
17 pages
To Next Page IconTo Next Page
To Previous Page IconTo Previous Page
Page #7 background image
Epilog Laser Tube Upgrade
Mini / Helix
Revision Date: 9/27/2013 pg. 7 of 17
Procedure C: Installing the new fans.
This procedure is for the Mini 24 and Helix machines only. If you currently have 4 fans but space for 6,
please follow this procedure. If you currently have 6 fans or if you own a Mini 18 you can skip this
procedure. Please contact Epilog Technical Support if you need assistance.
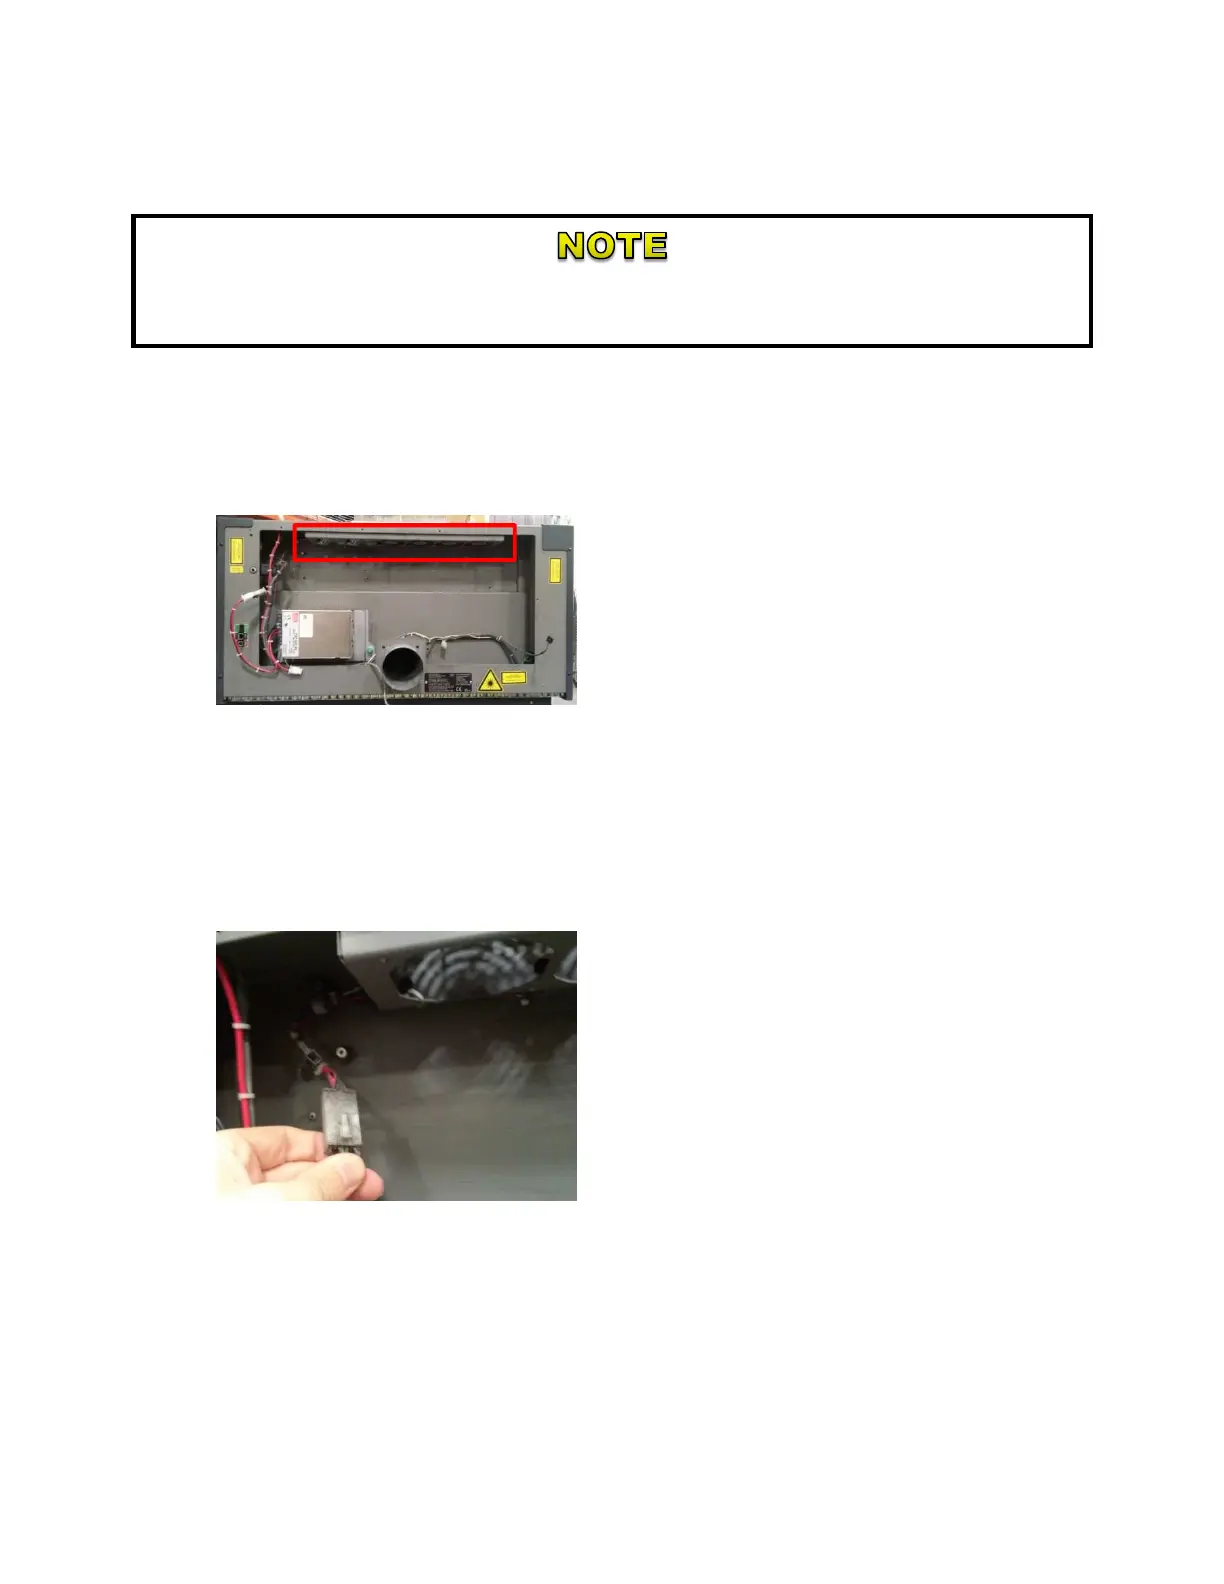
Step 1:
Locate the Fan Tray inside of the engraver.
Step 2:
Locate and unplug the Fan Wire Harness. The wire harness is on the left side of
the Fan Tray.

Other manuals for Epilog Laser MINI

Questions and Answers:

Question and Answer IconNeed help?

Do you have a question about the Epilog Laser MINI and is the answer not in the manual?

Epilog Laser MINI Specifications

General IconGeneral
CoolingAir-cooled
Laser Wattage Options30, 40, 50 or 60 watts CO2
Laser TypeCO2
ResolutionUp to 1200 DPI
ConnectivityUSB
Software CompatibilityCorelDRAW, Adobe Illustrator, AutoCAD
Operating ModesRaster, Vector
Supported File FormatsAI, BMP, DXF, EPS, GIF, JPG, PNG
Power Requirements110V or 220V

Related product manuals